Creating a webhook flow
In this article we will cover how to create an integration flow which gets triggered by the changes in an external system. We will create an integration flow that exposes an externally-reachable URL to accept HTTP requests in JSON format. The received payload gets interpreted as a pet and gets stored into the Petstore API.
If this is your first experience with the elastic.io platform, then please follow every step to create your first integration flow. If you have already followed the steps in Creating your first integration flow? tutorial, then some steps would be the same to you and you are welcome to skip them.
Setting up the webhook
When you login you will have a similar view of the elastic.io platform.

To start click on +Add new flow button to load the integration flow designer.
The designer helps building the flows from the reusable integration components such as triggers and actions. Every integration flow starts with a trigger component to retrieve or receive data from the source. In this case we will start with setting up the webhook to receive the data. Let us find the webhook component in the list of integration components.

Type webhook in the search bar to find it and click on Choose Webhook afterwards to select it.
In the next step, you can create or choose an existing credential,
as shown in the screenshot below.

If you already have a credential for a webhook, select it to proceed. Otherwise click on Connect new credentials link as shown on the screenshot above.

As you can see in the screenshot above there are multiple types of credentials
available to choose in the Type drop-down. We will cover the Webhook credential
later in this article. For now let’s choose the No Auth option to
continue with webhook creation and click on Save. The result should look like in the following
screenshot.

Next we need to give the sample data structure which the webhook expects to receive from the external system. Click on Add sample manually or Send sample request button to add your sample. You can also just Skip the Sample. To Send sample request you can use Postman.

Please Note: The only supported format for the input sample is
JSON, so your sample must be a valid JSON object. If an error is made in the input, it will be marked in red and you will not be able to save this sample until you fix the error.

Paste the following JSON in the input field:
{
  "petname": "Gromit",
  "petstatus": "Sold"
}
You can also generate a sample automatically:
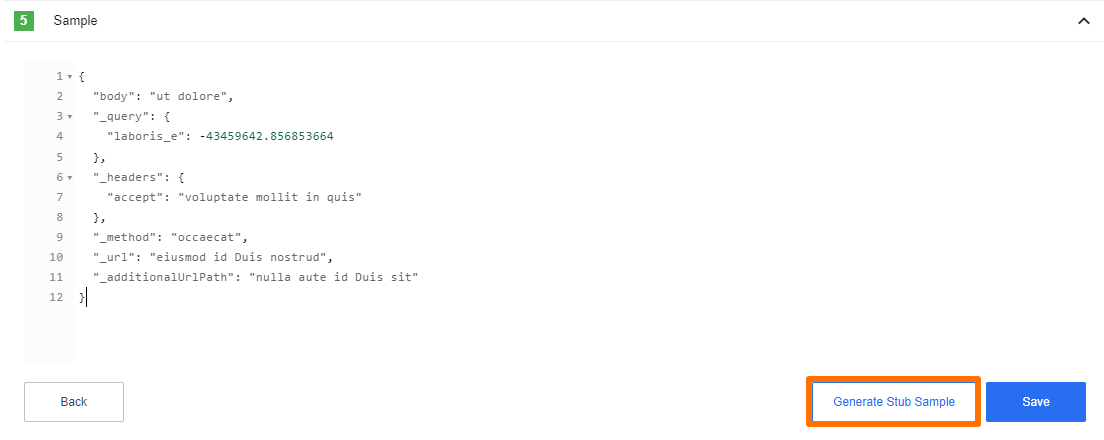
The sample gets evaluated for the correctness of the format. Click on Save button to continue.

Screenshot above shows the Webhook step summary page where you can add a note to describe the step and change the step name. Click on Finish step button to finish the Webhook step and load the component chooser again.
Choosing the data target
We have the data source, now we need to choose the data target. After completing the trigger configuration you need to choose an action component to send the data from the webhook. Let us choose the Petstore API (Node.js) component.

For that purpose type petstore in the search bar and you will find it. Next click on Choose Petstore API (Node.js) button. Upon completion you will see the page to choose one of the 2 available actions in the Petstore component.

A typical elastic.io platform component can have more than one action to change or add the records at the target API. Here we use the Petstore component to learn the elastic.io platform. It provides 2 different actions to create pets with their statuses. These two actions differ by the implemented code style. Let’s select Create a Pet With Generators and continue.
Next you will see the page Choose Credentials where you can either use an existing credential or click on +connect new credentials link to create new credentials.

Let us fill-in an input form for these two fields:

-
Account name: allows you to give your credential a meaningful name. You can leave this unchanged or give your own name.
-
API key: used to authenticate with the Petstore API. Please use the API key
secret.
Click on Save to verify the credentials. The verification can take no more than 30 seconds.

The screenshot above demonstrates the mapping of data between the data from webhook and the Petstore action two fields. Please select these properties by pressing the drop-down menu on the right of each input field as shown.
The petname gets mapped with the Name field and the petstatus with the Status field respectively.

On the next page click on Retrieve sample to retrieve the sample. When the sample gets retrieved click on Continue.

We have finished configuring this step and reached the summary page for the Petstore API component. Here we can add note or change the step name. You could add more steps after this moment but we recommend you not to at this stage. Click on I’m done button once. You can name your integration flow or accept the suggested name by clicking on I’m done one more time to finish configuring this step.

Success, the first draft version of your integration flow is ready! Click on Publish Draft button to save this draft.
Note You must publish your draft to save and proceed. You can not start your flow without publishing it.
Running and monitoring the flow
Now that our flow is published we can start it.

Click on Start button to set your flow live. Before navigating away from this page copy and save the generated webhook address (URL). The URL has the following structure:
https://in.elastic.io/hook/FLOW_ID
For the demonstration purposes, we will use an application called Postman to POST payloads to the copied webhook address.

Open the Postman and follow these steps:
- Choose the HTTP
POSTin the left upper corner. - Paste the copied webhook URL into the address field.
- Select the HTTP post Body tab, then select raw and choose the
JSON (application/json)from a drop-down selector menu. Now paste an exampleJSONinto the input field. We used thisJSON:{ "petname": "Gromit", "petstatus": "Sold" } - Click on Send button in the right upper corner to send the data to your webhook flow. In response, elastic.io platform will reply with a similar message shown on the screenshot.
Keep sending your data to the webhook address.

Here we have the Dashboard view after your flow gets executed 3 times. You can view the details of each execution by clicking on the name of your flow in the runlog.
Your flow is now active and working! Go ahead, make another one. Try using different integration components to build more nice flows.
Securing your webhooks
As discussed above webhooks can be secured with credentials. There are four types of webhook credentials:
No Auth- used to make the webhook URL accessible by anyone,Basic Auth- used to define username and password to authenticate the webhook clients using Basic Access AuthenticationAPI Key Auth- used to define an API key for the webhook clients,HMAC verification- used to create a HMAC signature of the payload
Let’s explore the Basic Auth type as an example. In the following screenshot
you see a credential configuration page when Basic Auth type is chosen.

As you can see above you need to enter a username and a password which will
be used to authenticate all the incoming requests to the webhook URL using the
Basic Access Authentication
mechanism. Any request that is not authorized will be responded with
401 UNAUTHORIZED error. Now let’s see how to send a request to a secured
webhook URL using curl on a terminal.
curl -X POST https://in.elastic.io/hook/{FLOW_ID} -u {USERNAME}:{PASSWORD} \
-H 'Content-Type: application/json' -d '{
  "petname": "Gromit",
  "petstatus": "Sold"
}'
In the example above {FLOW_ID} is the ID of your flow shown on the
flow summary screen. The variables
{USERNAME} and {PASSWORD} are the ones you entered when creating a
credential for your webhook.