Flow Linking Usage Example
Example scenario
If you have a flow with many steps or if you want to split your flow into separate parts, you can use the Flow Linking component. For example, suppose you have a flow that receives and transforms data, and a second flow that receives the transformed data and sends an email. In this case, you can use the Flow Linking component at the end of the first flow and as a trigger in the second flow to receive the data
Client use case
First flow
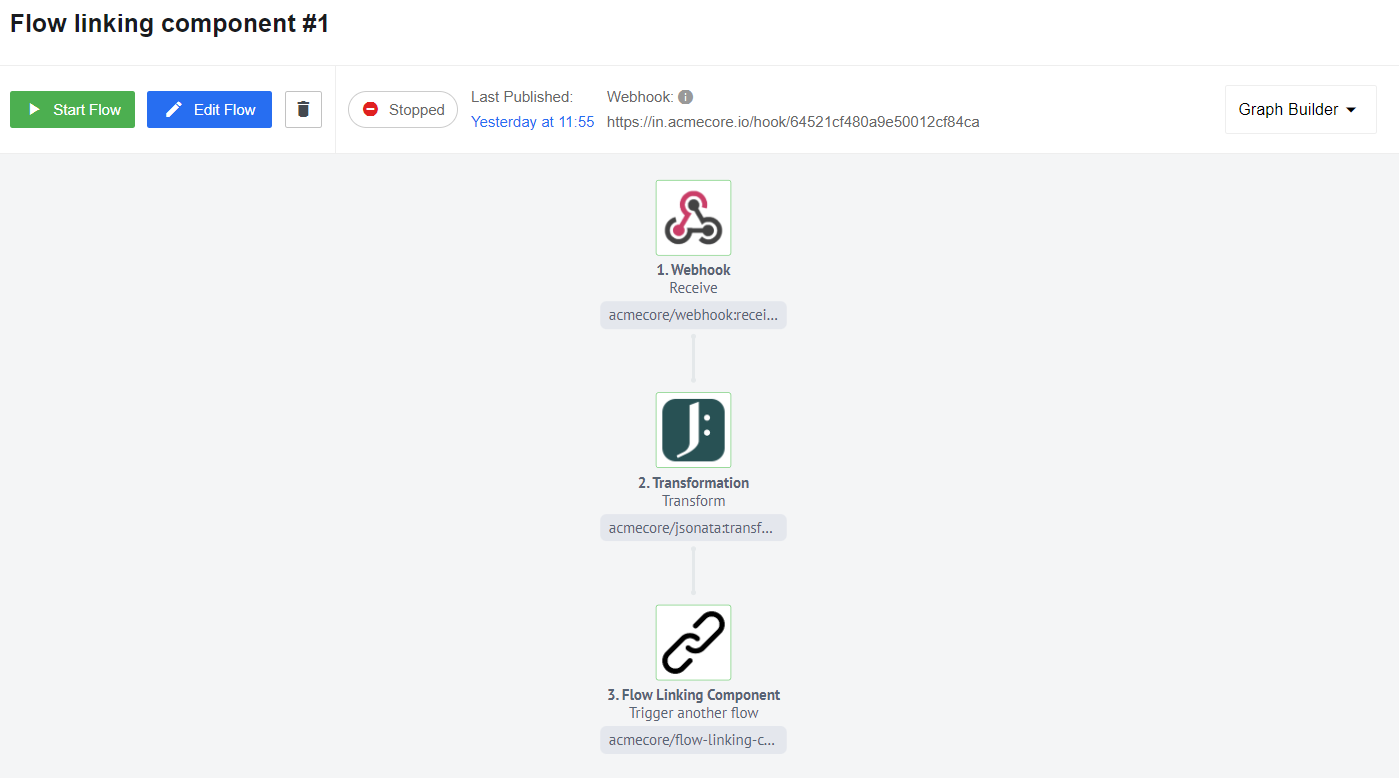
We have three steps in this process.
- The first step involves using the Webhook component to receive some incoming data.
- The second step uses the Jsonata component to transform the data.
- The third step involves creating the Flow Linking component after configuring and publishing our triggered flow. The Flow Linking component needs a published flow to connect to for mapping to proceed. If the flow is still in draft mode and has not been published, the Linking component will not be able to see it.
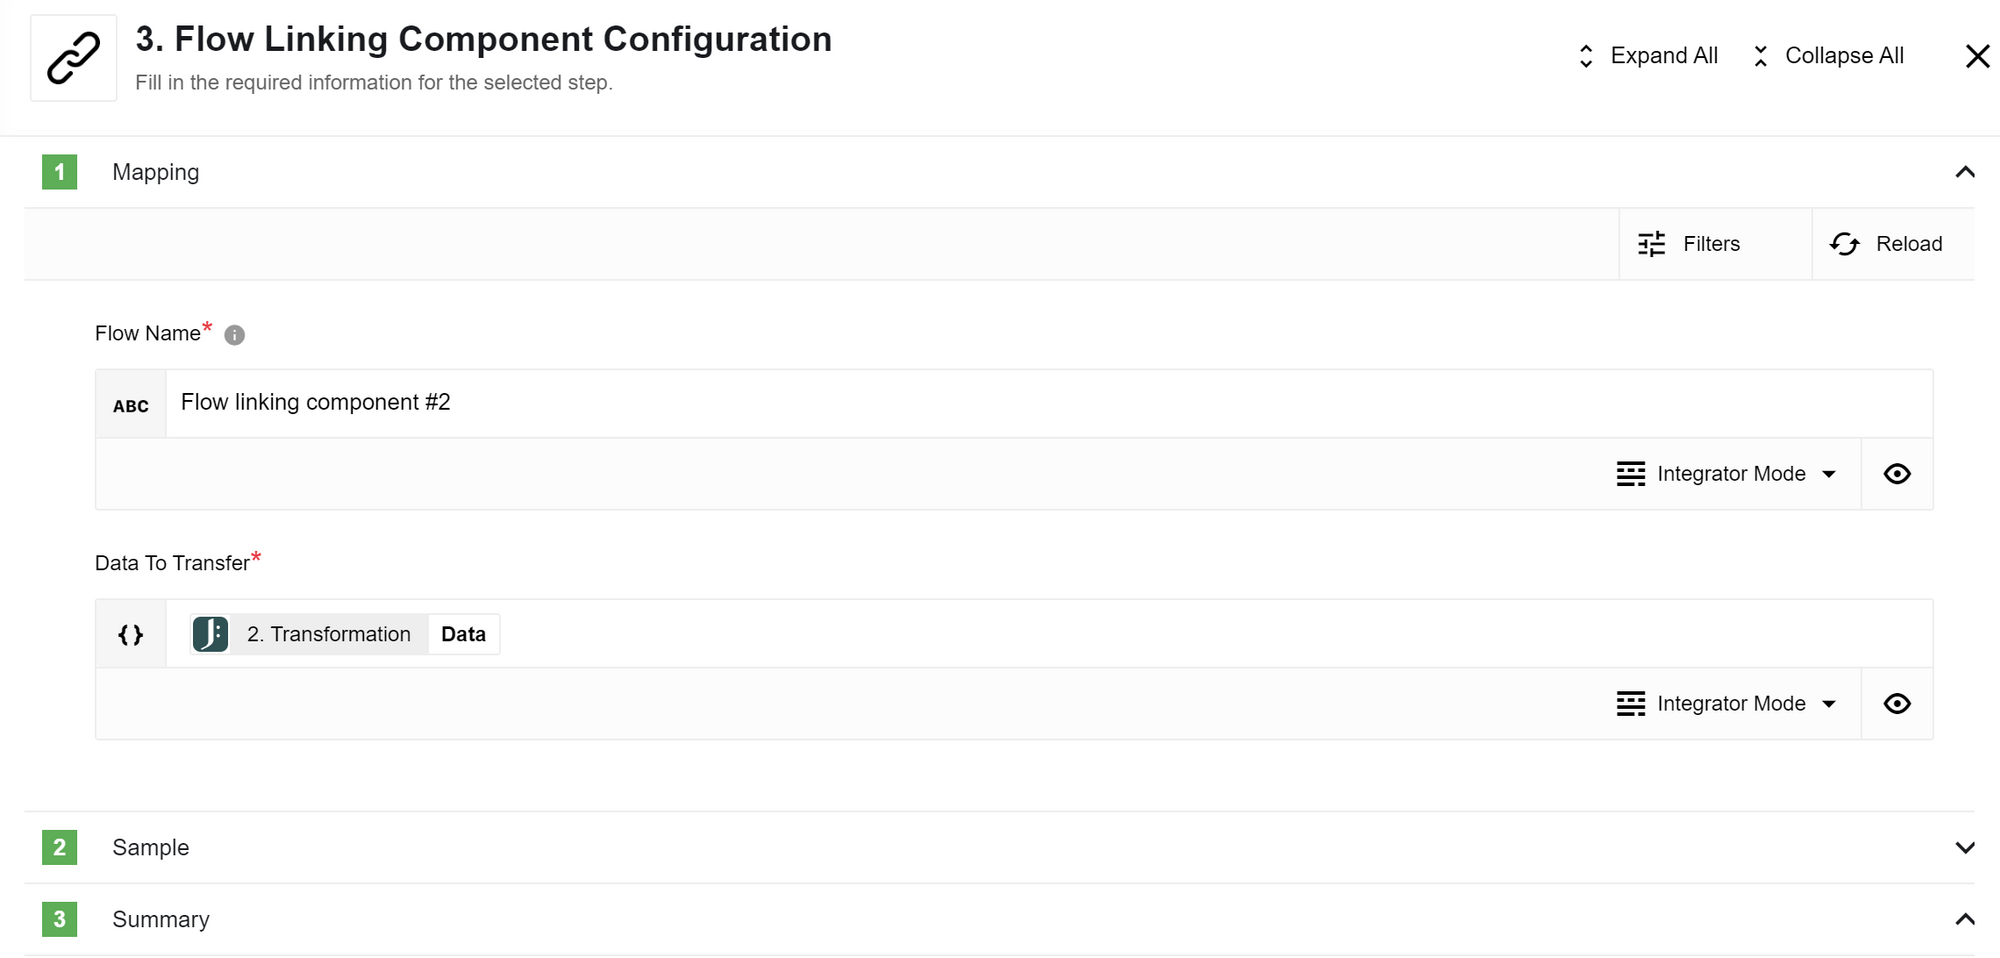
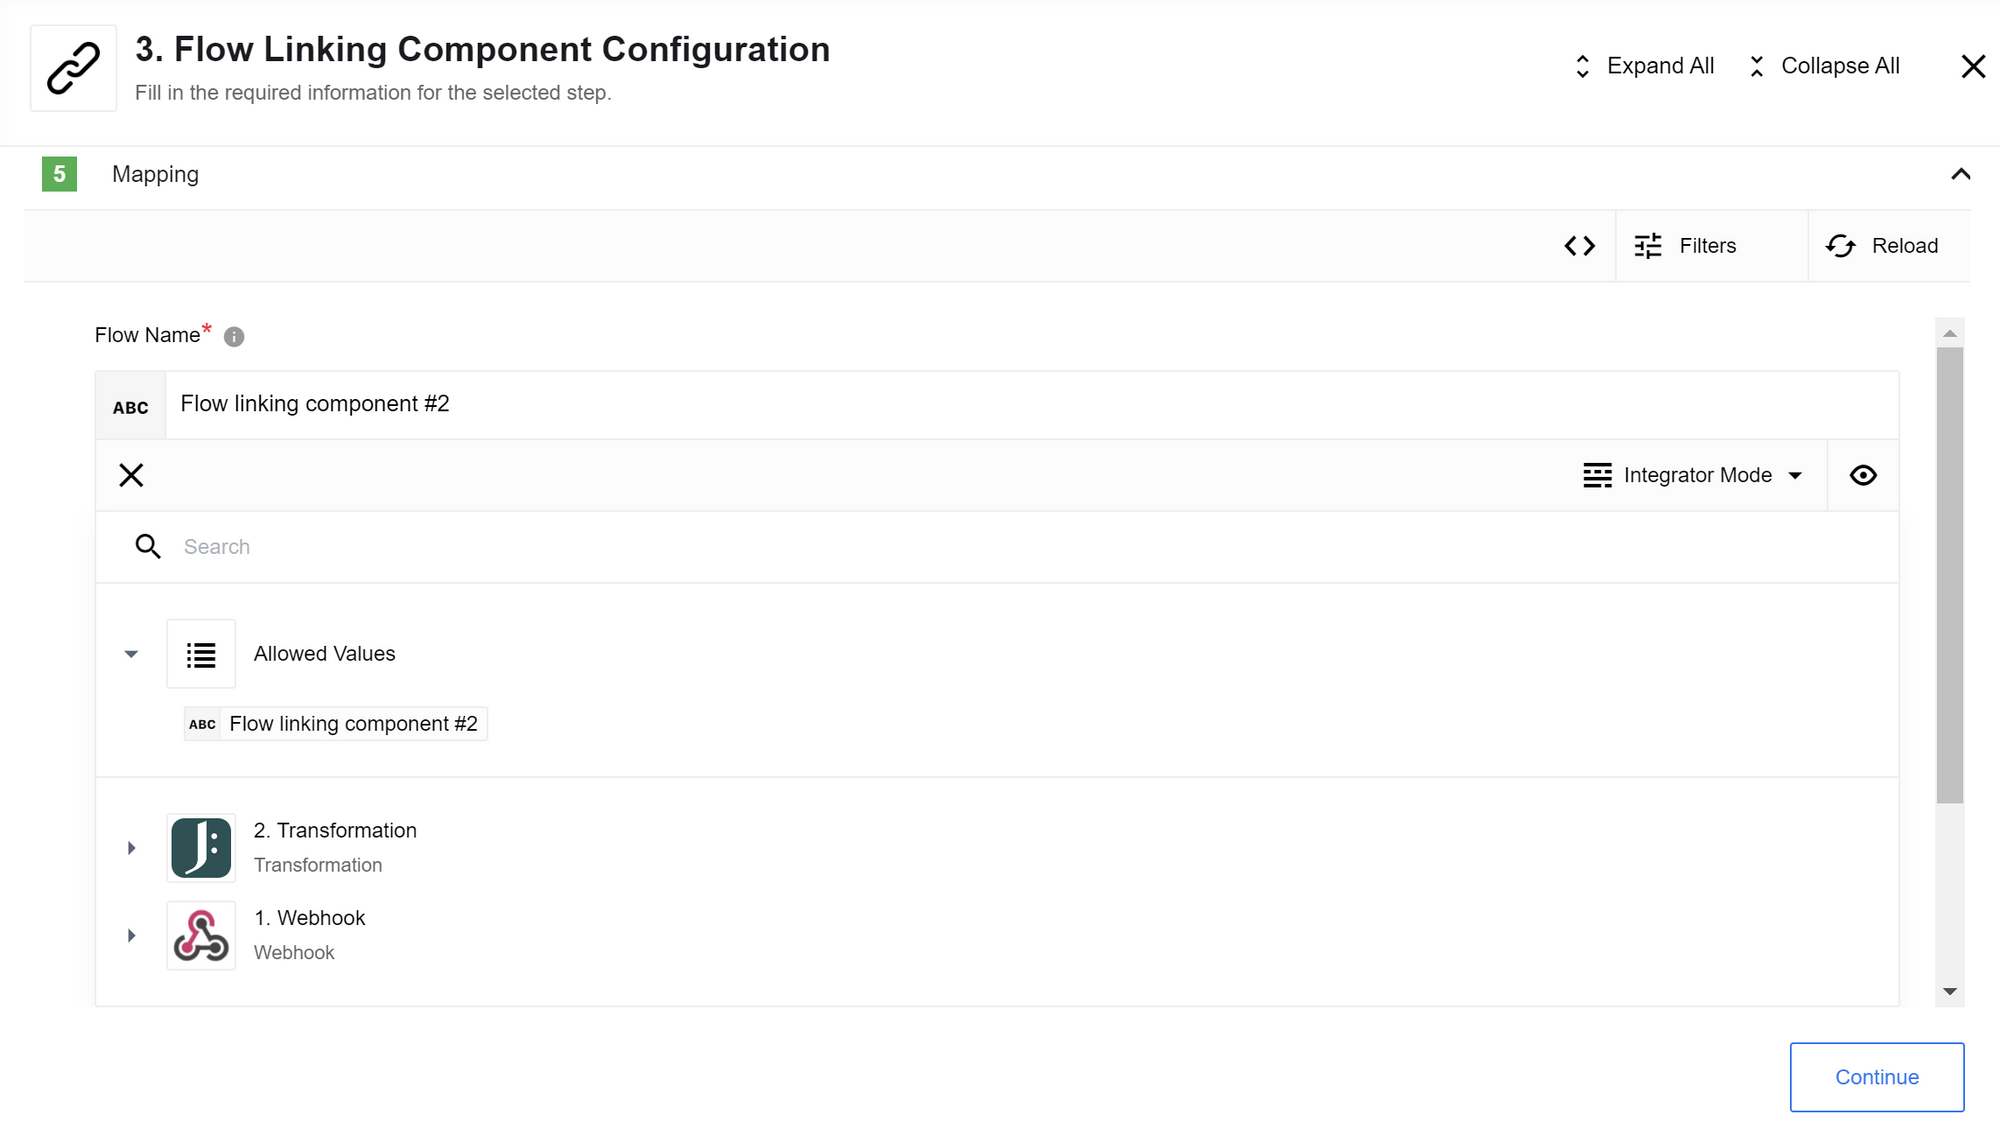
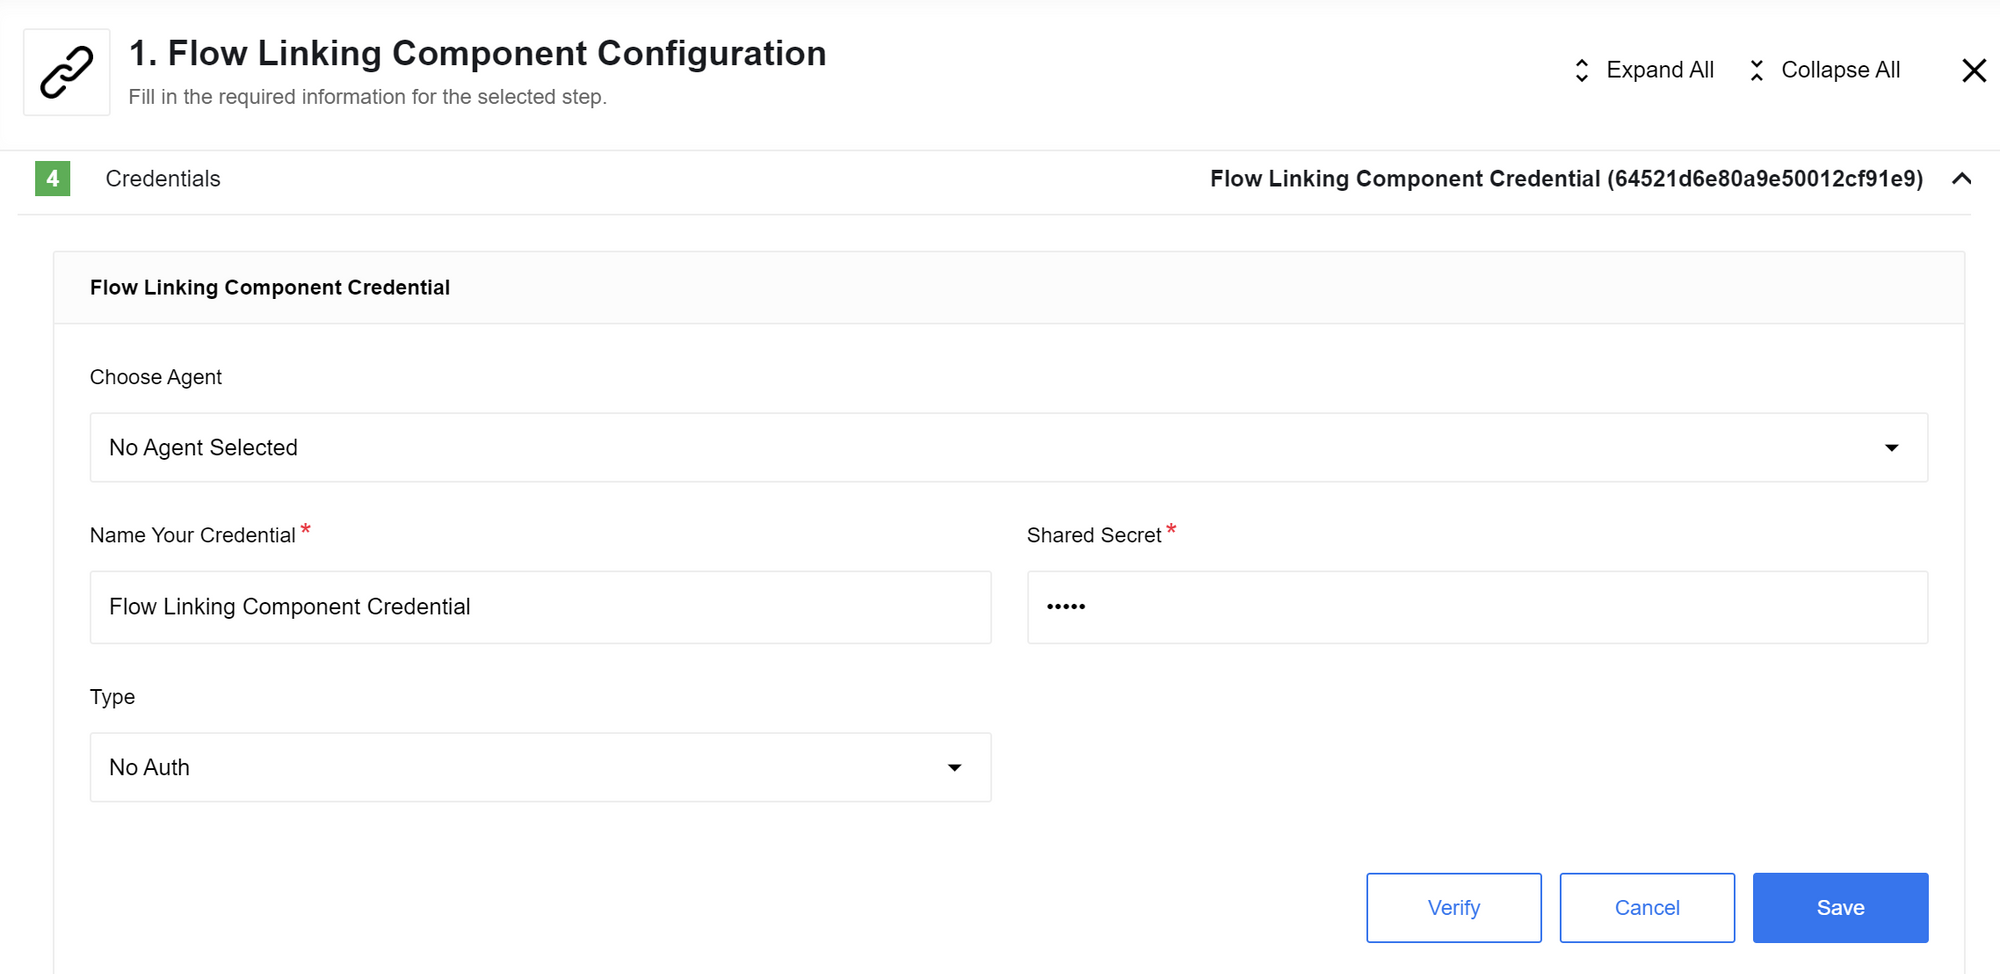
If you have already created and published the triggered flow, you can proceed to set the Flow name and choose the data you want to transfer from the previous step. If your credentials are the same, the name of the triggered flow should appear in the allowed values list, and you can select it.
Before proceeding, ensure that the second flow is active so that you can receive a sample in the first flow. Verify that the triggered flow is currently running. Once you have received a sample successfully, you can proceed to save and publish the first flow.
Second flow
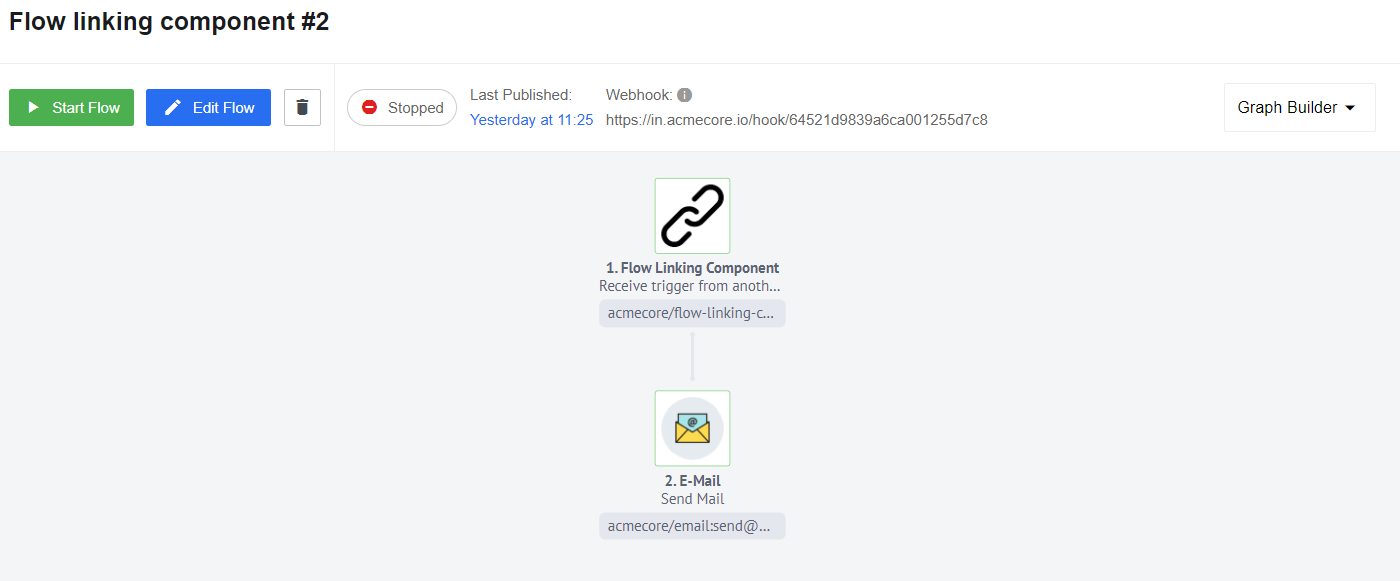
The second flow will receive the request from the first flow.
The first step in this process is to use the Flow Linking component as a trigger. To connect the flow, ensure that you choose the same credentials as the first flow.
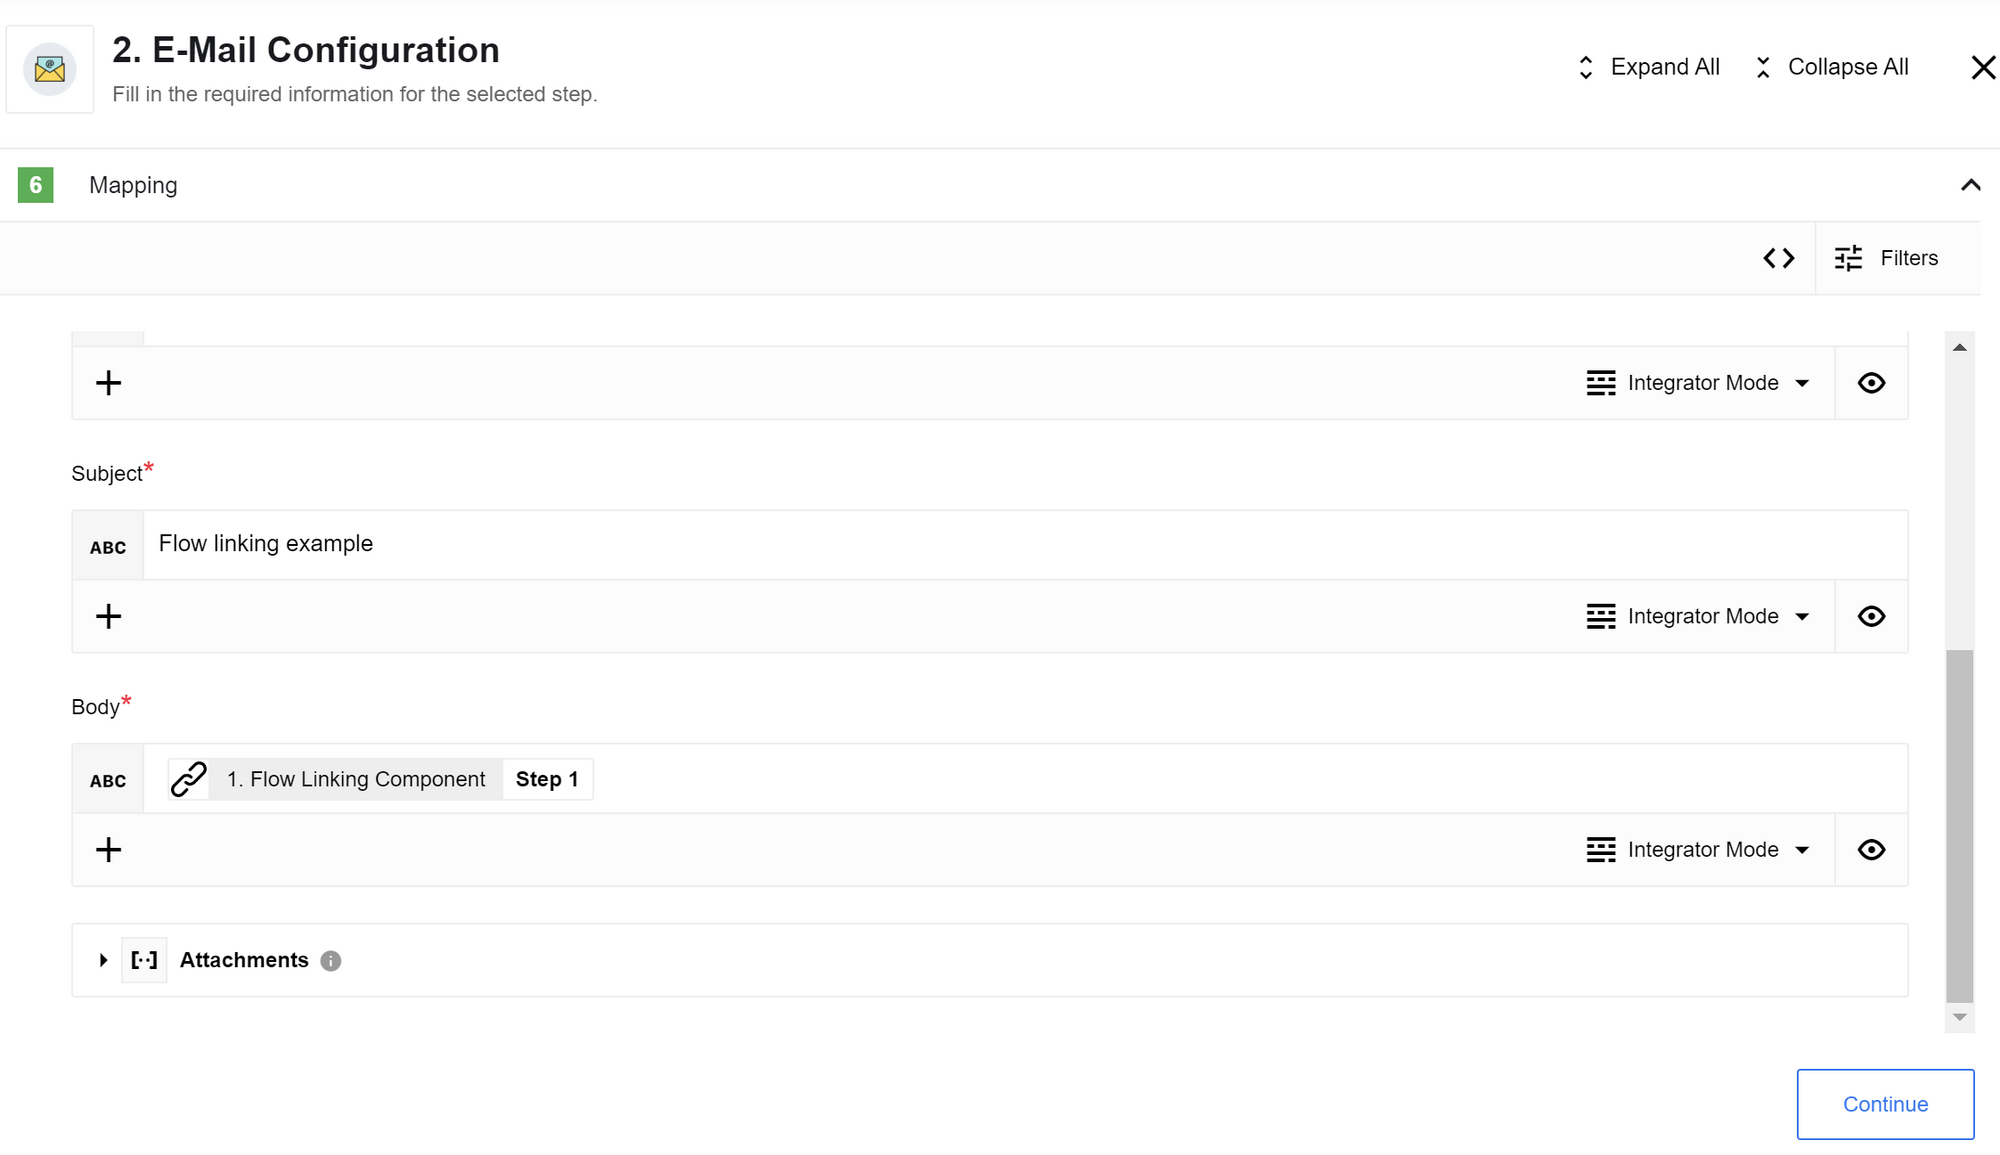
The second step is the Email component, which will send the data by email.
To pass the data from the Flow Linking component into your email body, you can use the following expression in the Body field.
"textBody": $getPassthrough()."step_1”
After you published the second flow you can click the Run button.
Click here to learn more about the elastic.io iPaaS
