Authorization methods
Authorization Methods
When working with the REST API component and accessing restricted APIs, you need to provide authorization information. This article explains how to add different types of authorization during the integration flow design.
Adding Authorization Methods
There are two ways to add authorization methods:
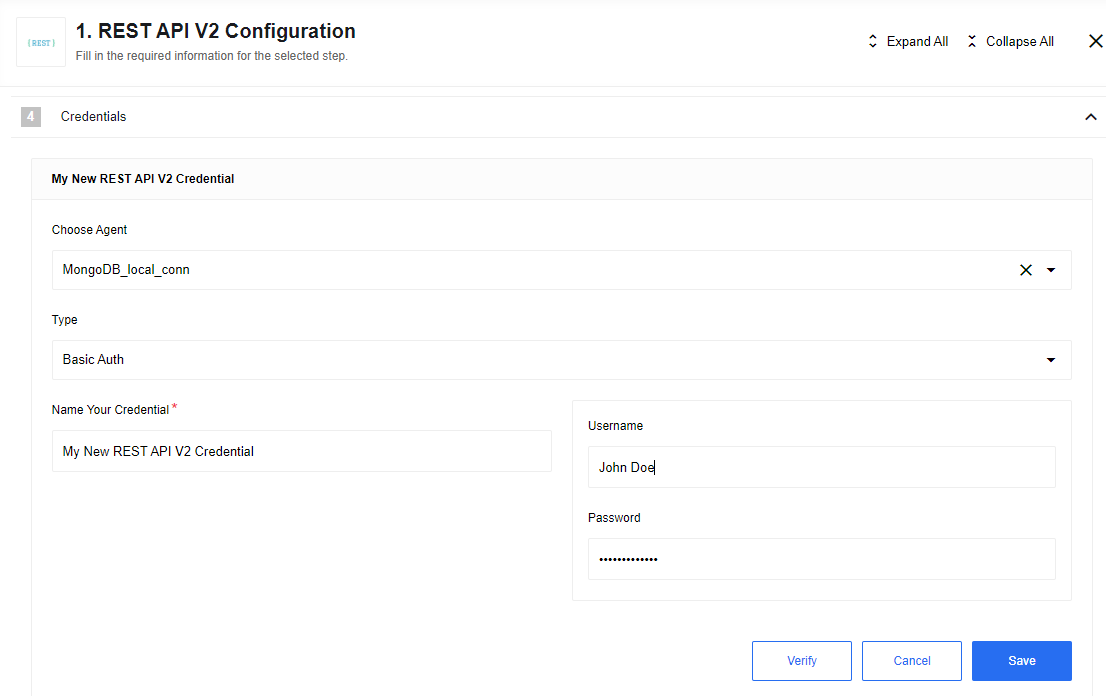
Integration Flow Design:
You can add authorization methods directly during the integration flow design process. To do this, refer to the image below:
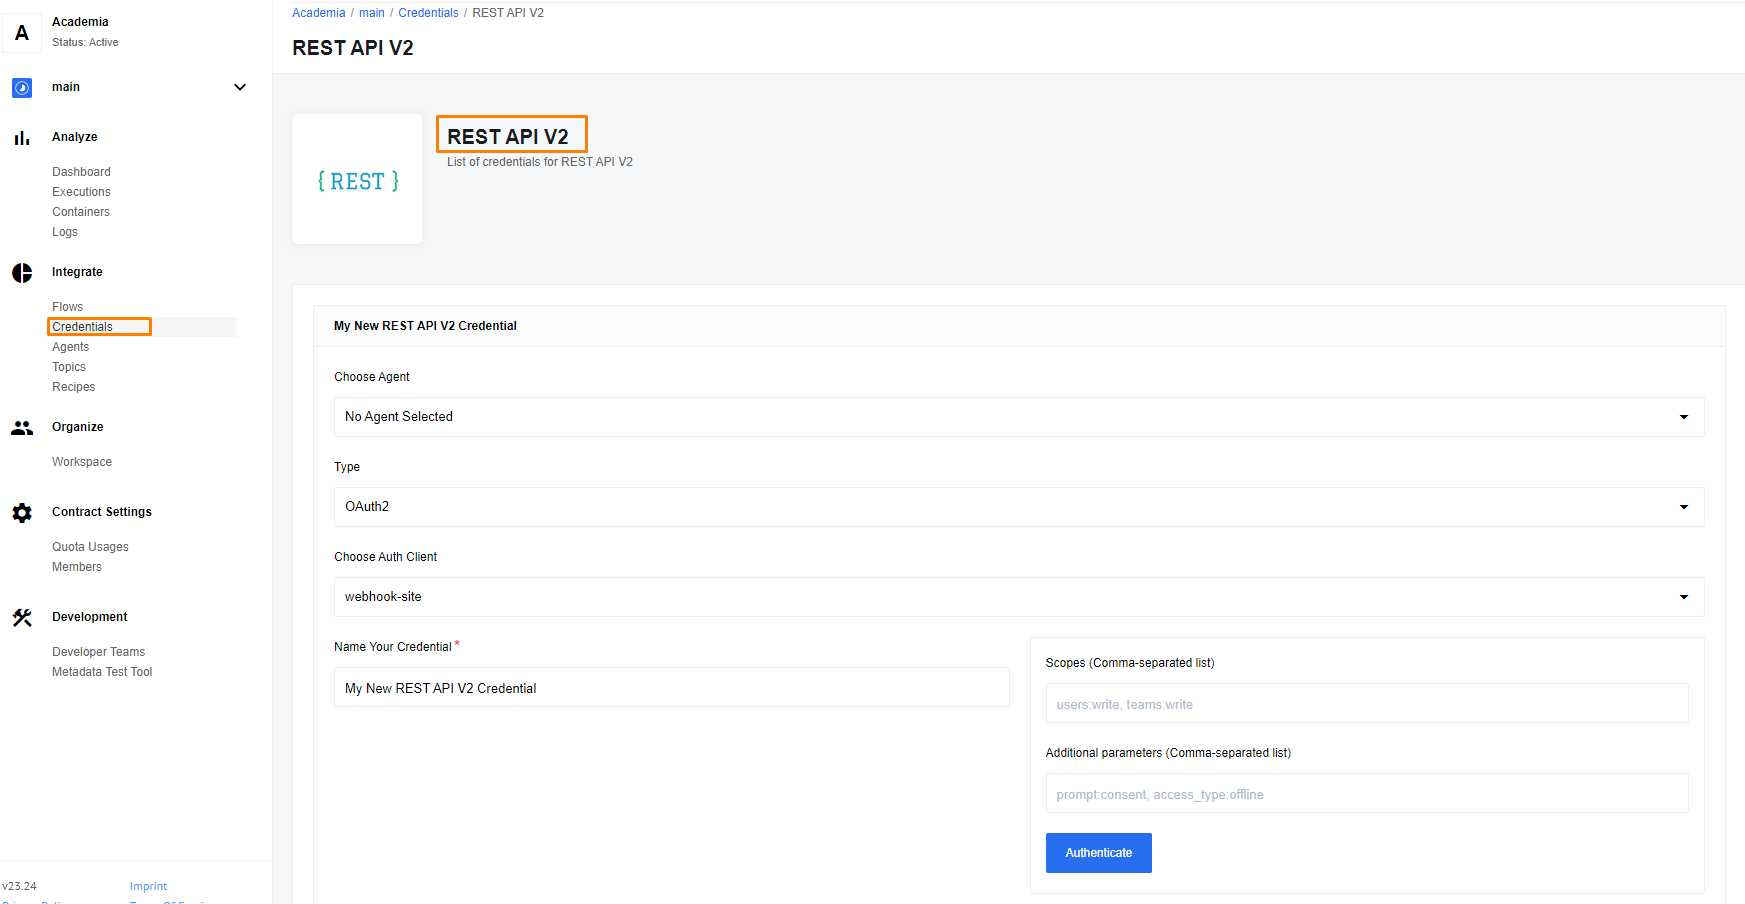
Credentials Section:
Alternatively, you can add authorization methods by navigating to the left side-bar, choosing Credentials > REST API V2 and adding them there. Follow the steps below to add new credentials:
Supported Authorization Types
The REST API component supports the following authorization types:
No Auth: Use this method to work with any open REST API.Basic Auth: Use this method to provide login credentials such as username and password.API Key Auth: Use this method to provide anAPI Keyfor accessing the resource.OAuth2: Use this method to provideOAuth2credentials for accessing the resource. Currently, only theAuthorization codeOAuth2 flow is implemented.
Creating OAuth2 Credentials
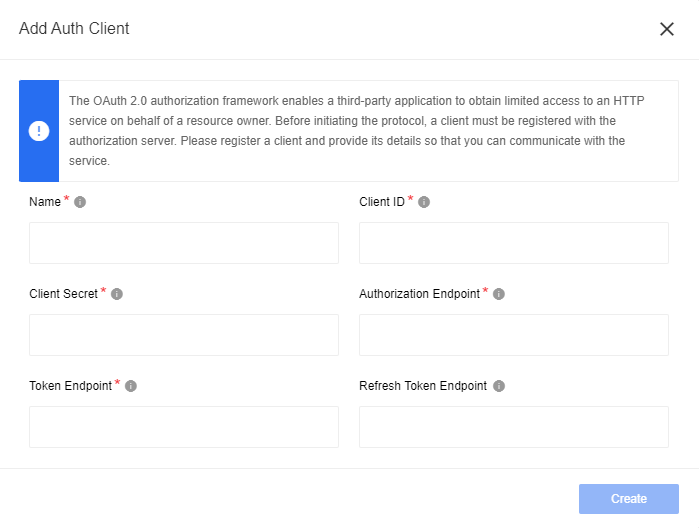
To create OAuth2 credentials, you need to choose an Auth-client or create a new one. The Auth-client must include the following details:
NameClient IDClient SecretAuthorization EndpointToken Endpoint
Refer to the API documentation of the resource you want to connect to for more information. Follow the steps below to add a new Auth-client:
Warning: To maintain a smooth experience, we recommend reusing stored credentials where possible. Duplicating secrets across OAuth clients can result in errors and complications.
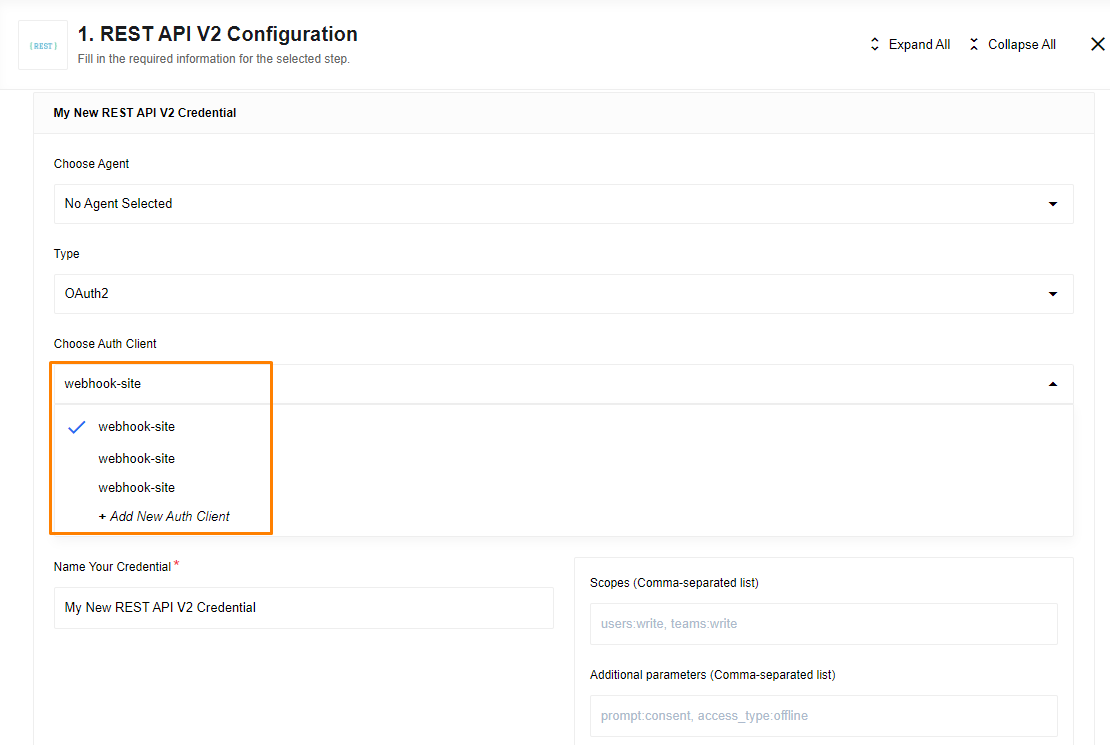
Additionally, you can select an existing client by following the steps shown in the image below:
Please note that creating a credential automatically generates an HTTP header for you. You can also specify the authorization directly in the headers section.
Additional fields in OAuth2
Some Instagram services utilize unique authorization schemas, and to accommodate this, we have introduced a new Auth Client Type called oauth2_instagram.
In the component.json file of the REST API V2 component, you need to define the scopes because the OAuthFieldView does not allow specifying them in the credentials section. Here is an example of how it should be configured:
"authClientTypes": [
  "oauth2_instagram"
]
"credentials": {
  "fields": {
    "auth": {
      "required": false,
      "viewClass": "OAuthFieldView"
    }
  },
  "oauth2": {
    "scopes": ["user_profile", "user_media"]
  }
}
Please Note:
HTTPAuthViewdoes NOT supportoauth2_instagramtype.
Here’s how the authorization process works on our platform:
-
The user creates an OAuth Client by providing all the necessary data.
-
The user then creates a new credential and clicks “Authenticate”, which redirects them to the Instagram OAuth window. Once the user logs in, Instagram returns an authorization code.
-
The user saves the credential, and our backend automatically exchanges the authorization code for a short-lived token. Subsequently, it instantly exchanges the short-lived token for a long-lived token, which becomes associated with the credential.
-
As the long-lived token nears its expiration, our backend automatically refreshes it. This ensures that the Flows utilizing the token can always access the Instagram API seamlessly.
Auth-client creation
The REST API component supports four types of auth-clients:
oauth2- this is the OAuth2 typebasic- a basic type with username and password onlyapi_key- this is for API Key and header keynoauth- no authentication is required
For all four cases, you need to create an auth-client before using them. This means even for the noauth method, an auth-client is required.
Each auth-client is unique to a component. If you deploy another copy of the REST API component to our platform, you will need to create all four types of auth-clients for it to work.
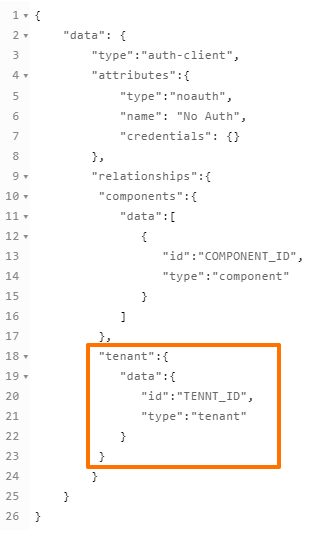
Below is an example of what the body of a noauth type auth-client should look like:
In the example, the API call body is for creating a noauth type auth-client for the entire tenant. You can choose between component, workspace, contract, and tenant levels. For more information, please visit our API documentation.
noauth body in json
{
    "data": {
        "type":"auth-client",
        "attributes":{
            "type":"noauth",
            "name": "No Auth",
            "credentials": {}
        },
        "relationships":{
         "components":{
            "data":[
               {
                  "id":"COMPONENT_ID",
                  "type":"component"
               }
            ]
         },
         "tenant":{
            "data":{
               "id":"TENNT_ID",
               "type":"tenant"
            }
         }
        }
    }
}
Please note that the credentials field is left blank for the
noauthtype. However, for the other three types, you need to specify the credentials as shown below.
Basic
"credentials": {
                "name": "USER_NAME"
            }
API Key
"credentials":{
                "name" : "HEADER_NAME",
                "value" : "API_KEY"
            }
OAuth 2
"credentials":{
            "client_id":"CLIENT_ID",
            "client_secret":"CLIENT_SECRET",
            "refresh_token_uri":"http://example.com",
            "token_expires_in":18000,
            "token_uri":"TOKEN_URI",
            "auth_uri":"AUTH_URI"
         }
Please ensure that the authClientTypes specified in the component structure match exactly with the types mentioned above:
"authClientTypes": [
    "oauth2",
    "basic",
    "api_key",
    "noauth"
  ]
Click here to learn more about the elastic.io iPaaS
