SFTP Usage Example
In this article we will explore various scenarios demonstrating the usage of the SFTP component. By providing examples for each trigger and action, we aim to enhance your understanding of when to utilize specific functionalities within the component. Let’s dive in and explore the possibilities together.
Poll Files
The SFTP component offers support for the Poll Files function, enabling it to function as an initial trigger. This functionality allows for the execution of a flow each time a new file is added or an existing file is modified.
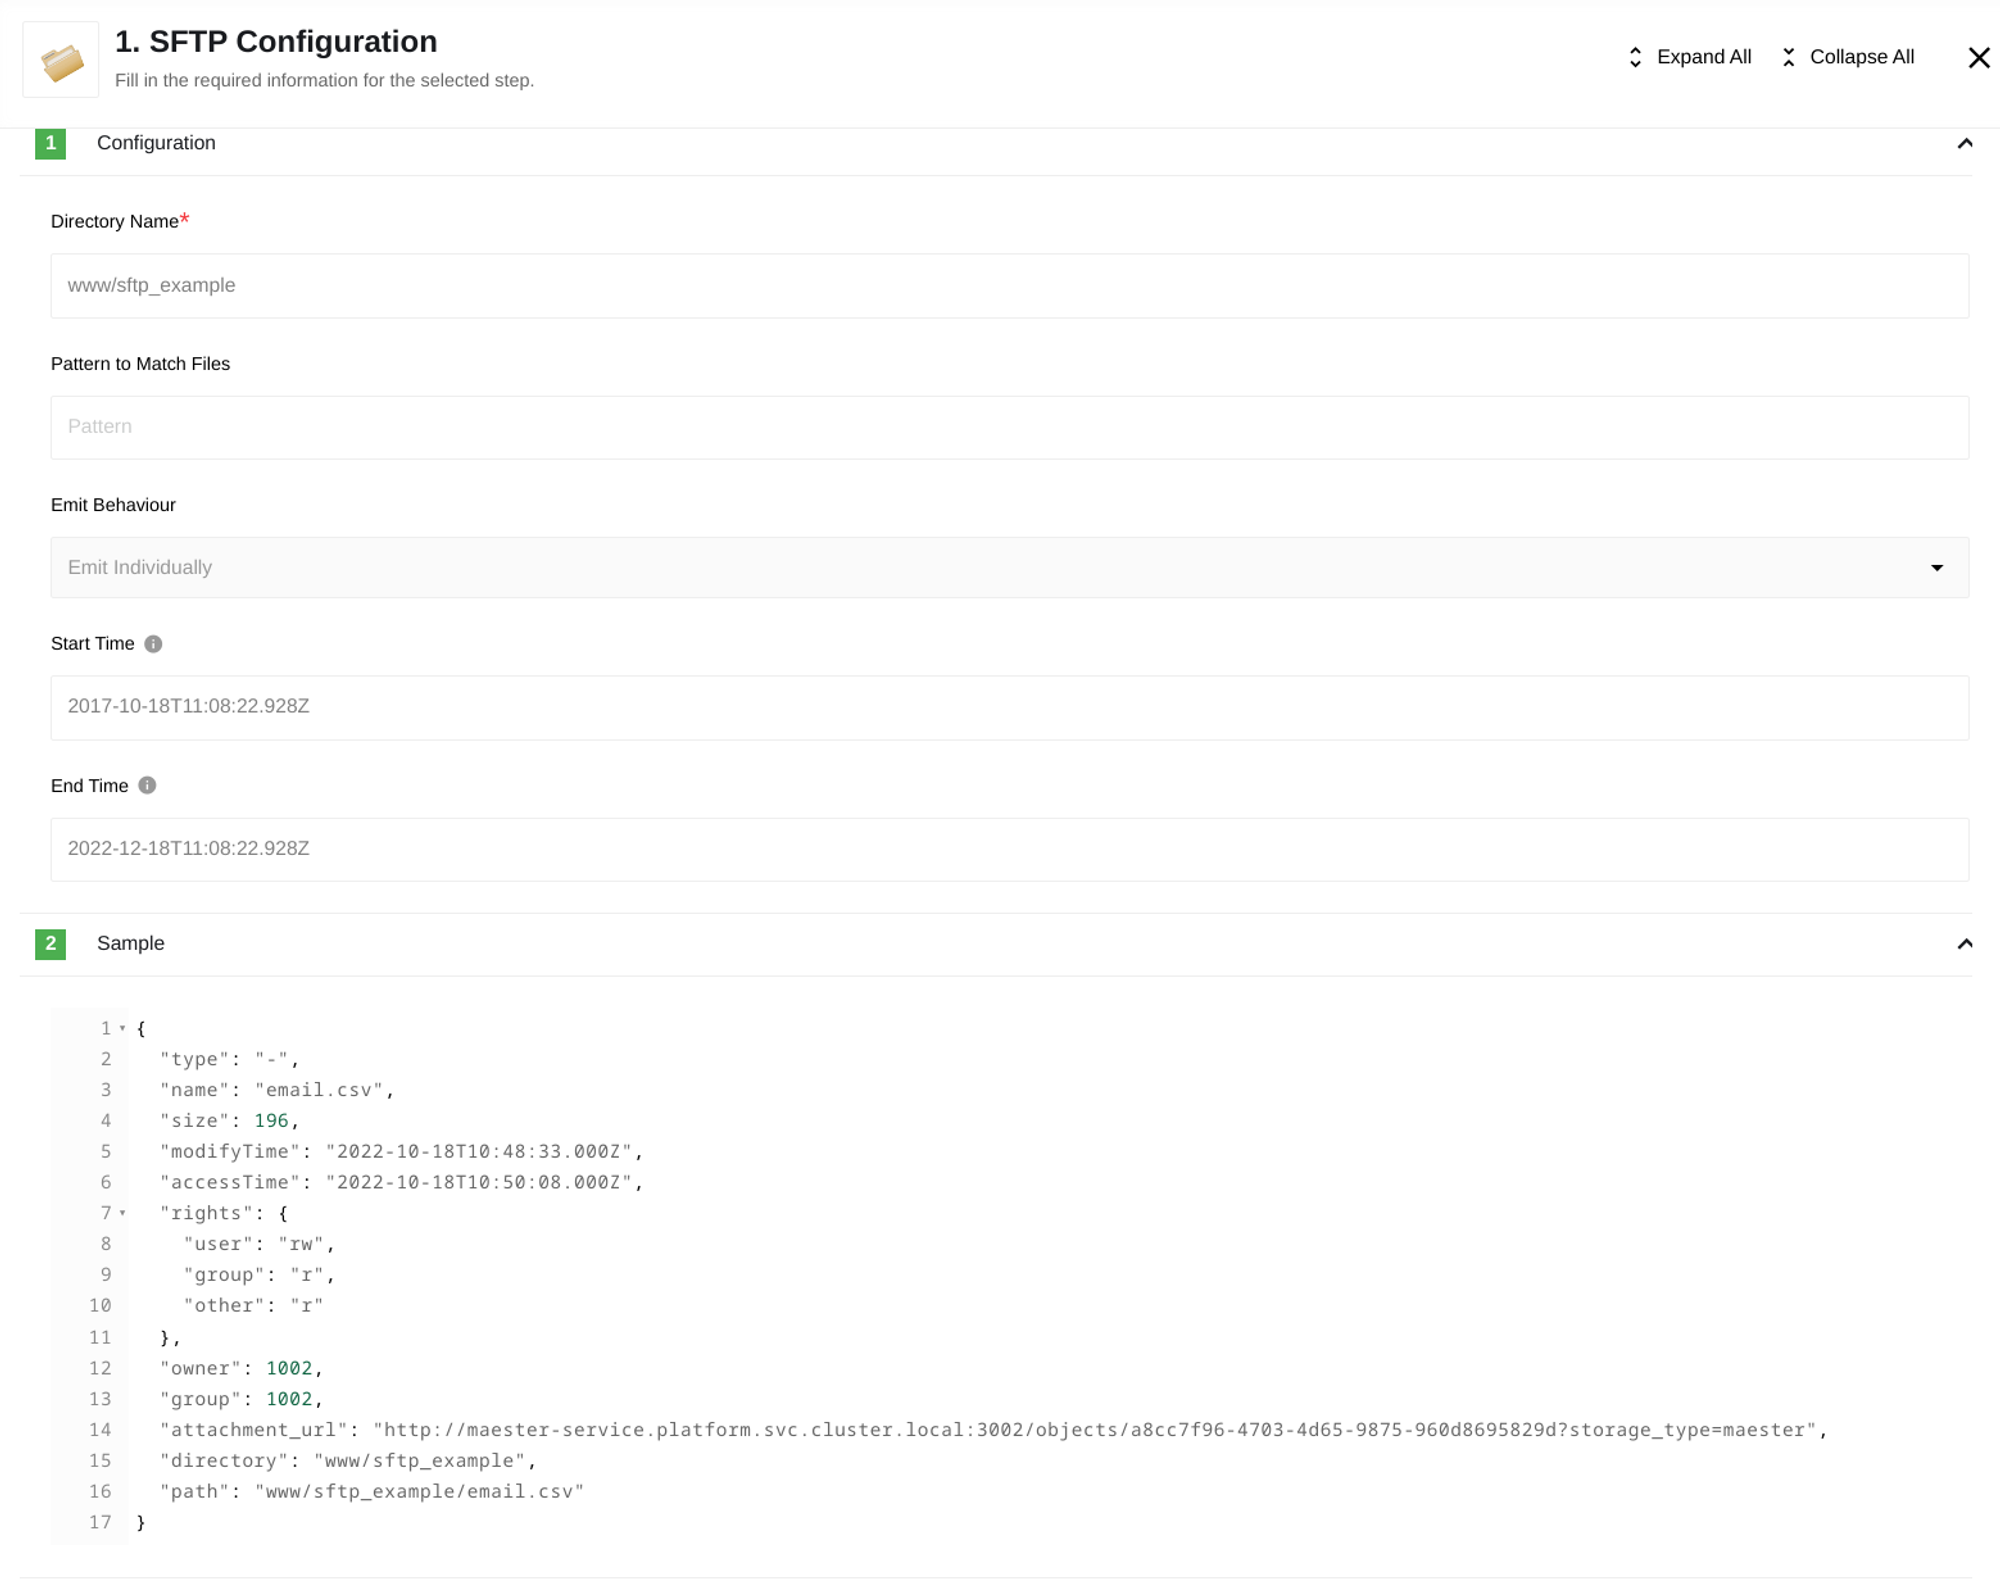
To get started, you’ll need to provide the necessary credentials and configure the SFTP component. In the examples provided, we will focus on the files located in the www/sftp_example/ directory. Since we will be working with all the files in this directory, there is no need to specify Patterns to Match Files. Additionally, we will set the Emit Behavior to Emit Individually to process files individually, as opposed to using Fetch All, which combines files into an array. You can find more details in the documentation. Furthermore, ensure that you set up the Start Time and End Time in the ISO 8601 format.
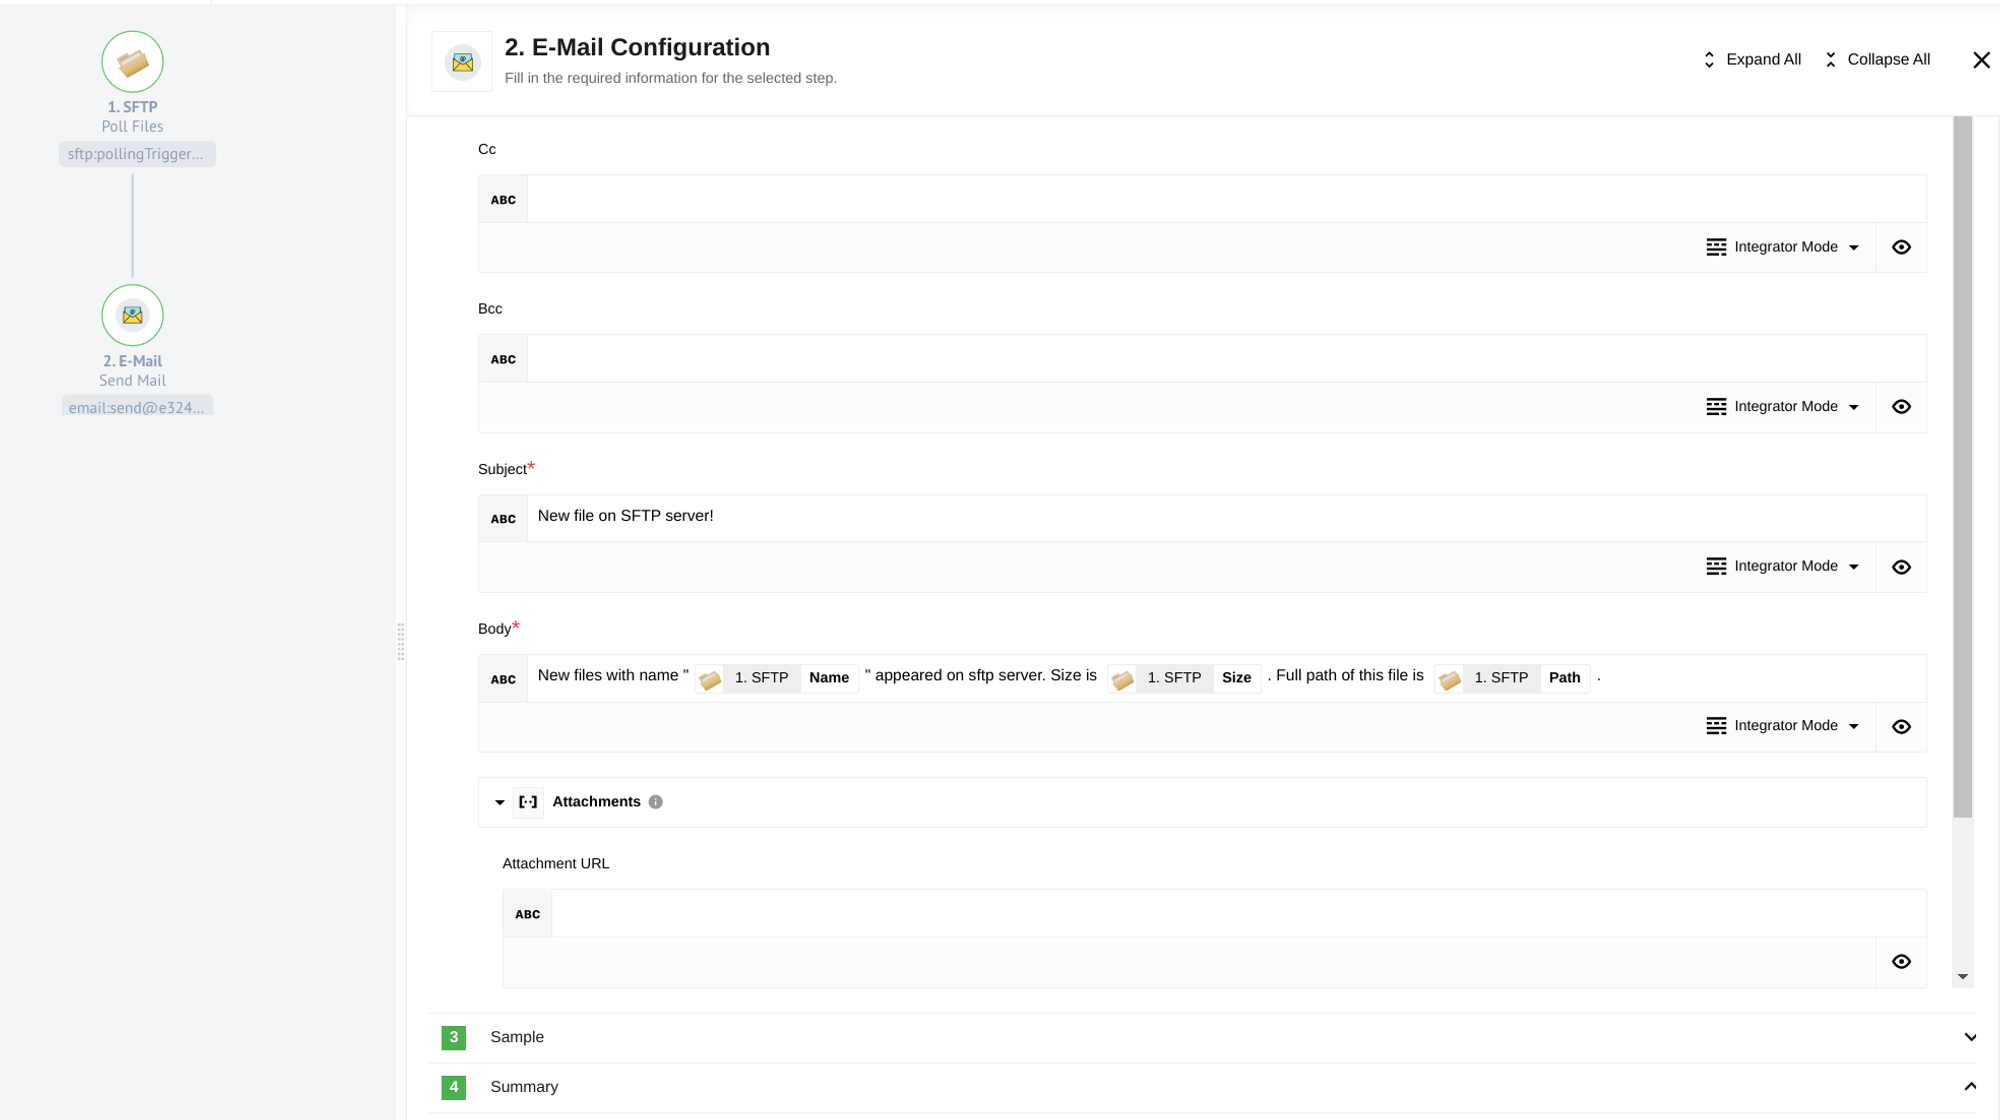
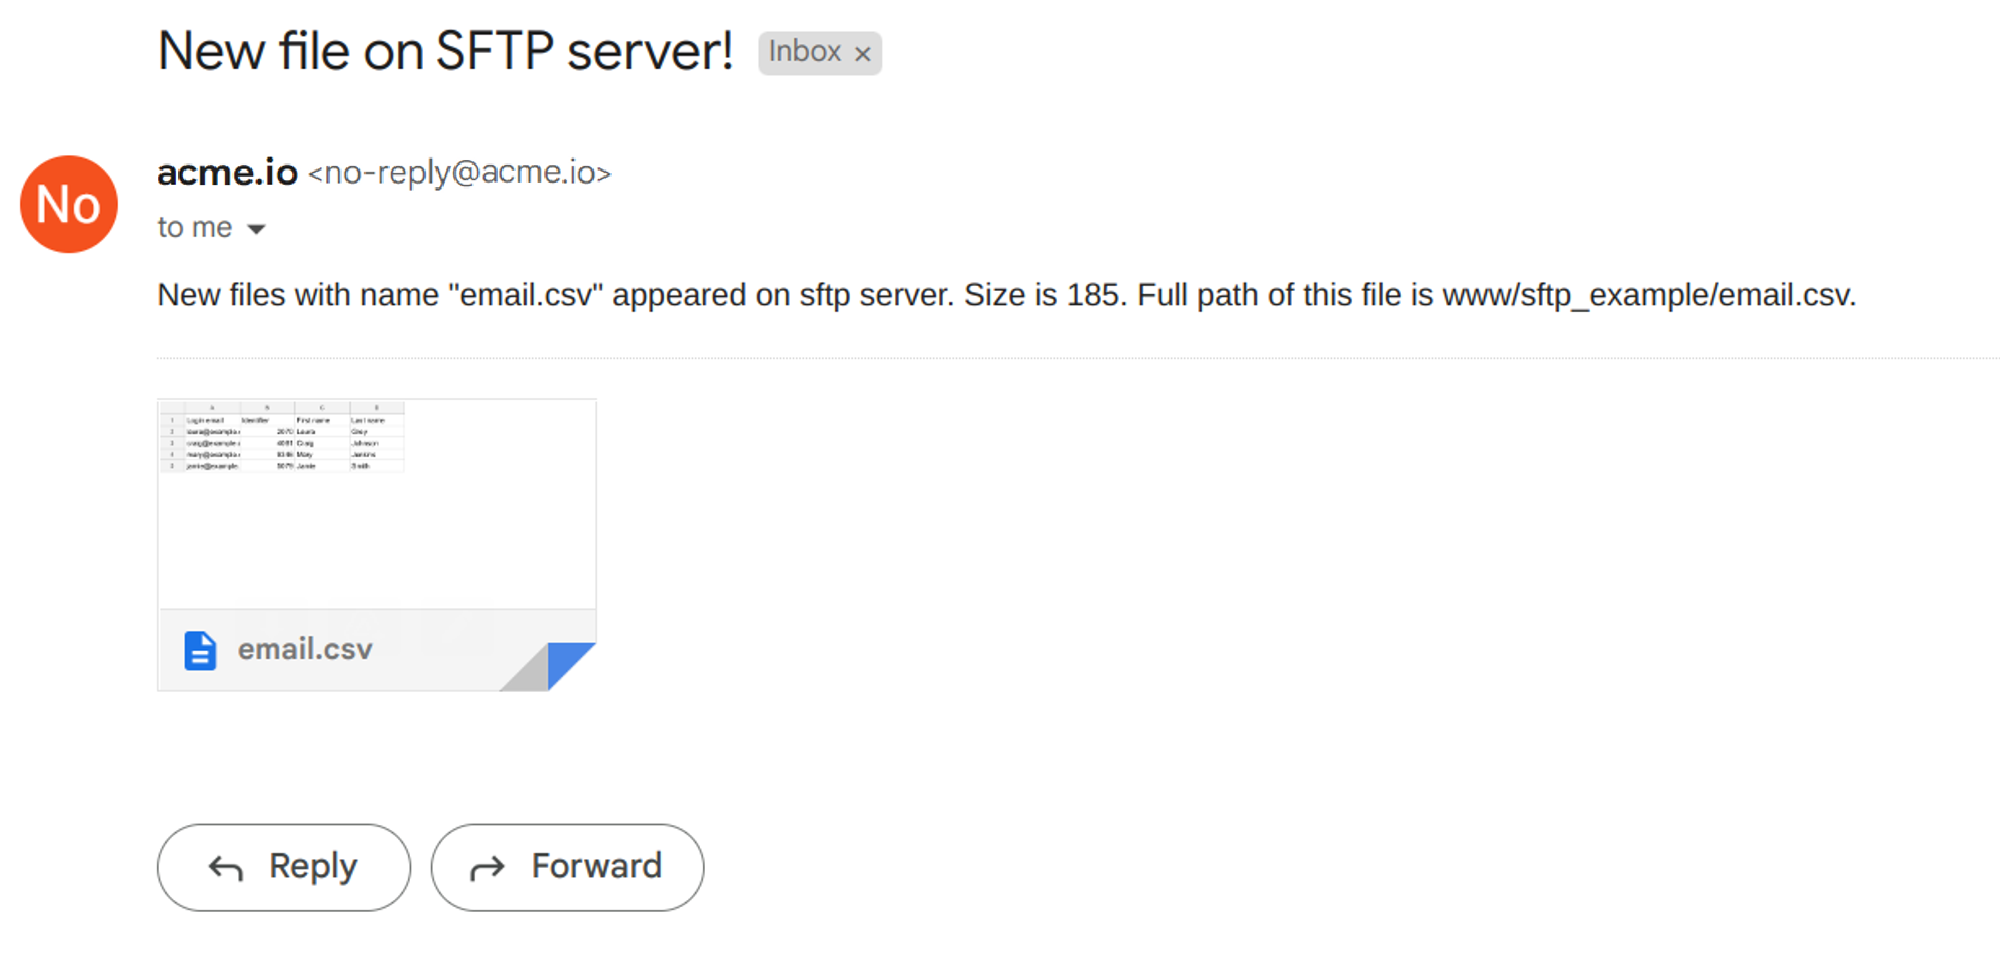
To verify the functionality of the flow, we can incorporate the E-Mail component, which will send a notification email to the specified recipient whenever a change occurs within the designated directory. The email will contain relevant information about the added/modified file, with the file itself attached.
When using Emit Individually, there is no need to explicitly specify the Attachment URL within the E-Mail component configuration. The received file will automatically be included as an attachment in the email.
Upon adding or updating a file in the specified directory, the stream will be initiated, and the email notification will be sent.
Delete File
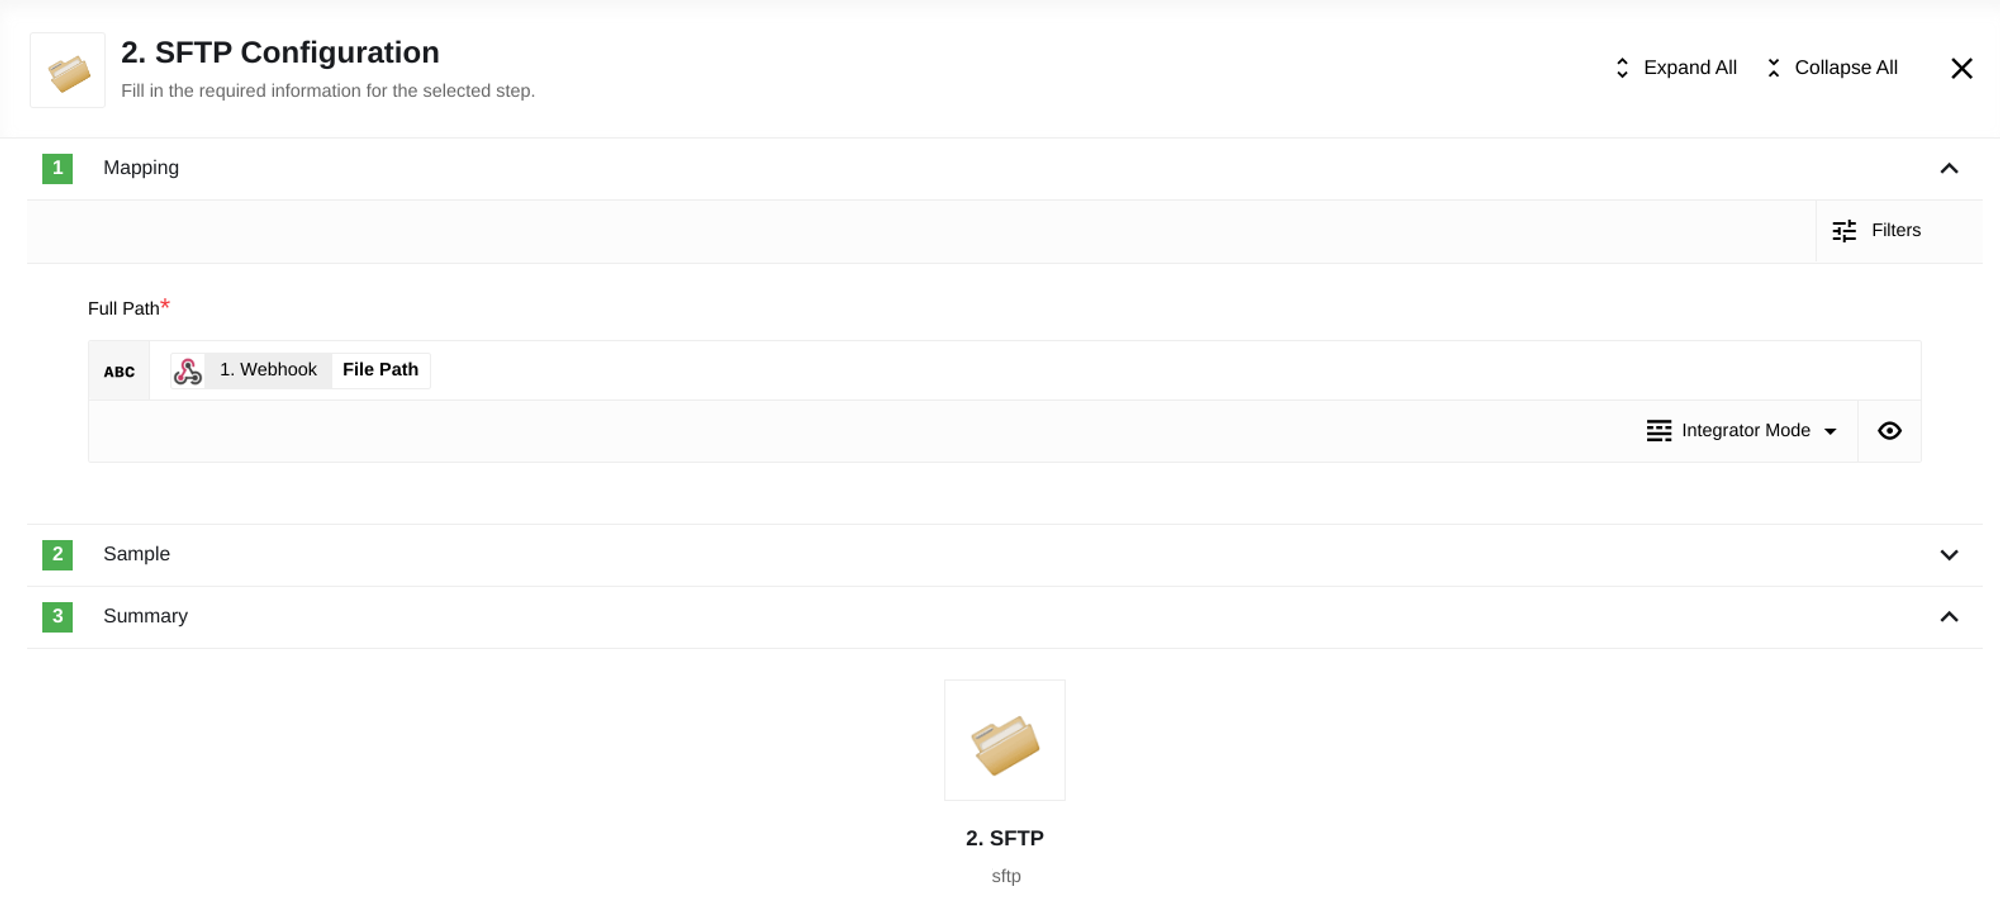
In the Delete file function, the SFTP component cannot serve as a trigger. Therefore, we will utilize the Webhook component as the trigger, which will receive the path to the file that needs to be deleted.
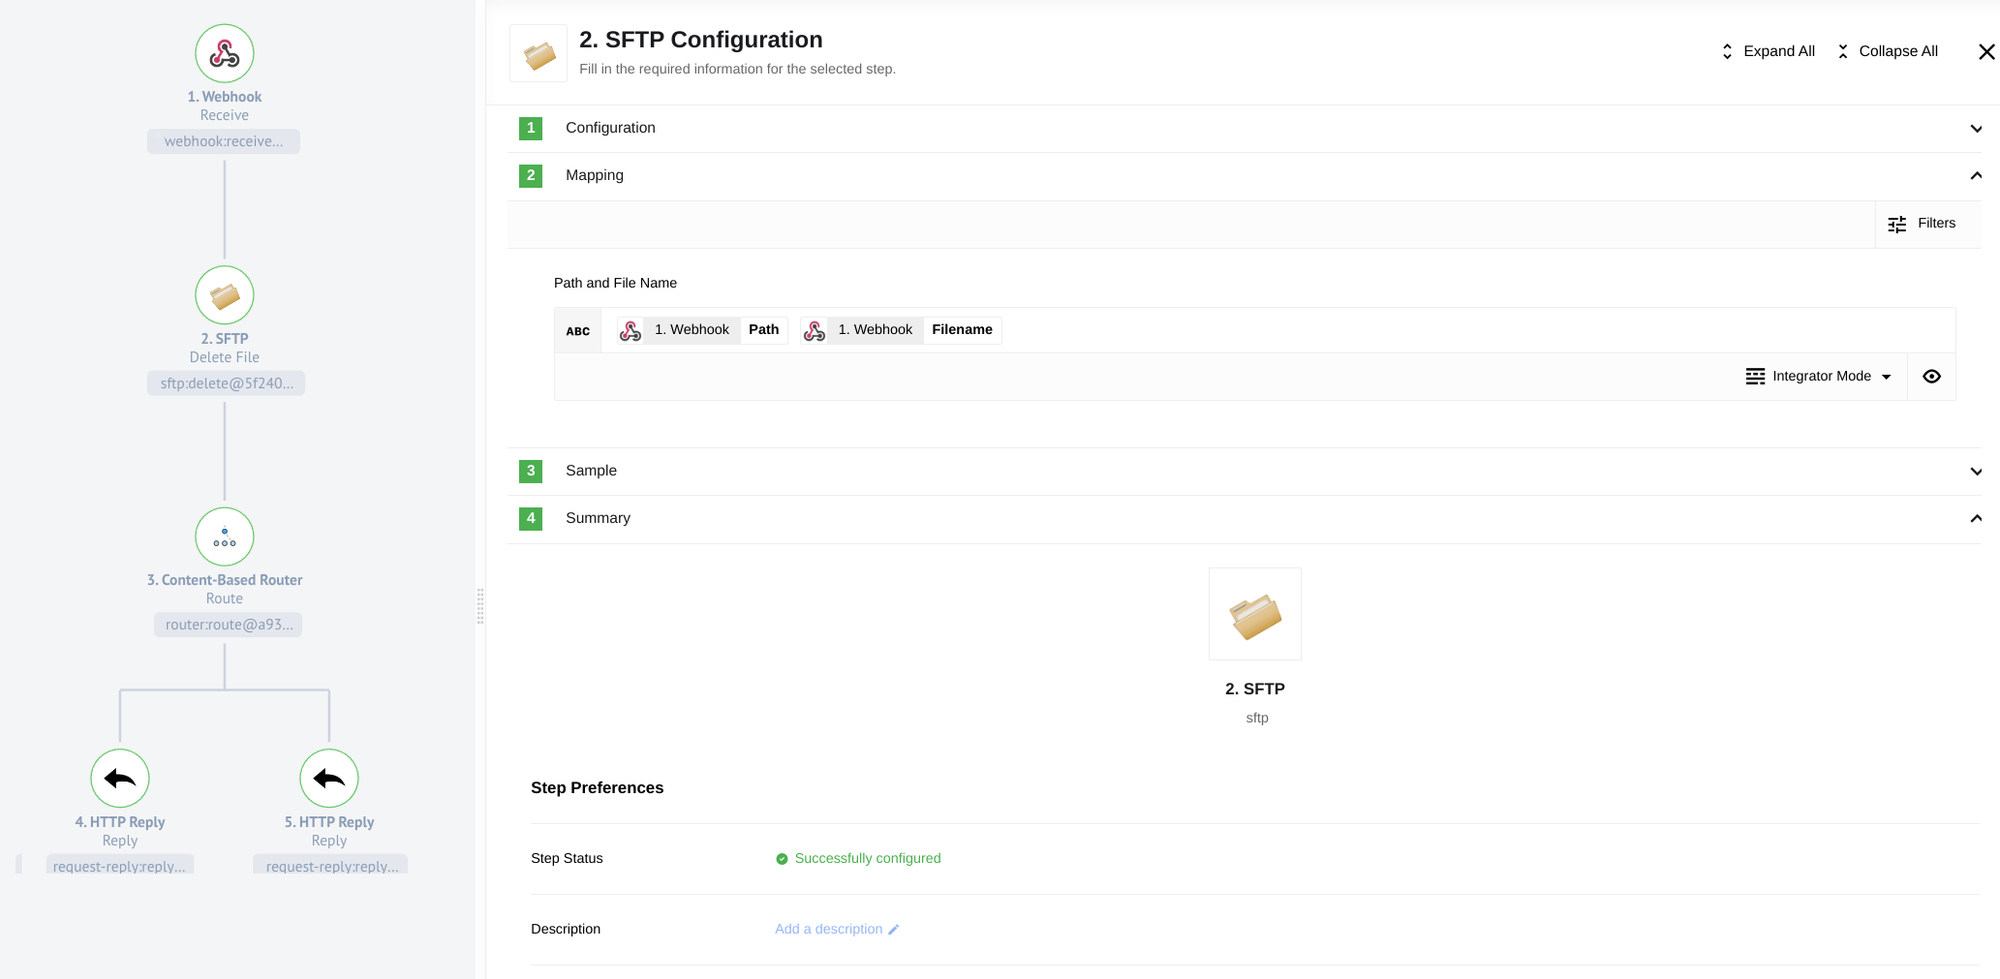
The configuration of the SFTP component for file deletion is straightforward. Simply specify the path to the desired file.
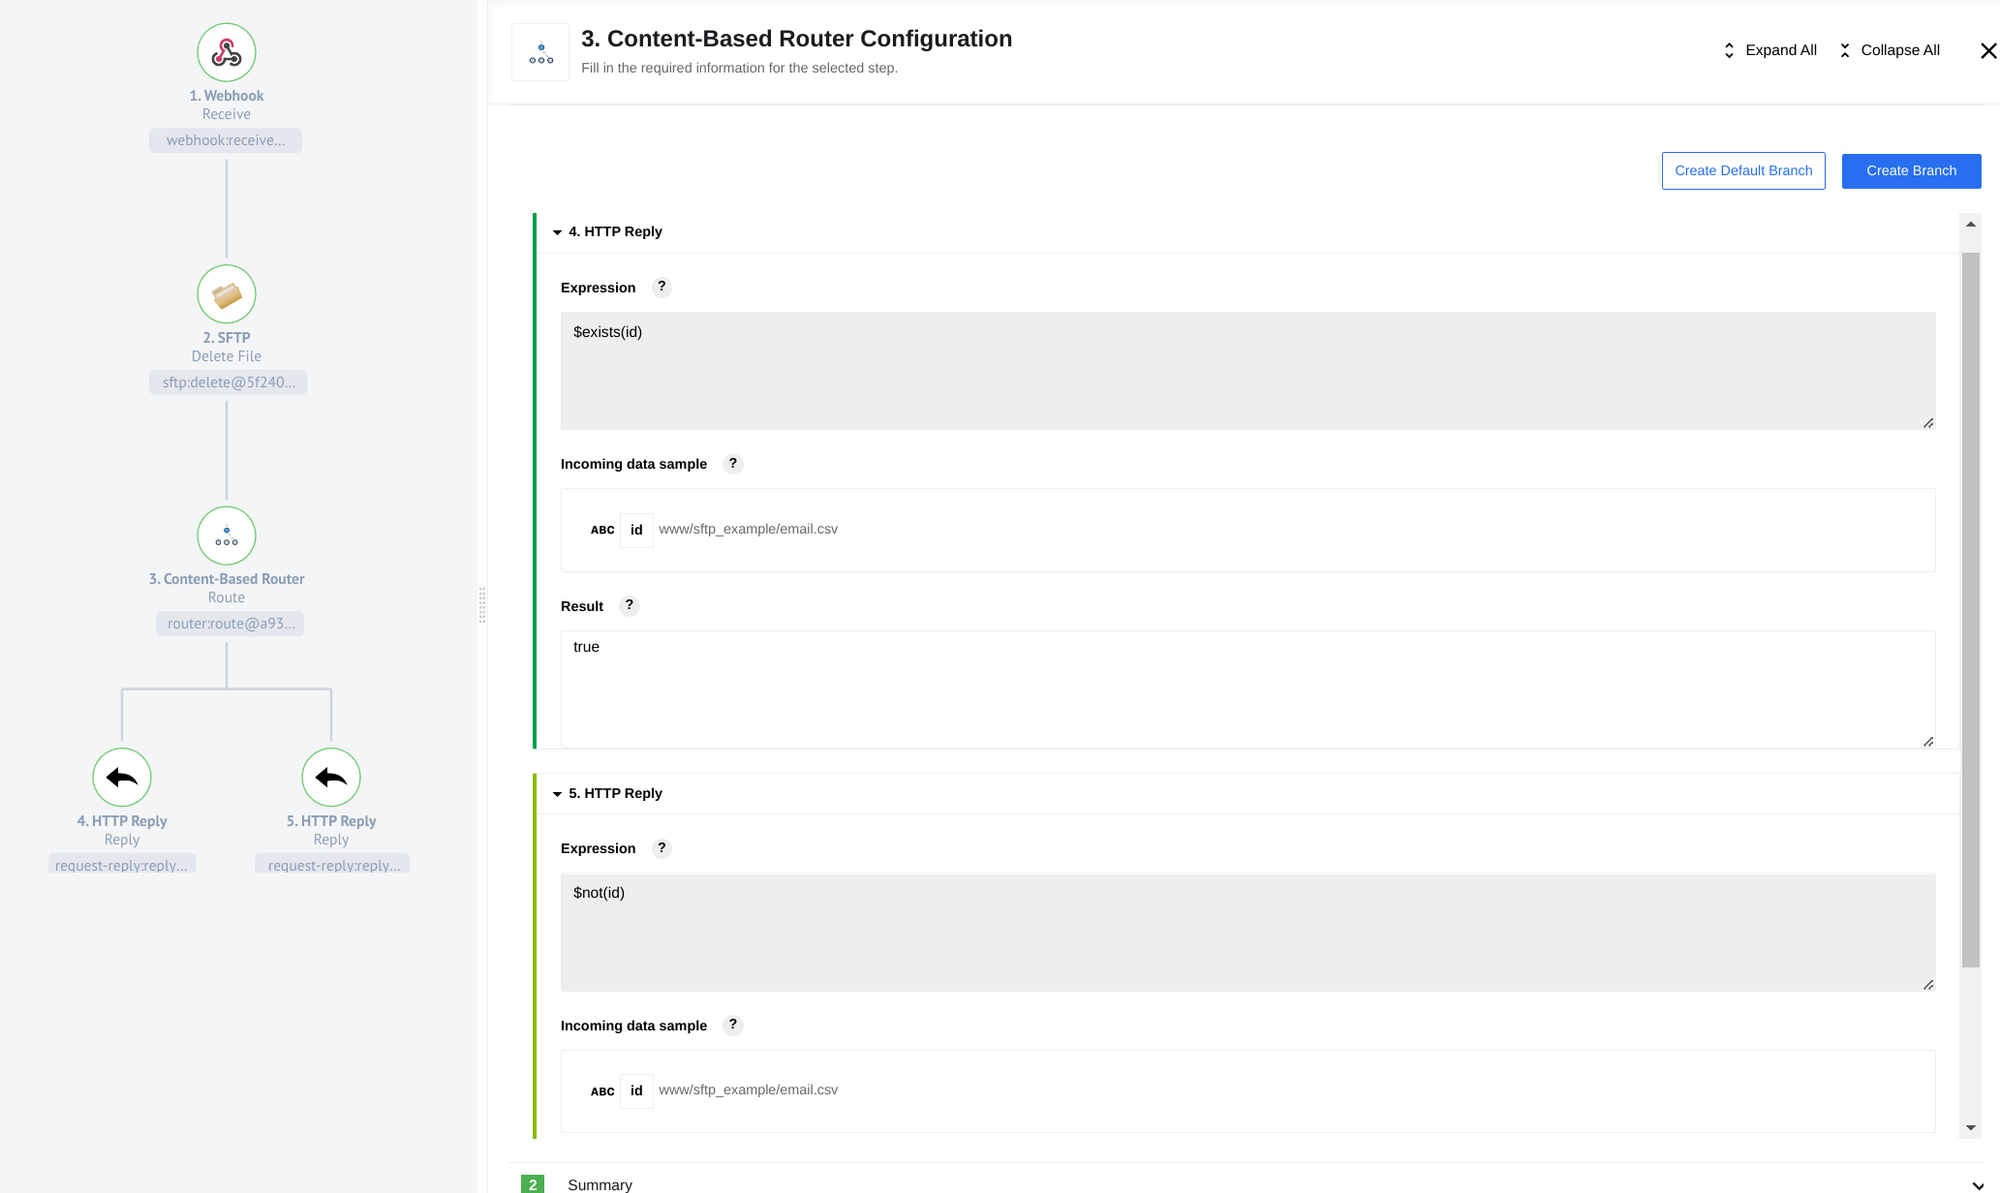
Since the delete action is not idempotent (meaning it doesn’t guarantee the same result with the same action), we will introduce an intermediate step using a Content-Based Router to handle responses. When configuring a Content-Based Router, we define branches and conditions that determine the routing of responses. More information on the principles of Content-Based Routers can be found in the documentation. In our case, we will create two branches—one for successful deletions and another for errors when the file cannot be found. To accomplish this, we will examine the response from the SFTP component step. If we receive the result {"id": "path_to_file"}, it indicates a successful deletion. If we receive no response, it means that the file could not be found.
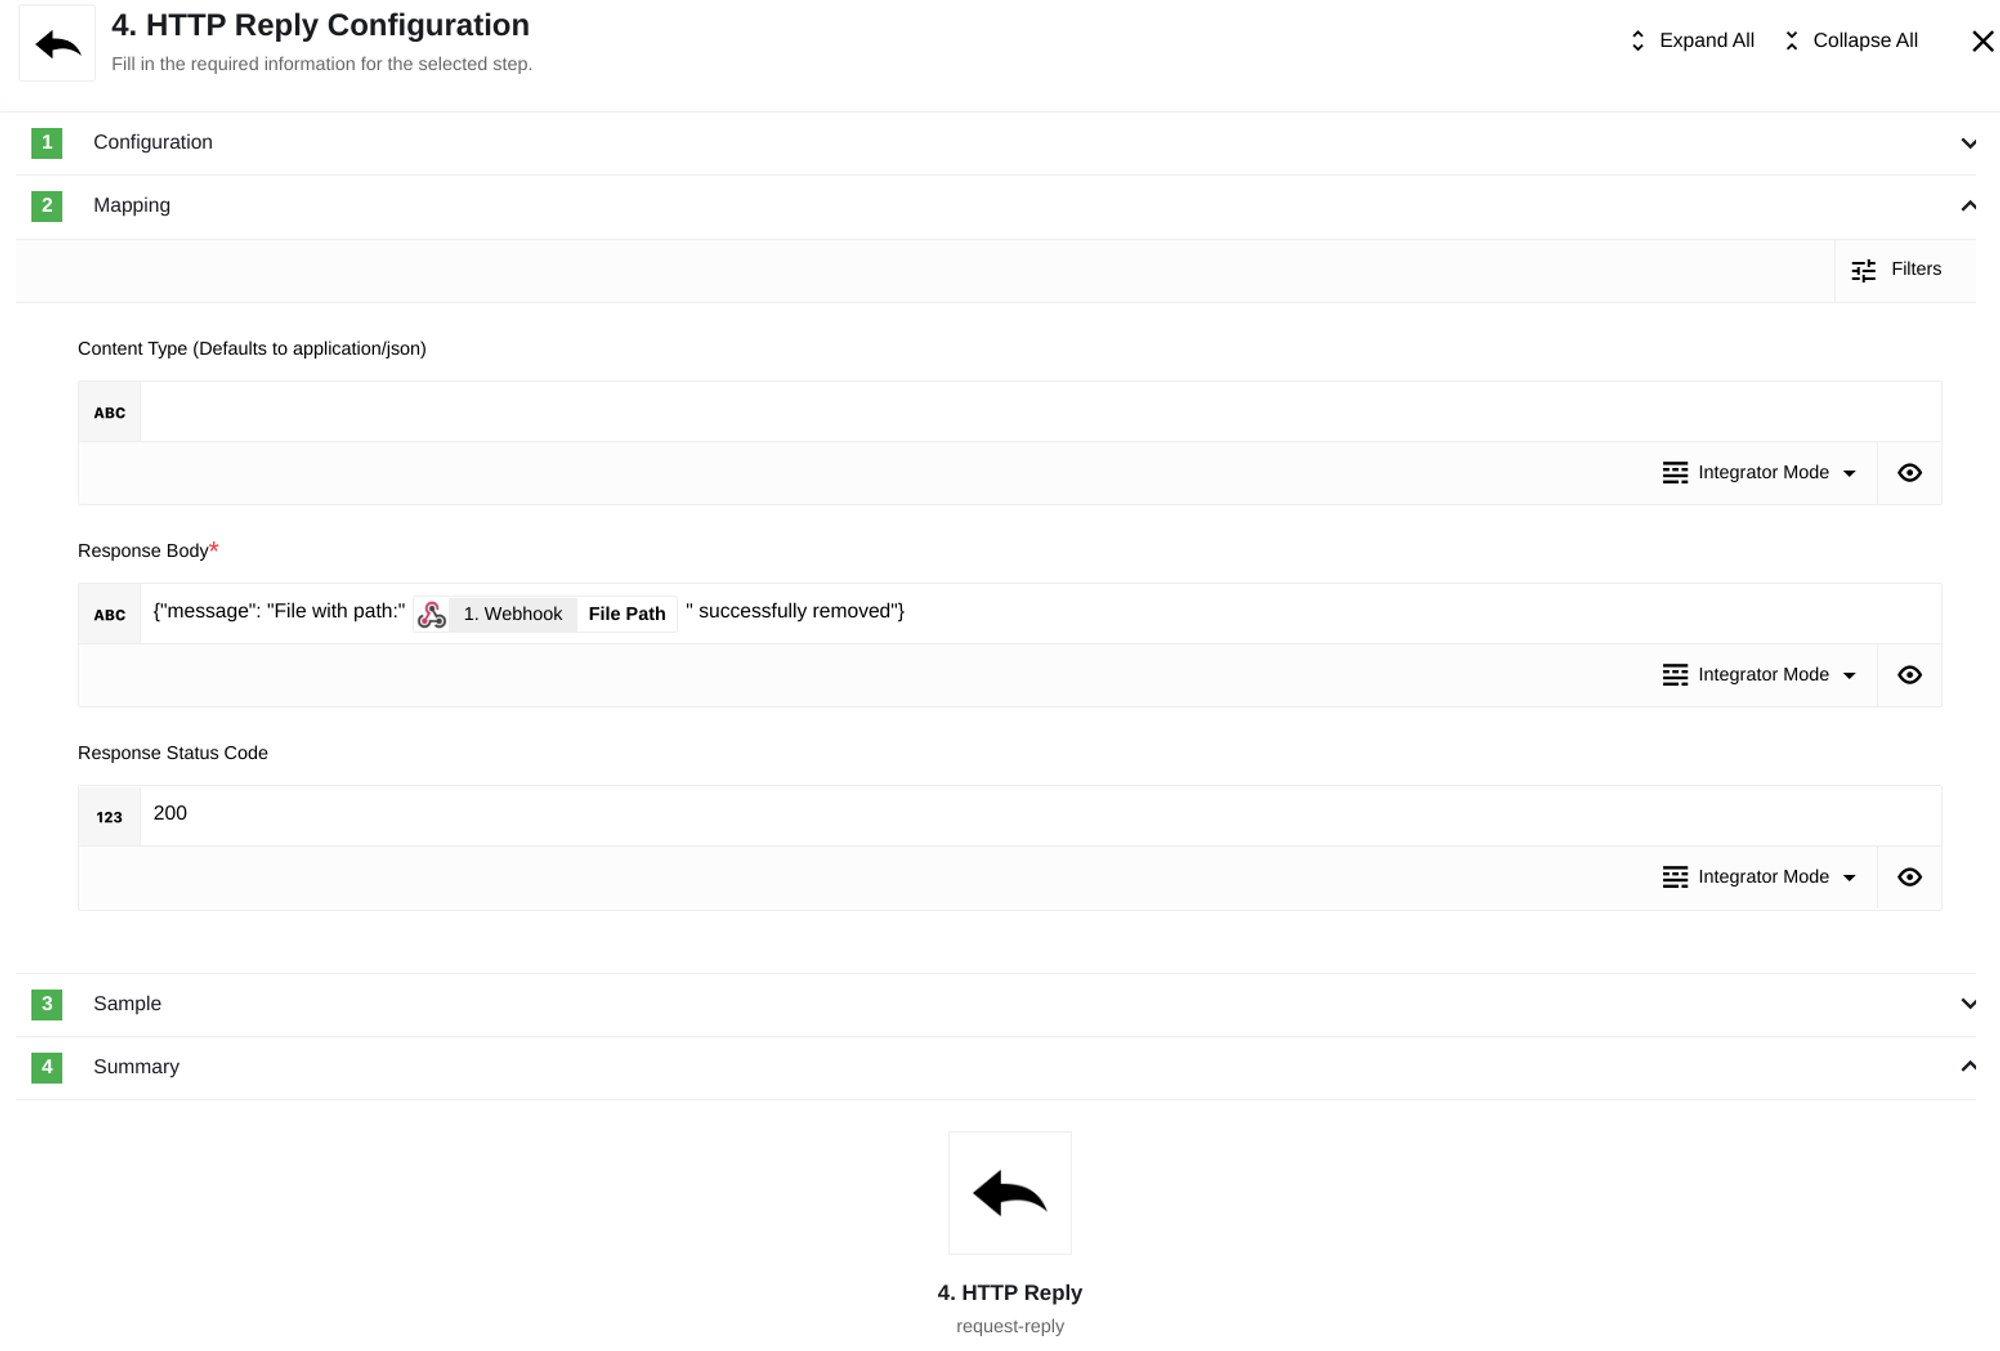
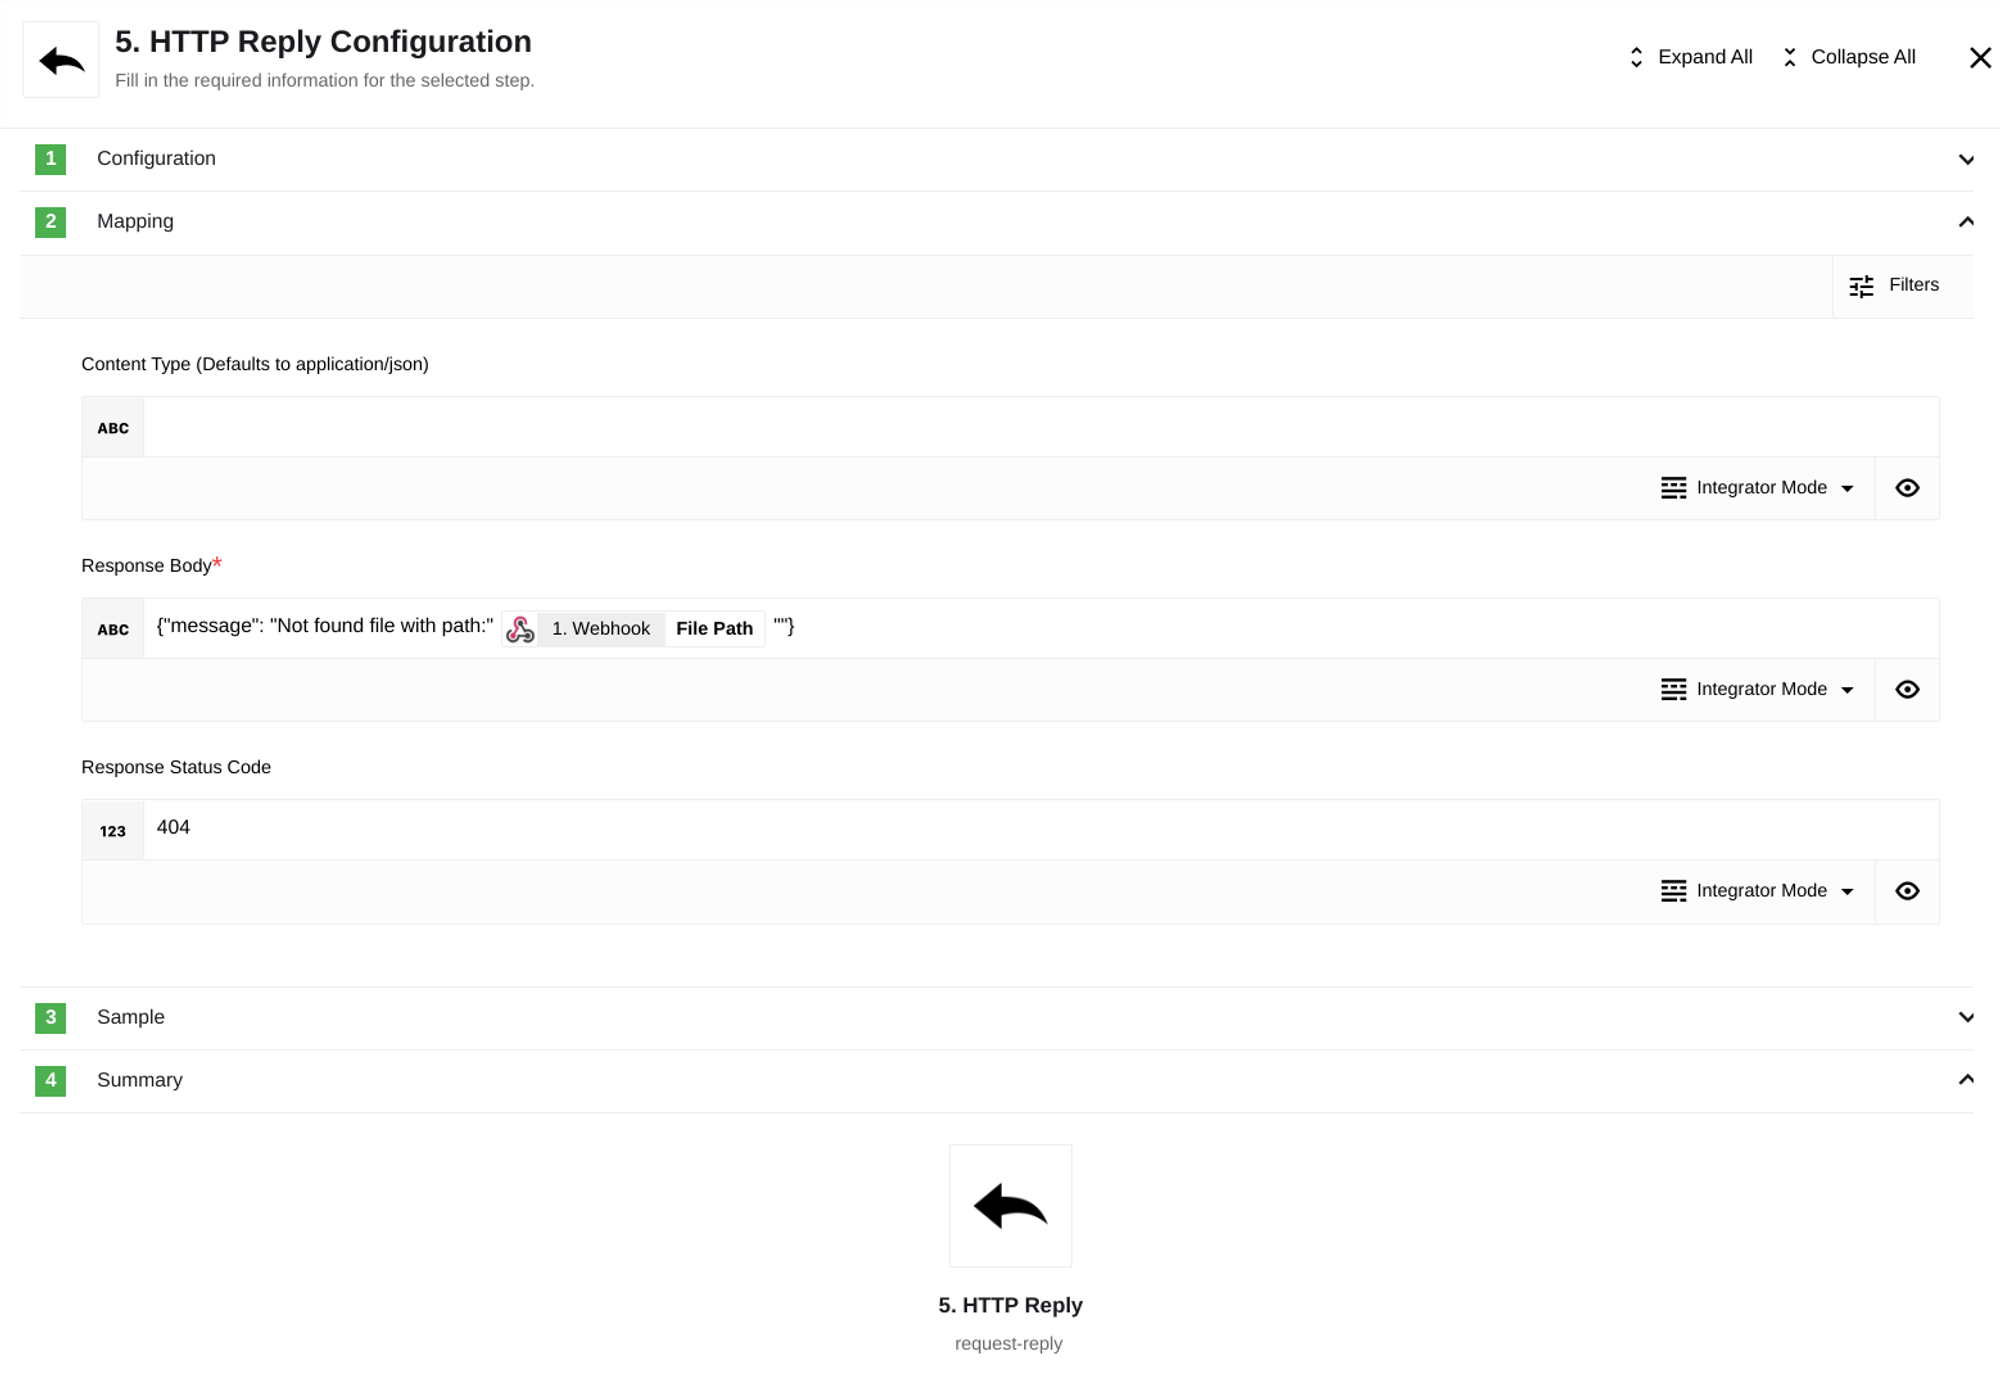
Under each branch, we will create two response options using HTTP Reply components: one for a successful response and another for an unsuccessful one.
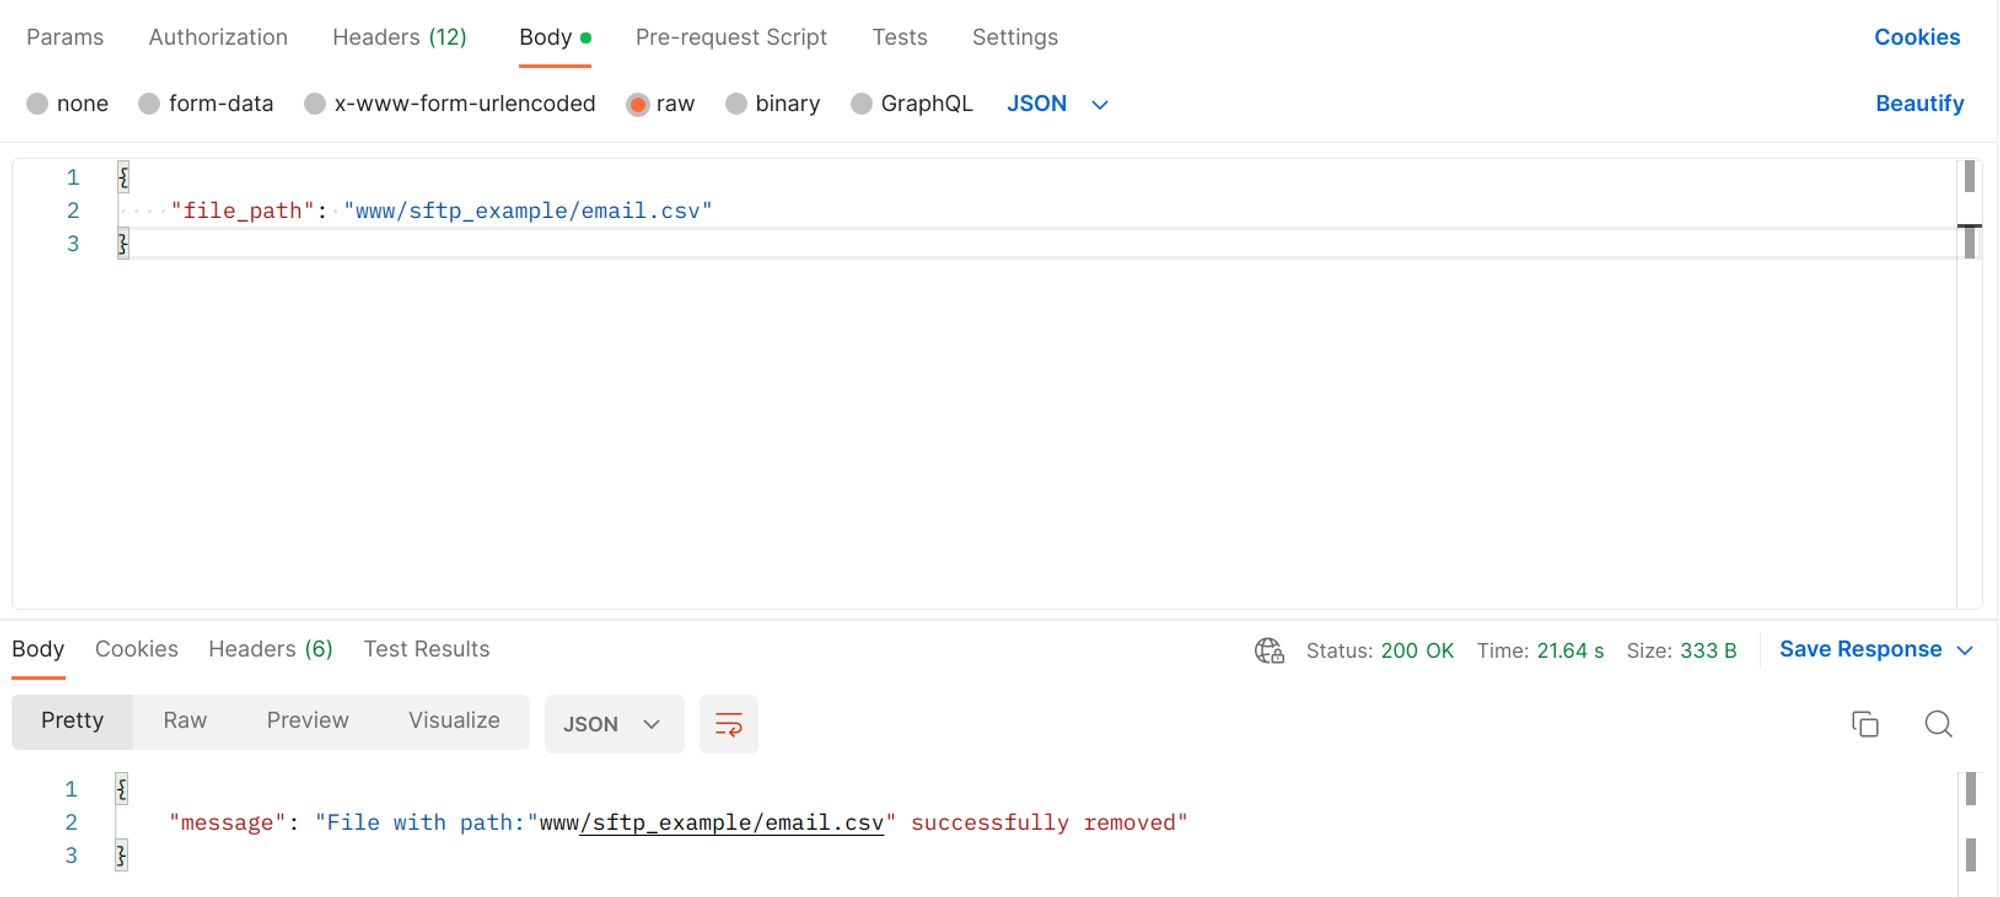
After publishing and executing the flow, we can attempt to delete a file from the Poll Files example.
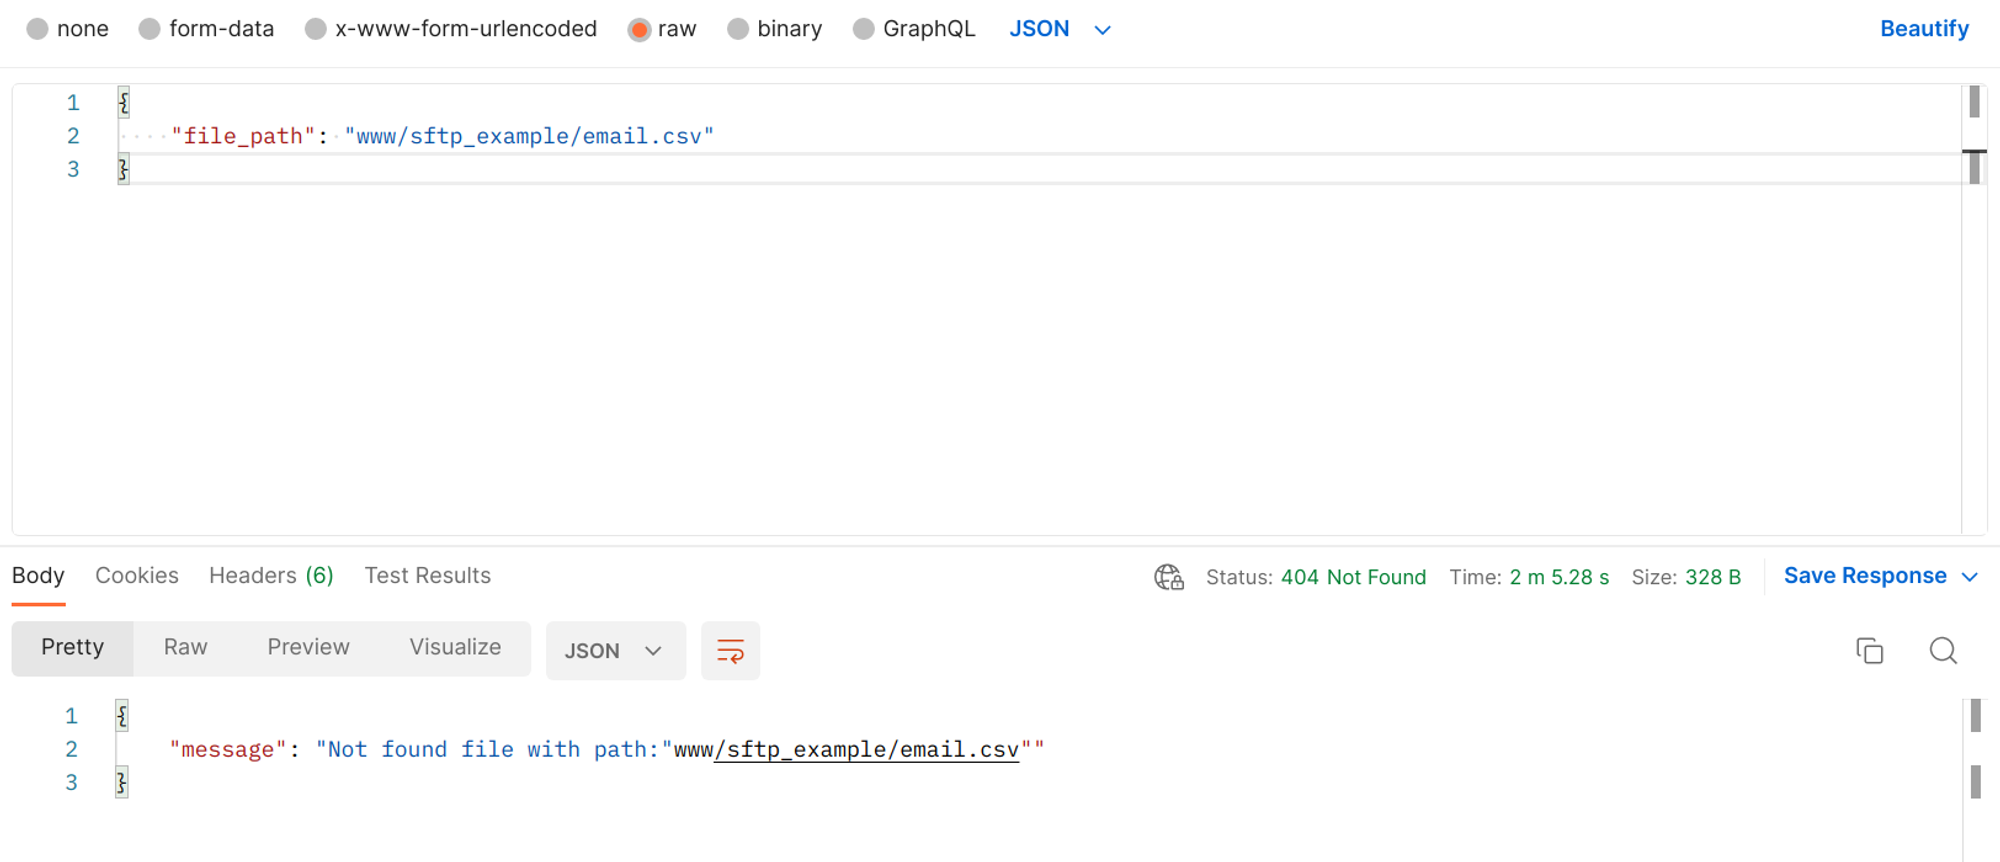
To verify if the file was successfully deleted from the SFTP server, you can repeat the request. You should receive a response with a 404 error code and a corresponding message. This confirms that the deletion process is functioning correctly.
Upload File From URL
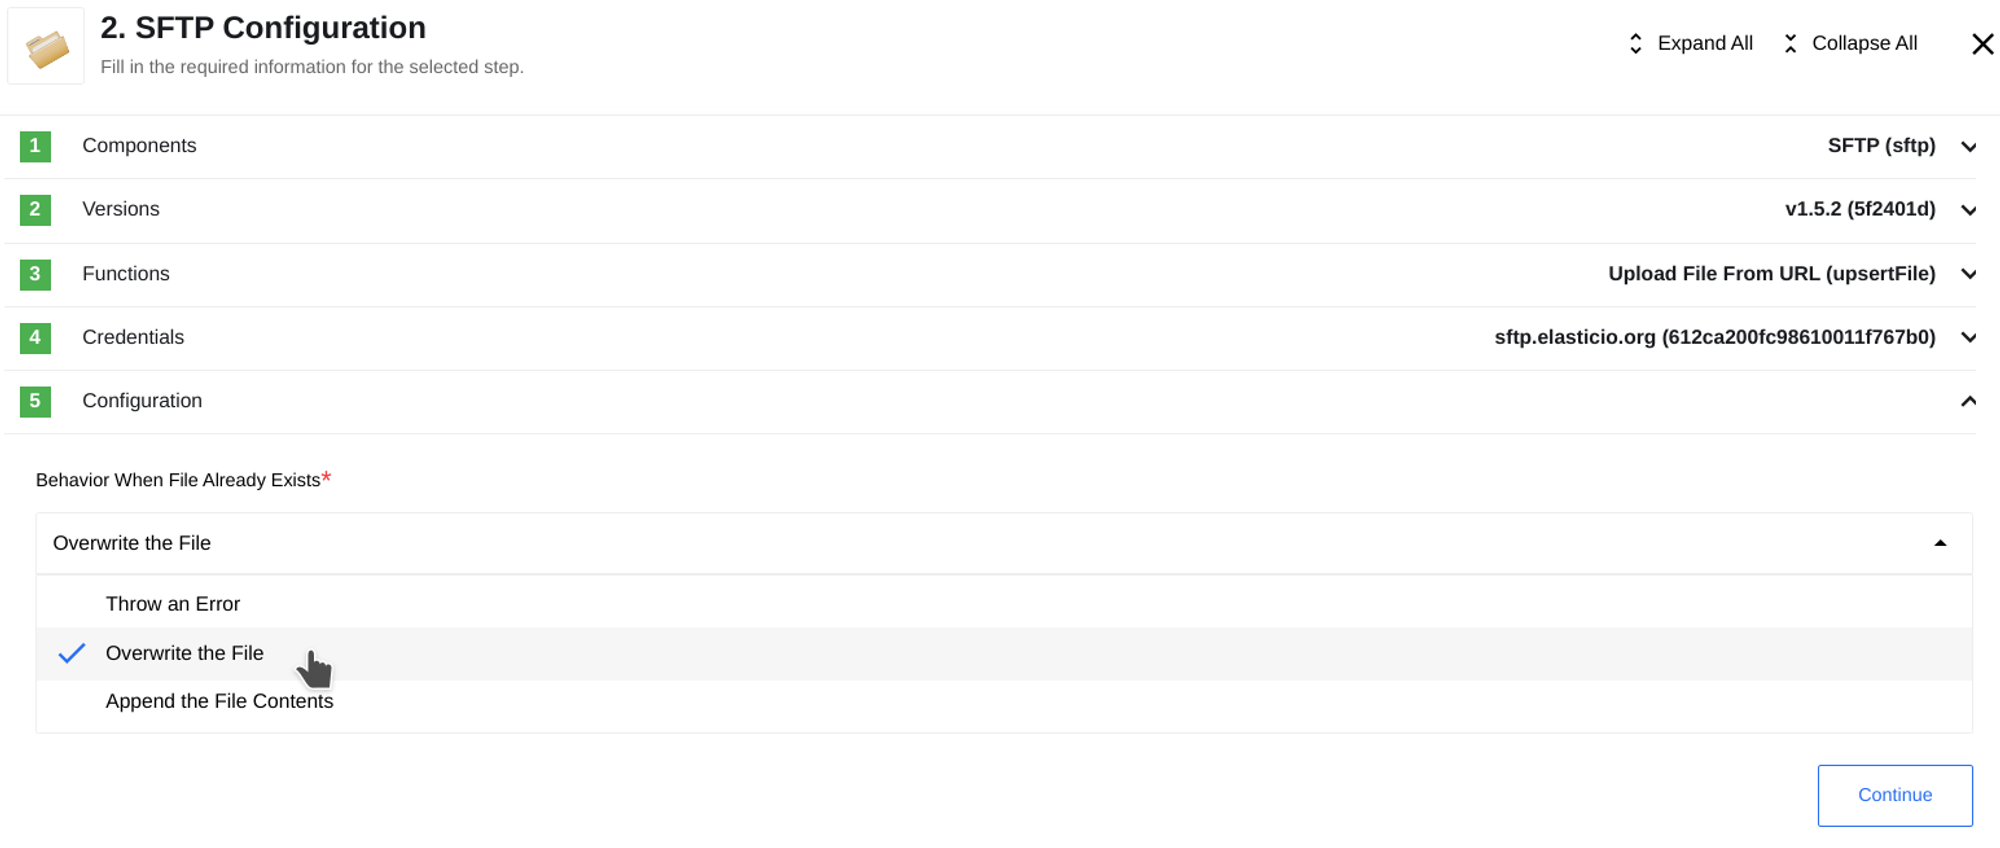
The SFTP component offers the capability to upload files from a URL. This mode allows you to configure the component to handle situations when the specified file already exists on the server. There are three options available:
- Throw an error
- Overwrite the file
- Add new content to the file
If you choose the Throw an error option, you can handle it using a Content-Based Router, similar to the Delete File example. The Append the File Content option allows you to modify the existing file by adding additional content. However, let’s focus on the Overwrite the File option for now.
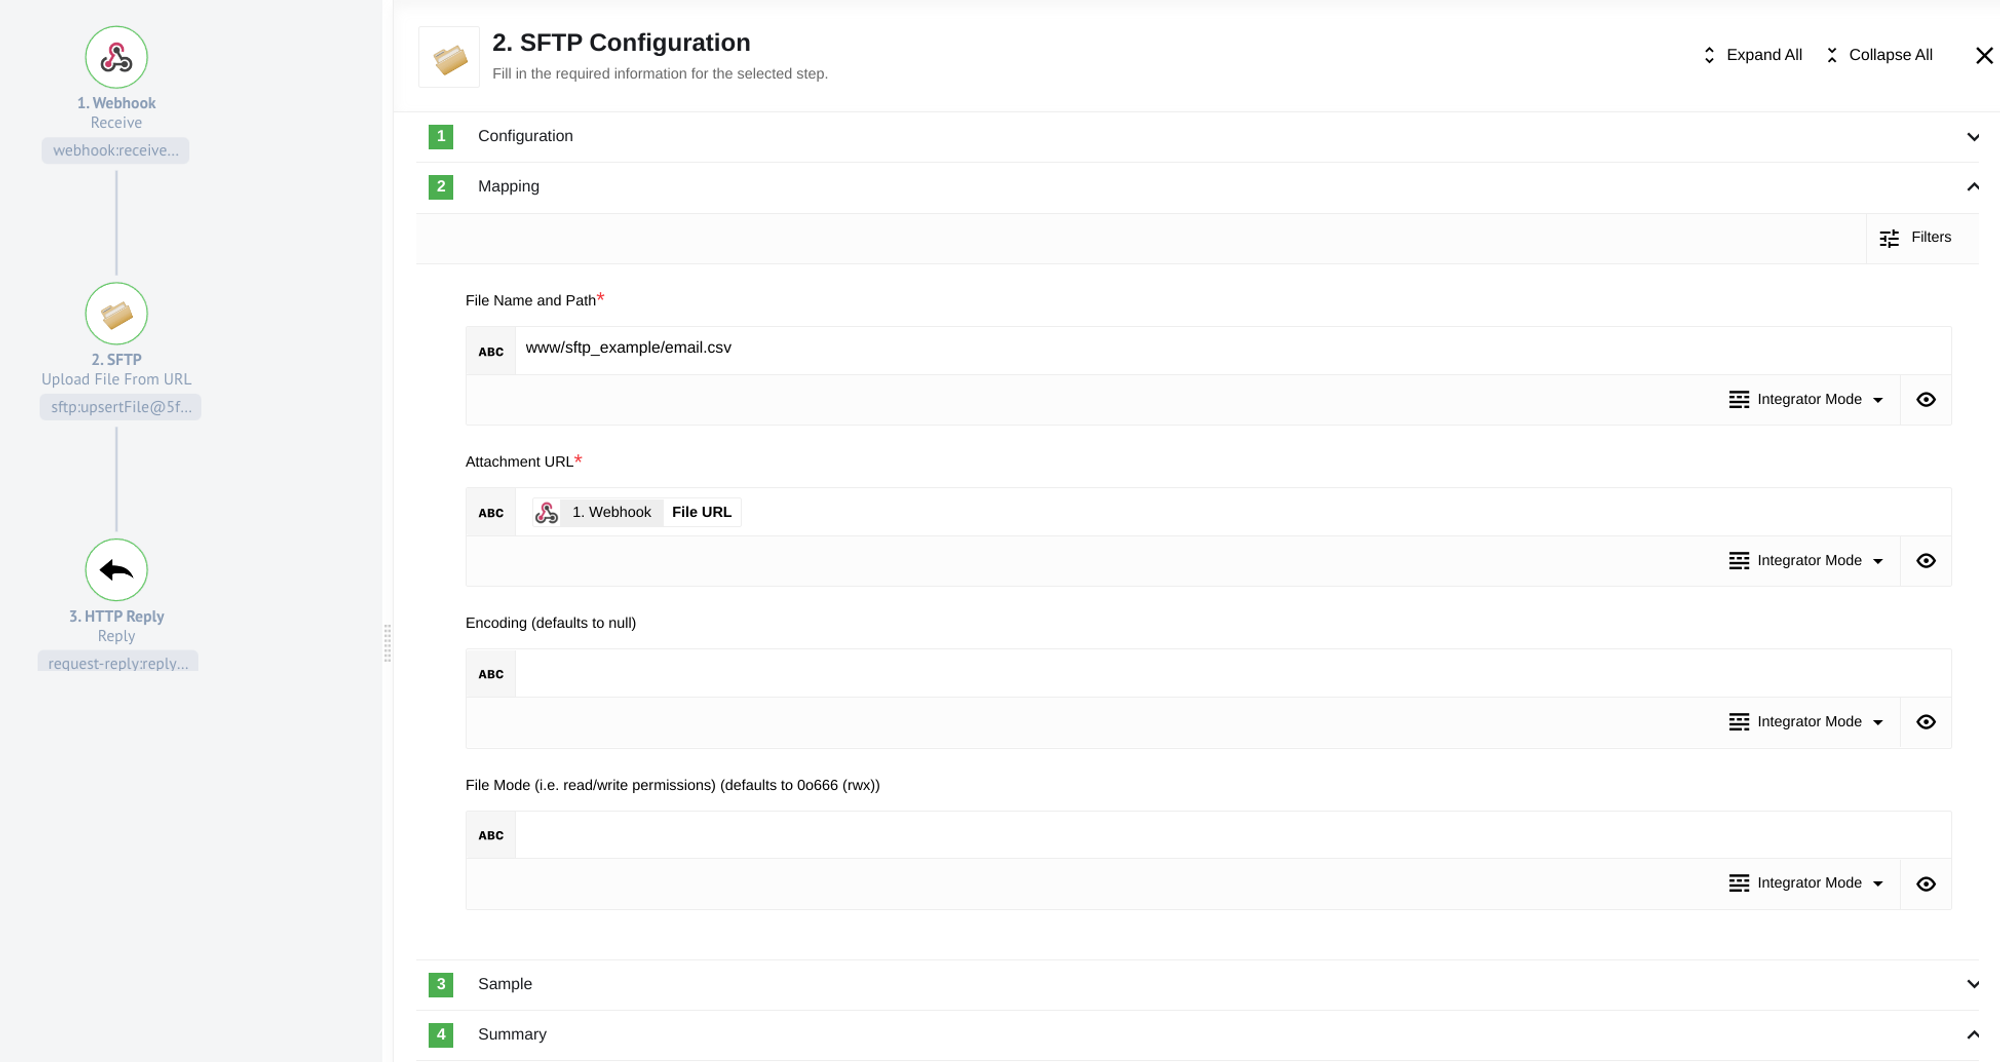
When setting up the mapping, you need to specify the File Name and Path, Attachment URL, Encoding, and File Permissions.
Please Note: Even if the specified Path does not match the directory structure on the server, it will not be a problem. The necessary directories will be automatically created based on the specified Path, and the file will be placed accordingly.
The Attachment URL field corresponds to the URL where the desired file is located. In this case, we take the URL from the Webhook.
The Encoding and File mode fields are useful for additional file customization. Encoding allows you to encode the file in the desired format, while the File mode enables you to set the file permissions. The default file mode is 00666 (read, write, execute).
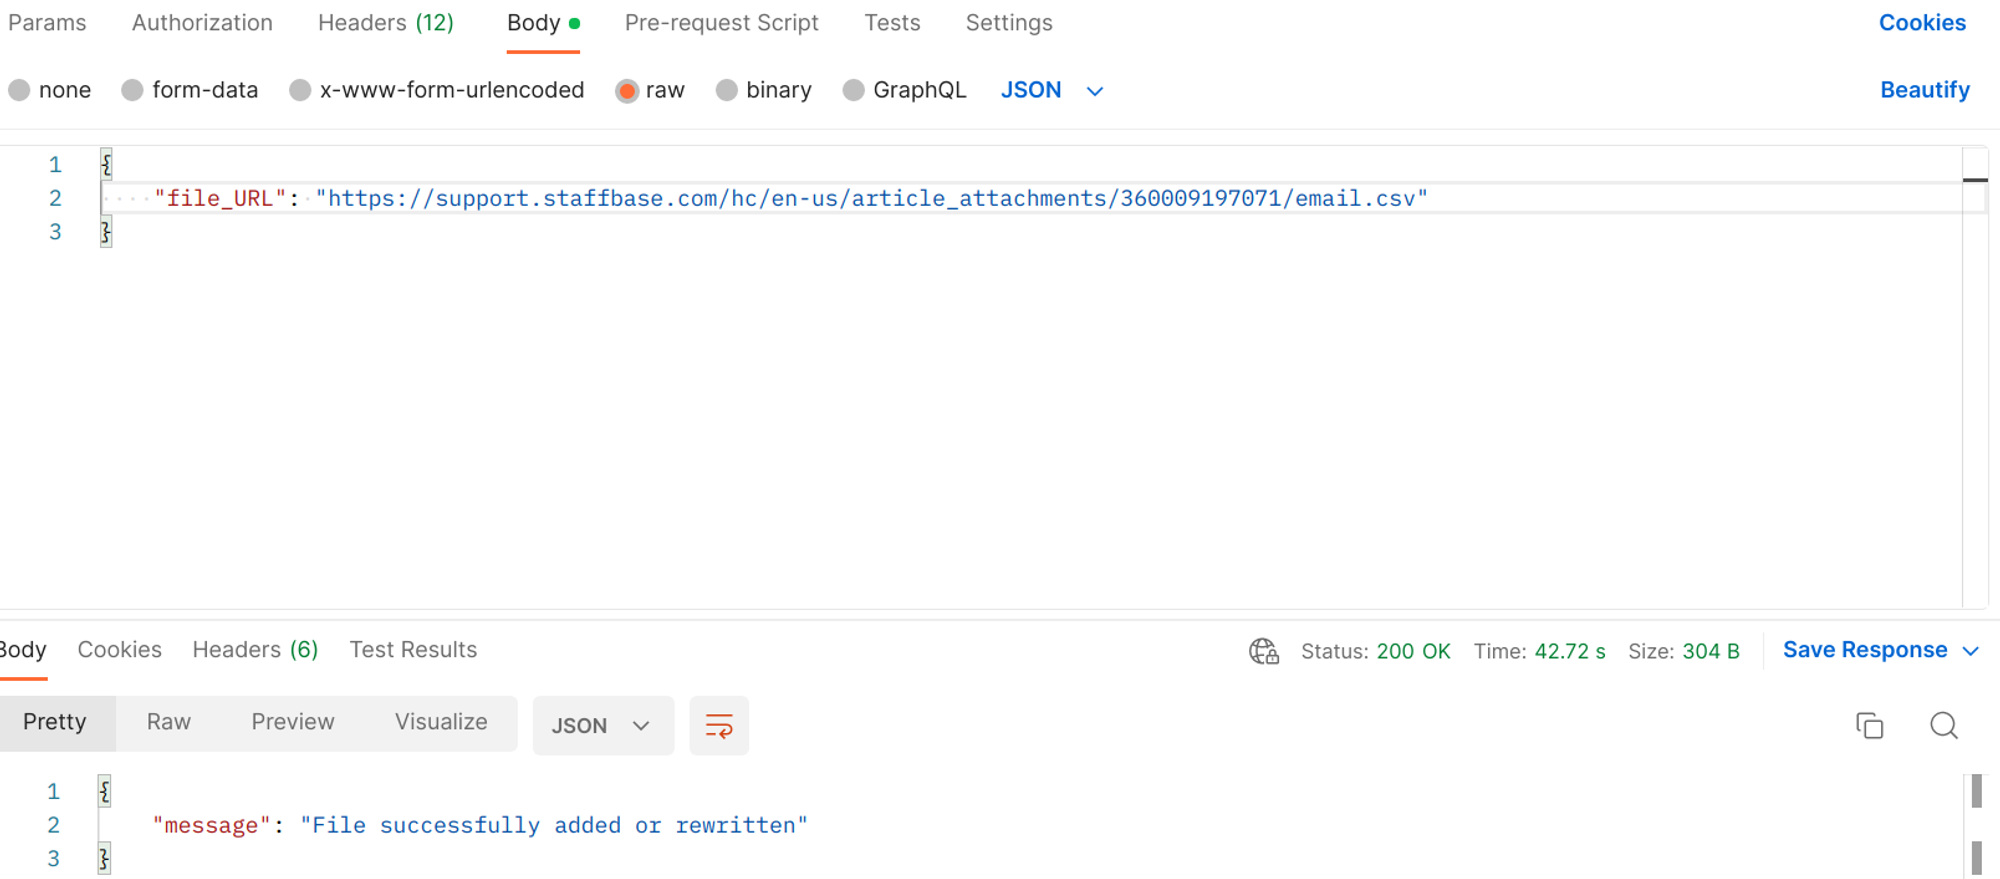
After making a Webhook request with the URL pointing to the file, the file will be successfully added or overwritten if a file with the same path already exists.
Upload Files From Attachments Header
Using the SFTP component with the Upload Files From Attachments Header feature is even easier compared to using a URL.
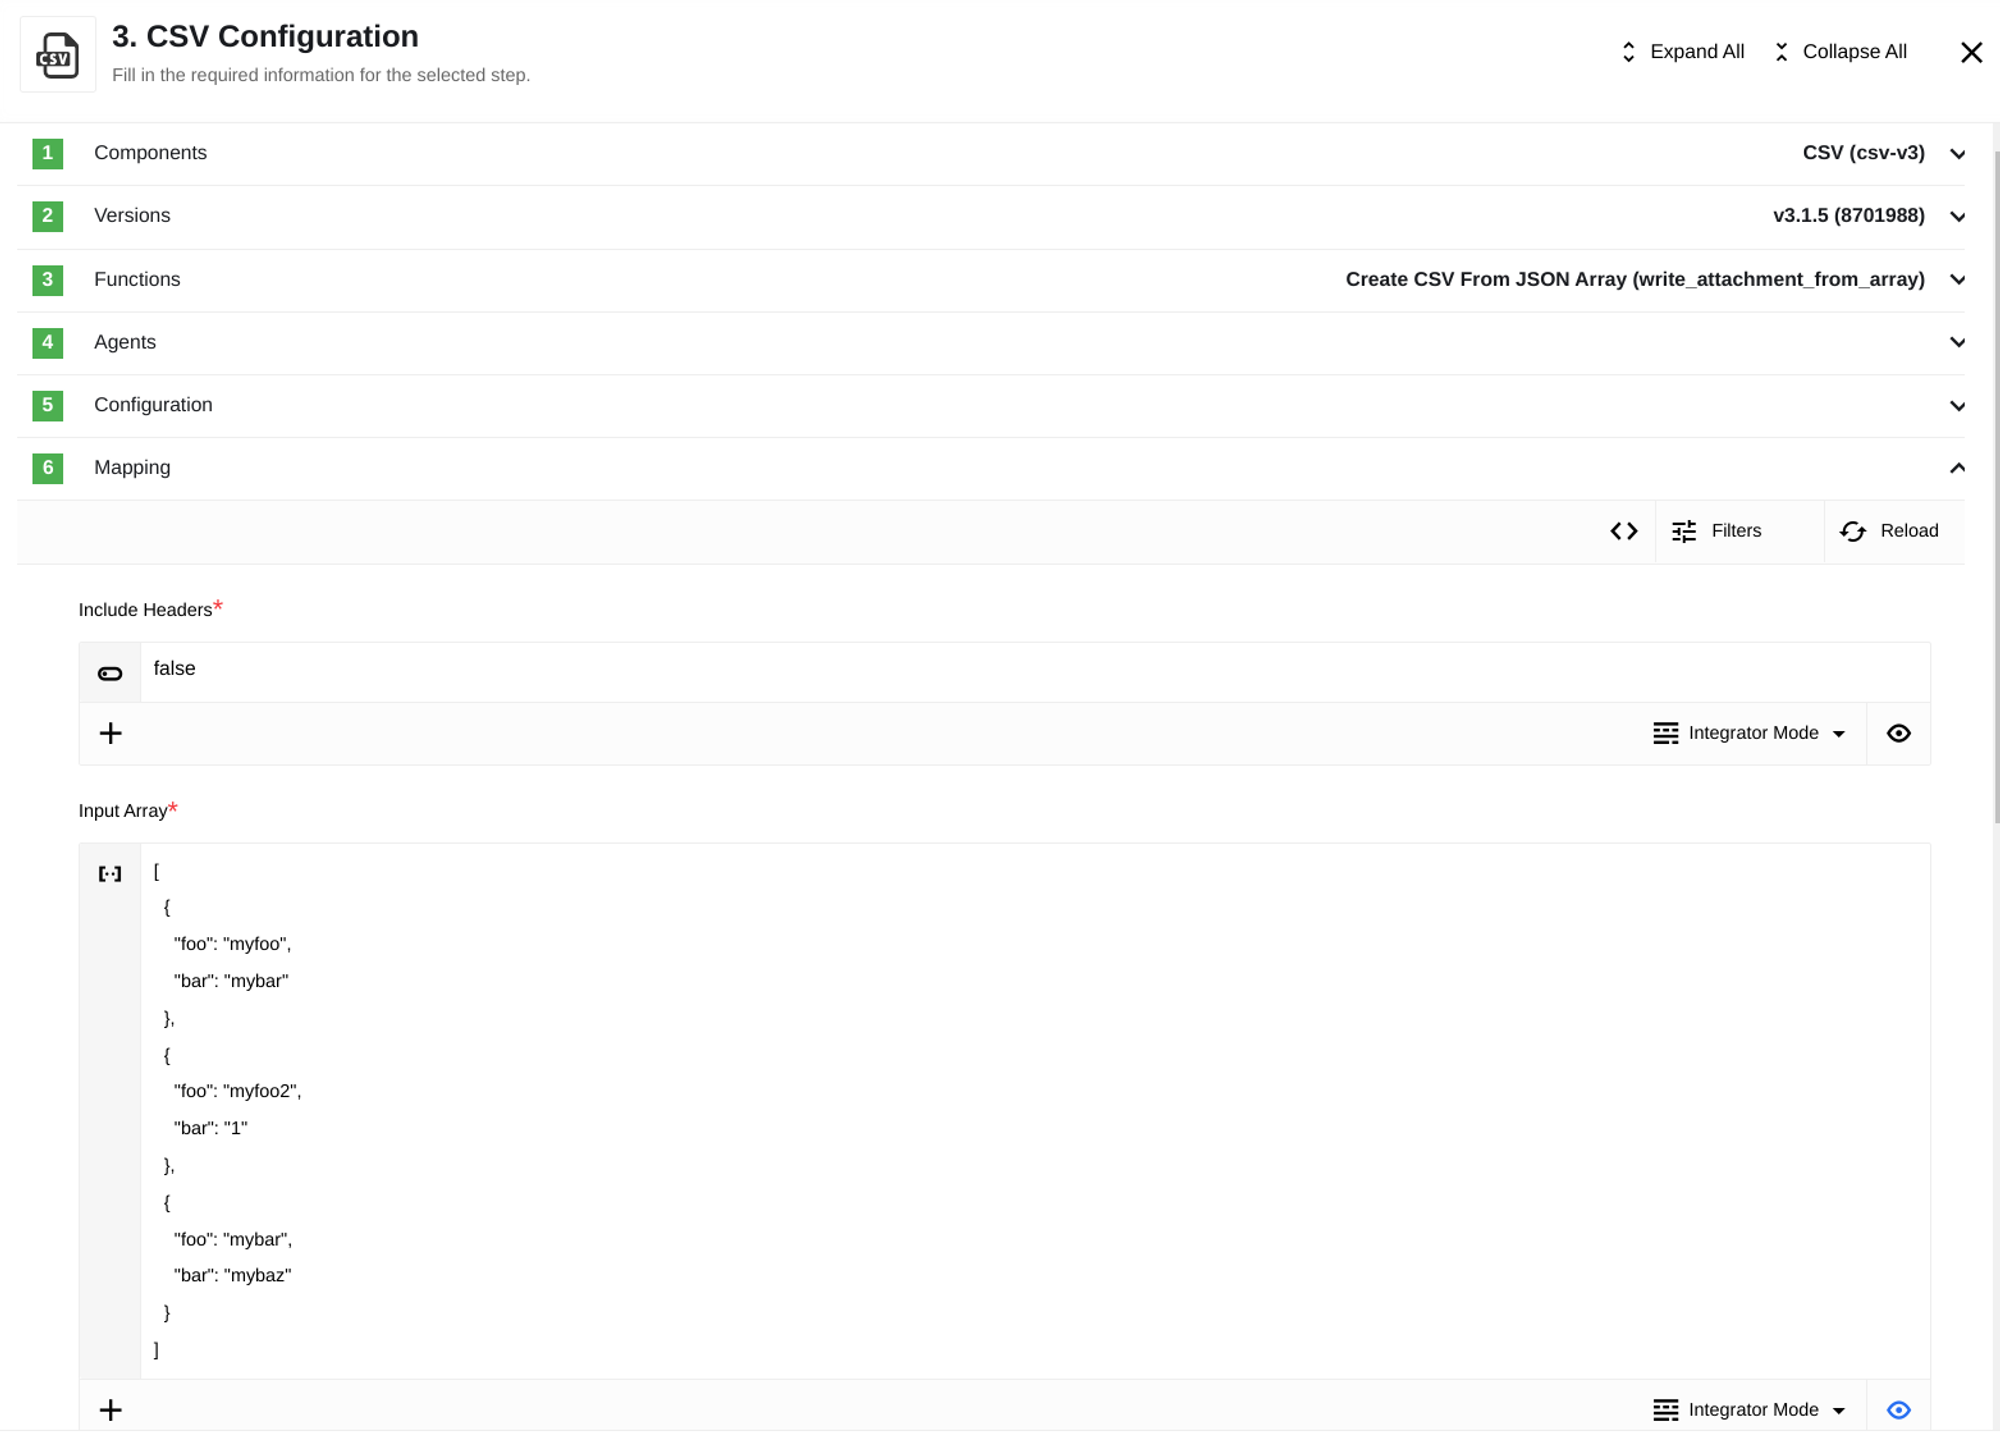
To begin, create a CSV file using the CSV component with the Create CSV From JSON Array function, and include it in the Attachments of your flow.
Next, take the JSON array from the Webhook and pass it to the Input Array of the CSV component. This will result in the CSV file being included in the Attachments, which will then be used by the SFTP component.
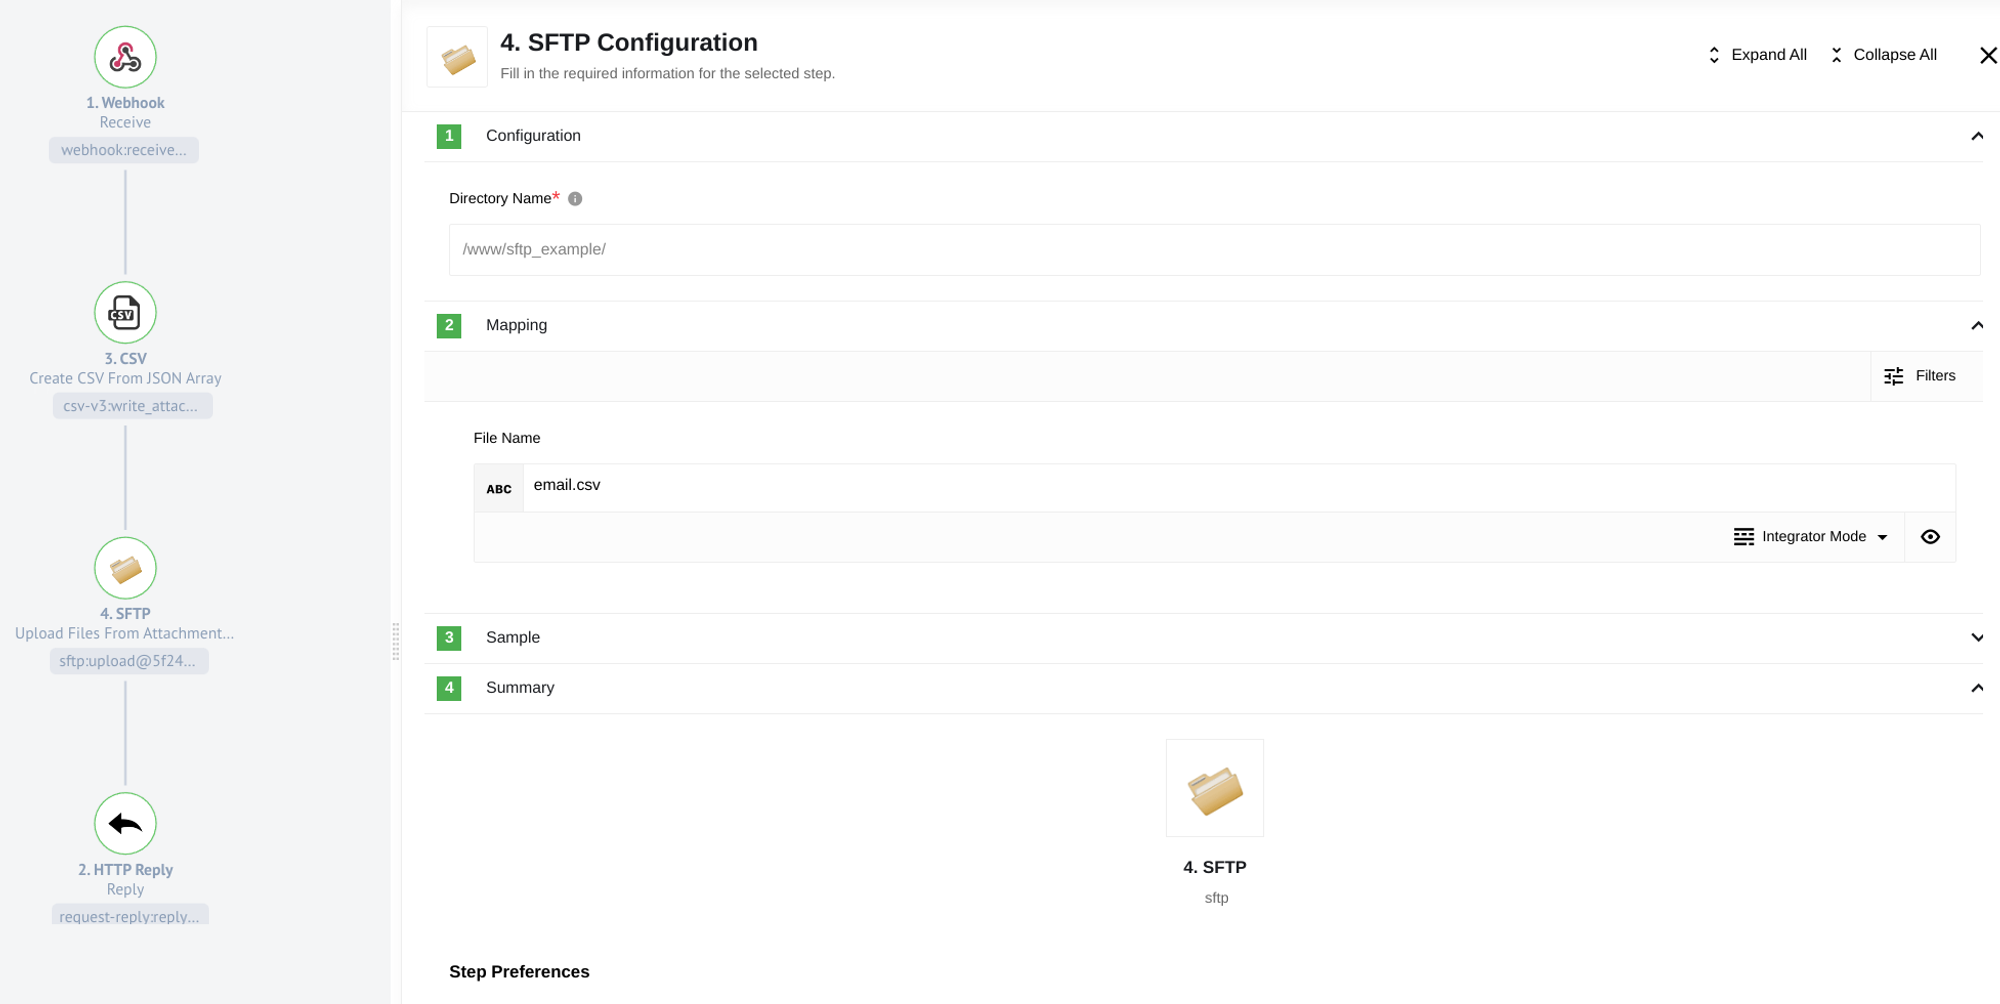
When configuring the SFTP component, simply specify the directory where the file will be written and provide a file name.
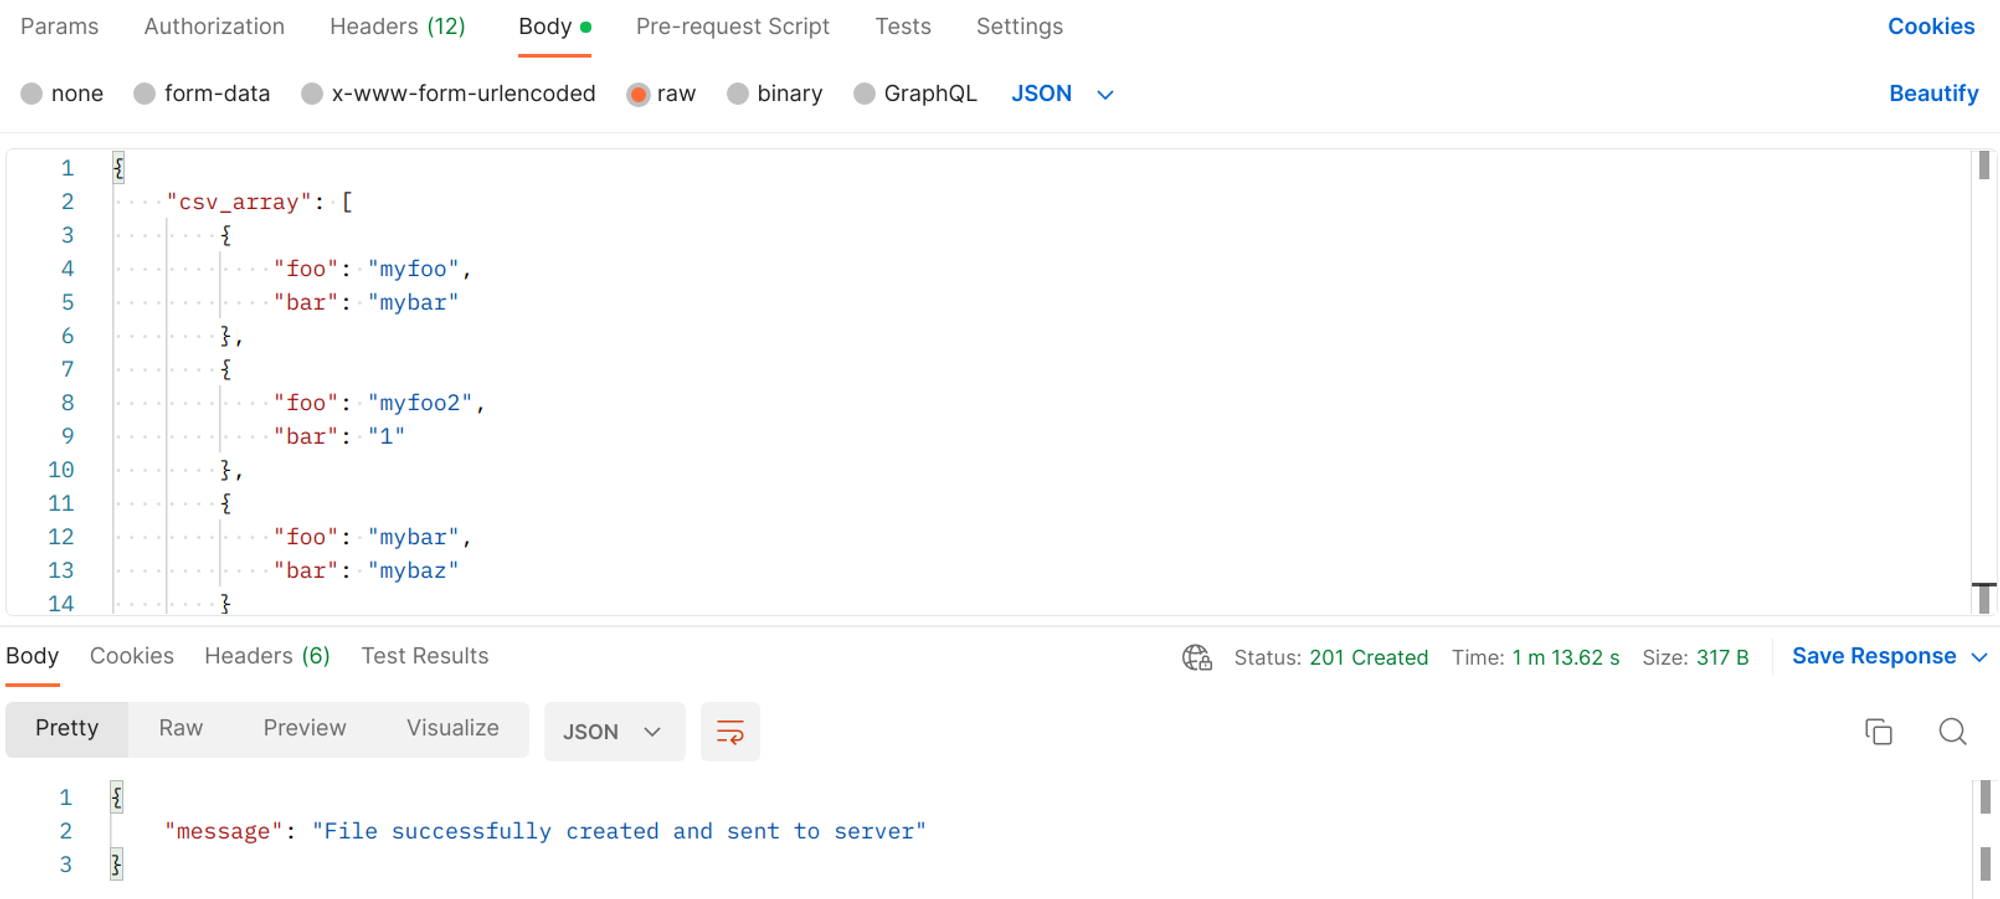
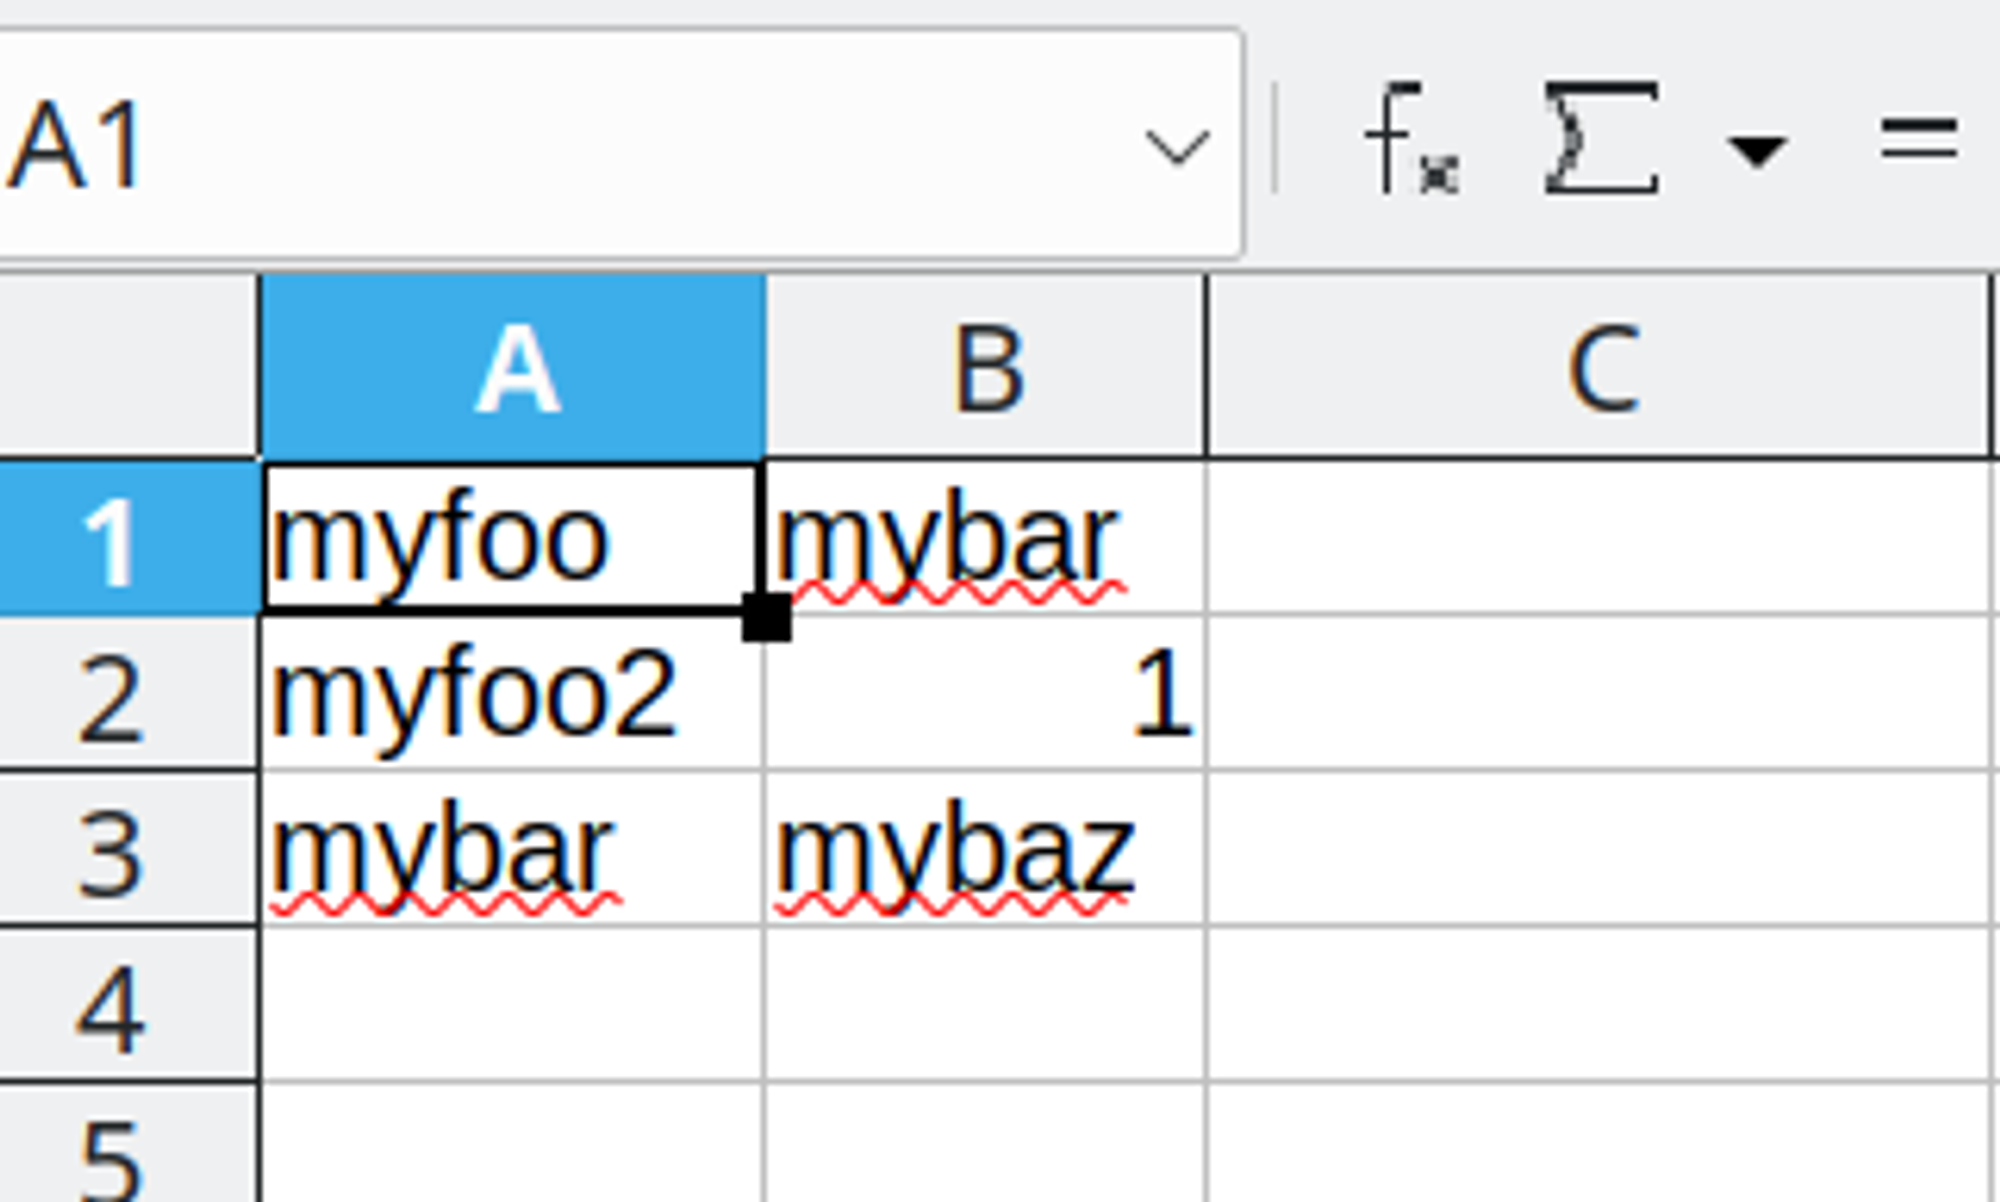
After sending a request with a JSON array, the flow will process the array, generate a CSV file from it, and immediately place it in the specified directory.
Download File by Name
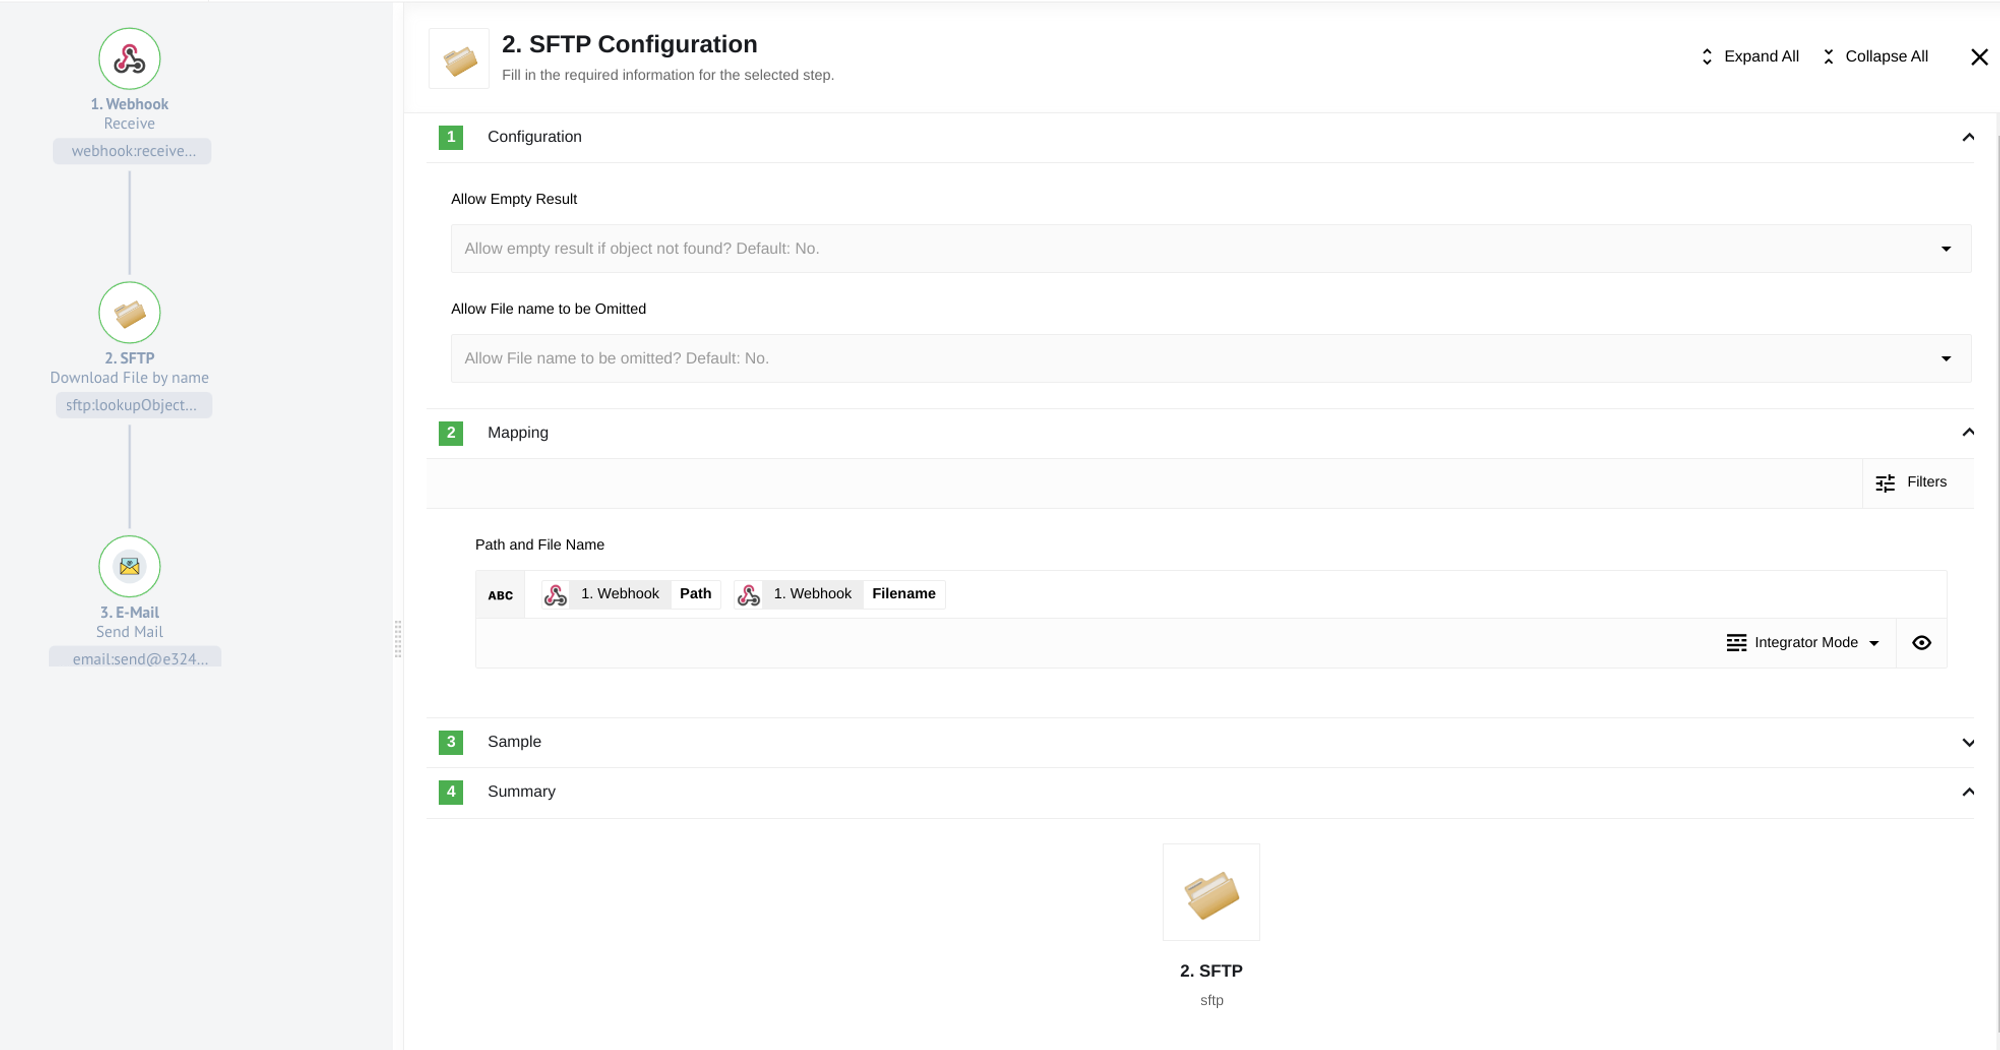
When using the SFTP component in Download File by Name mode, configuring it is as simple as specifying the file path and name in the same line. There are two behavioral options to choose from in the configuration settings:
Allow Empty Result: When set to “Yes,” it allows you to treat the absence of the file specified in the mapping as a non-error situation. Allow File name to be Omitted: When set to “Yes,” it allows you to ignore the requirement of filling in the Path and File Name fields in the mapping. Untitled
Please note: To handle missing files correctly with the “Allow Empty Result” option, ensure that the path to the directory containing the file actually exists. This is a specific behavior of the SFTP component in Download File by Name mode. If the desired file’s directory does not exist on the server, the component will be unable to access it and will produce an error, regardless of the “Allow Empty Result” setting. If the directory exists, the component will work as expected, either showing an error or not depending on the “Allow Empty Result” configuration.
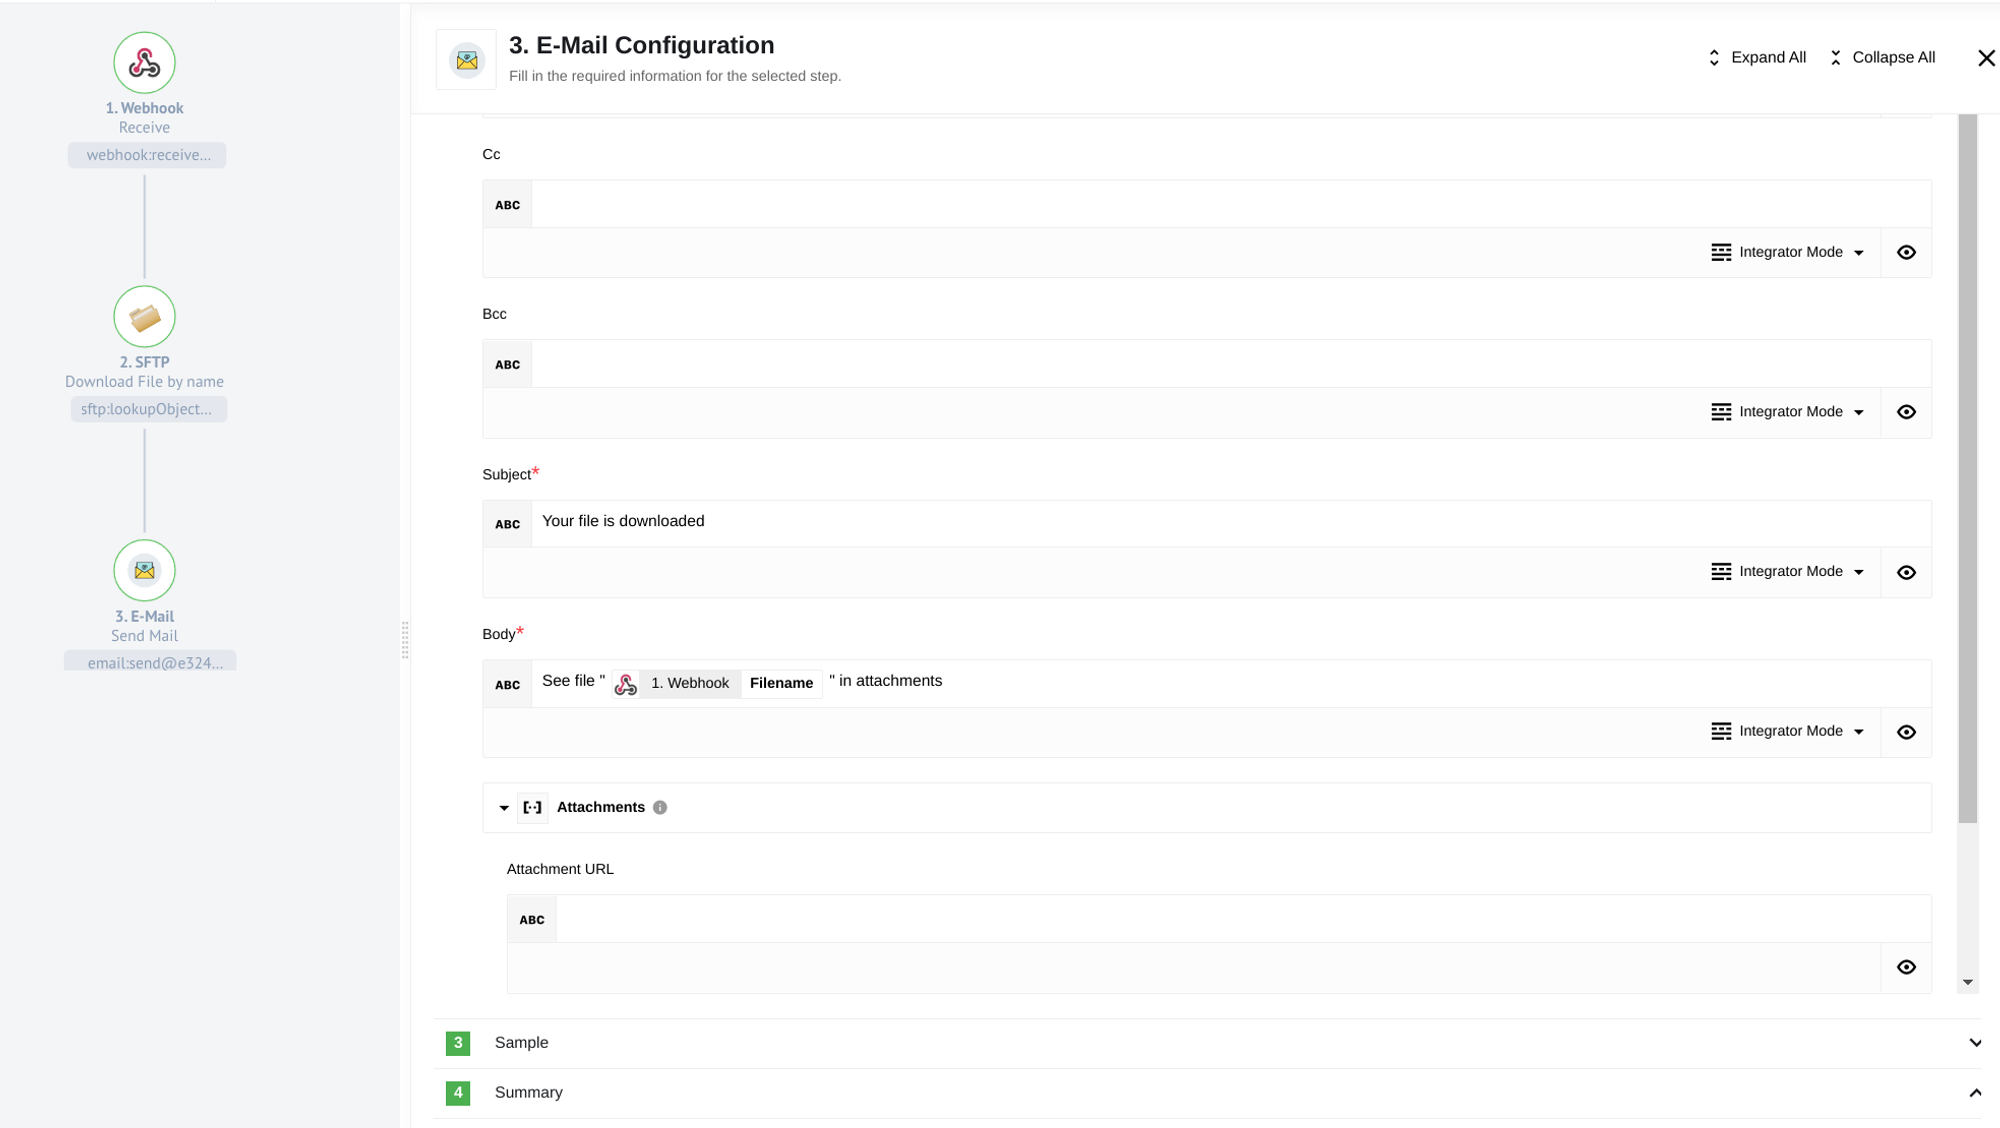
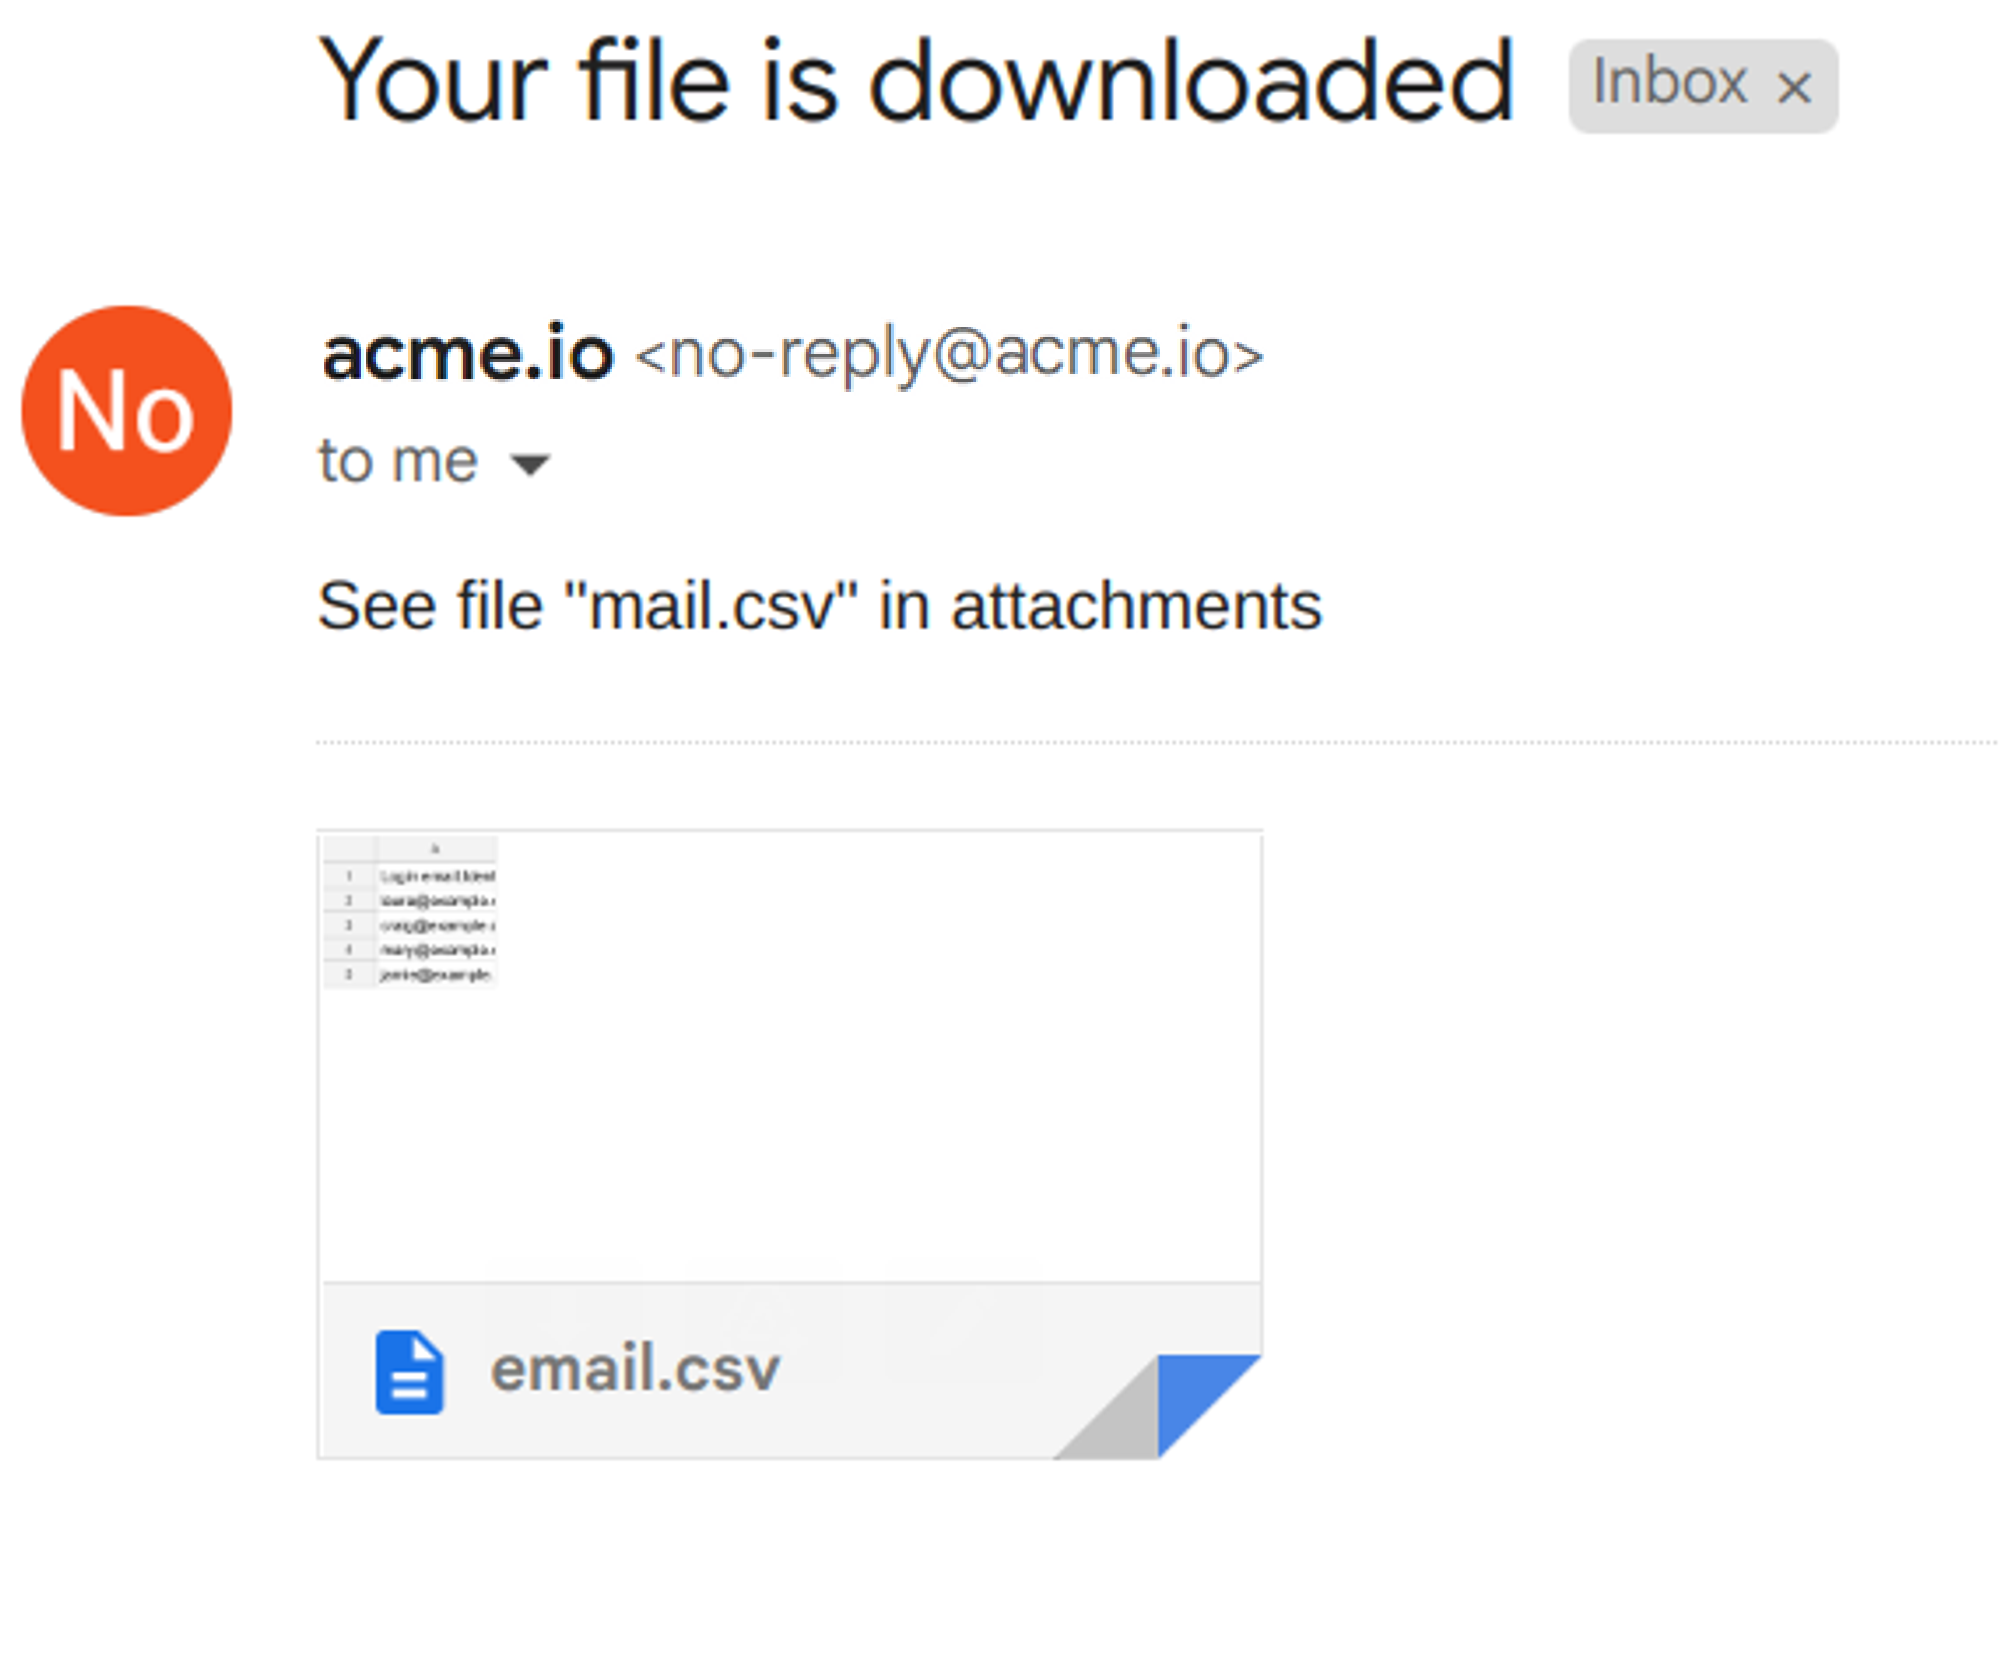
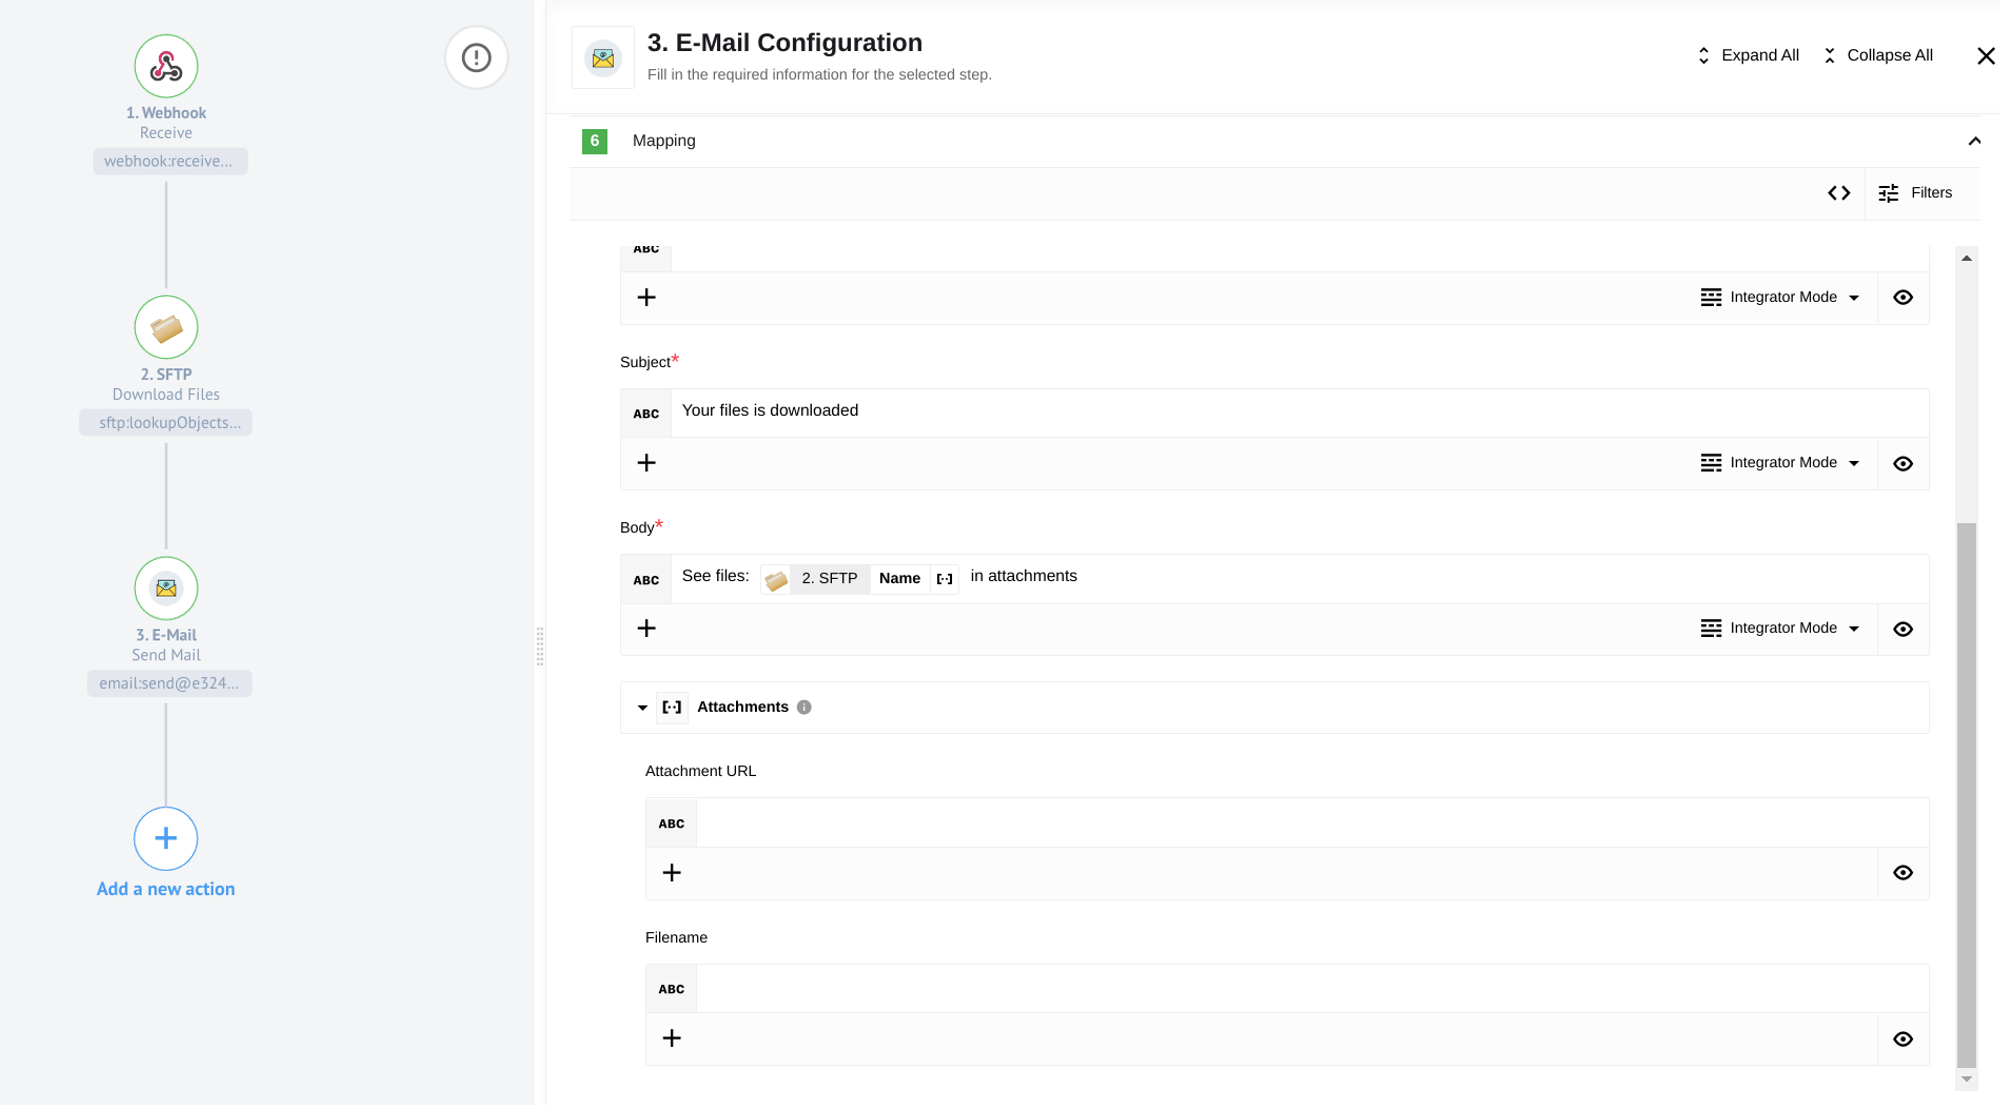
The following example demonstrates how to work with file names and paths passed via Webhook. The file is downloaded from the SFTP server, then passed to the E-Mail component, and finally sent as an attachment along with the message.
Please note: If there is only one attachment in the flow, it is not necessary to specify it in the Attachments settings of the E-Mail component. It will be sent automatically along with the email.
Download Files
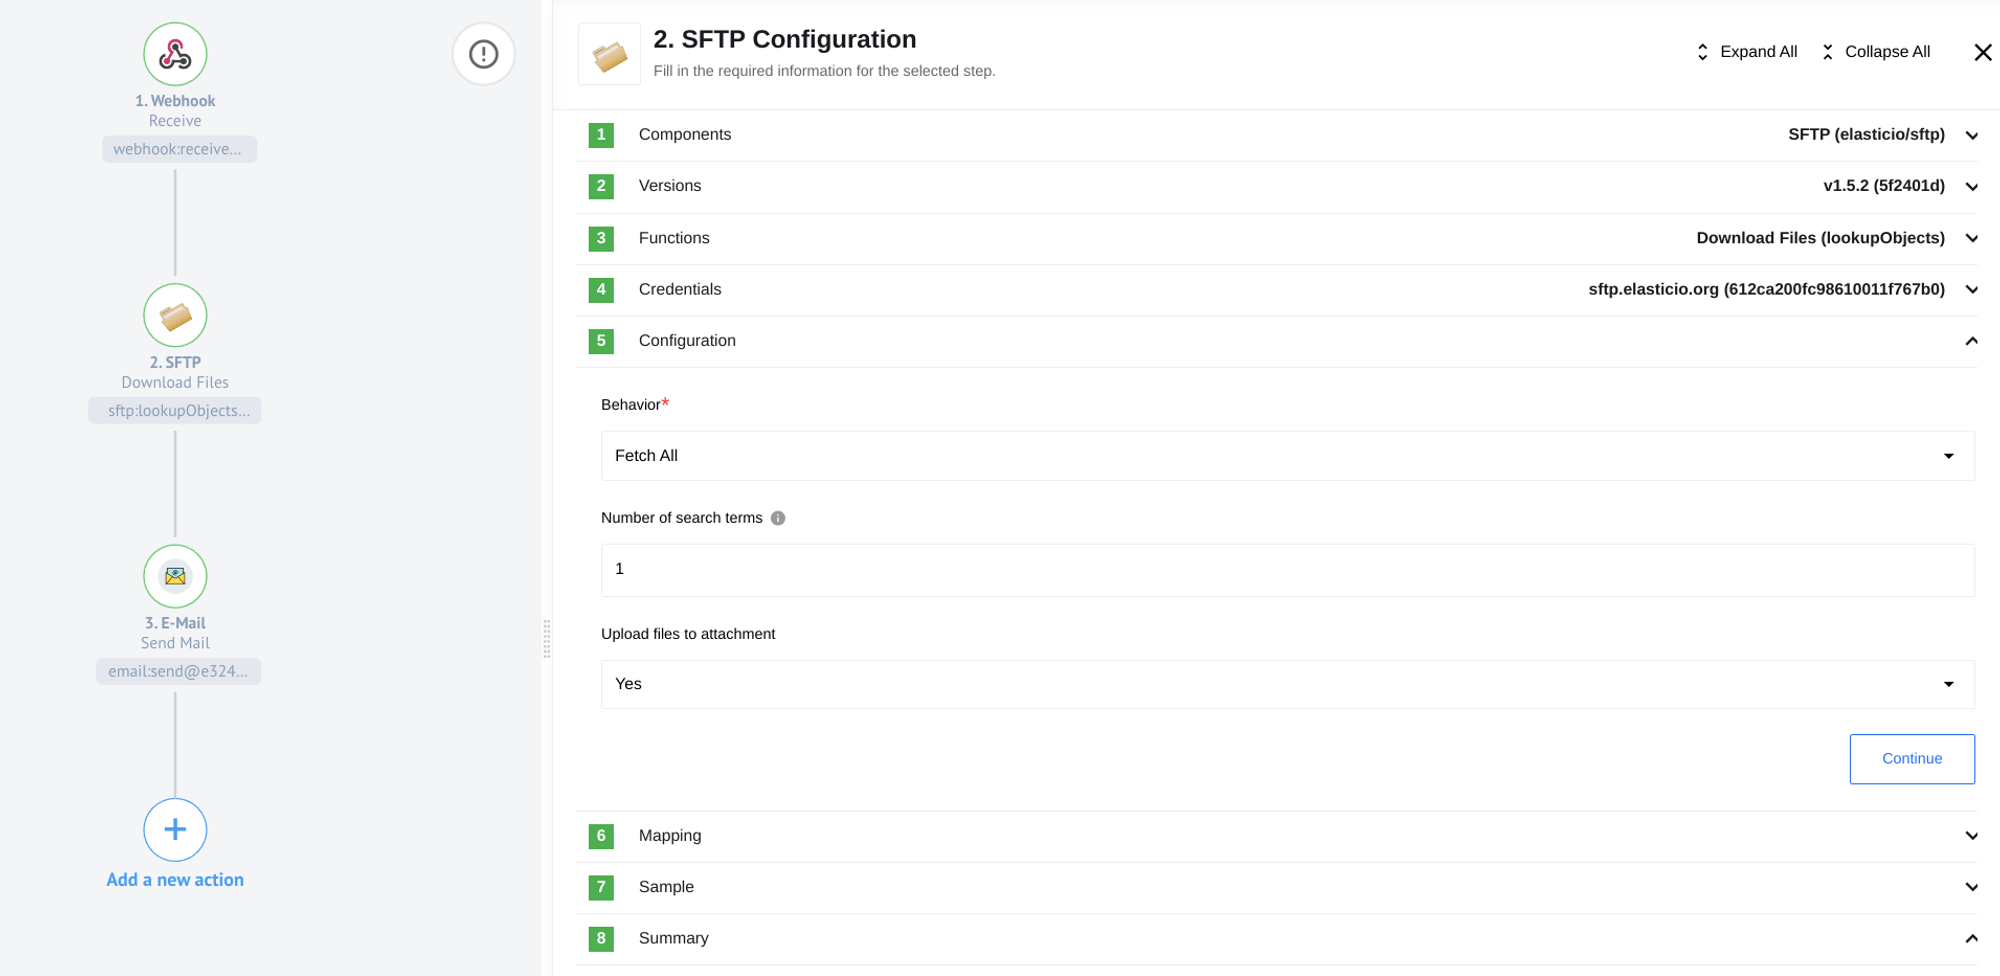
The Download Files function in the SFTP component allows you to handle multiple files at once. When configuring this mode, you need to select a Behavior pattern: Fetch All or Emit Individually.
- Fetch All: This option combines all received file data into one result array.
- Emit Individually: This option generates a separate message for each file received.
You can also specify the Number of search terms to increase the number of parameters for filtering the necessary files. The Upload files to attachment option allows you to specify that the files should be uploaded to the server for further use, such as attaching them to an email.
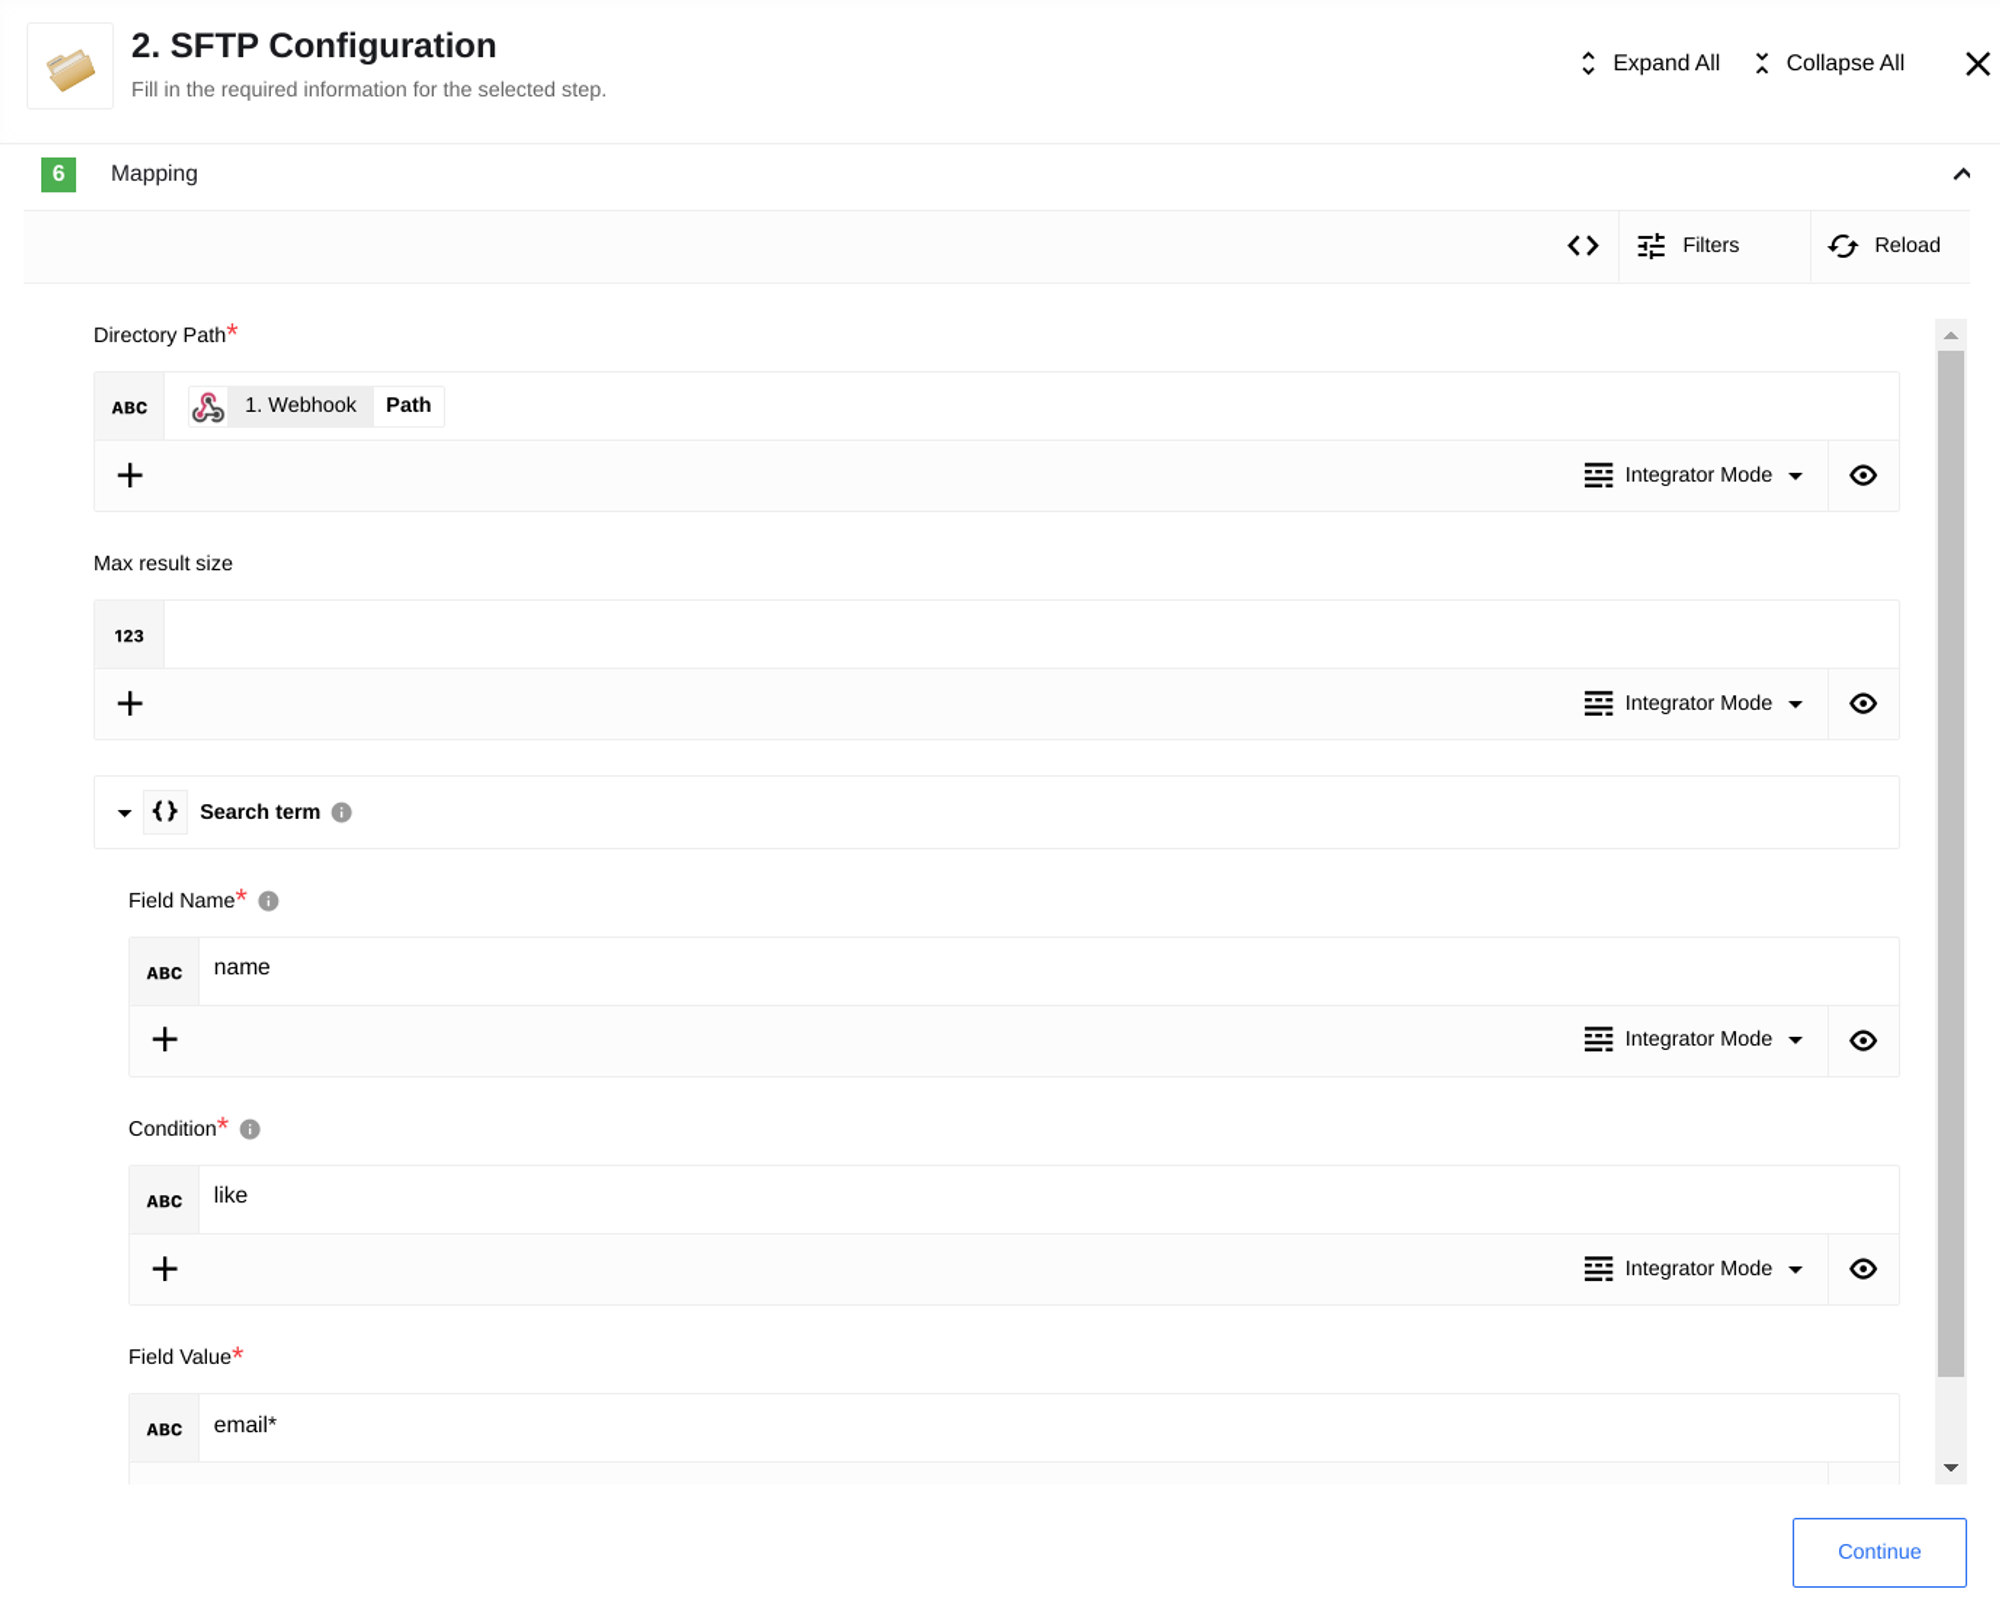
During the setup stage, you need to provide the path where the search will be performed. Each SFTP component can only search one directory. In the example, we take the path from the results of the Webhook. The Max Result Size field determines the maximum number of files to be retrieved. If left empty, the default value of 250 elements will be used. The Search term field allows you to define a function for the search based on a logical condition with three elements: field, logical operation, and value. This term is used to search for files that meet the specified conditions.
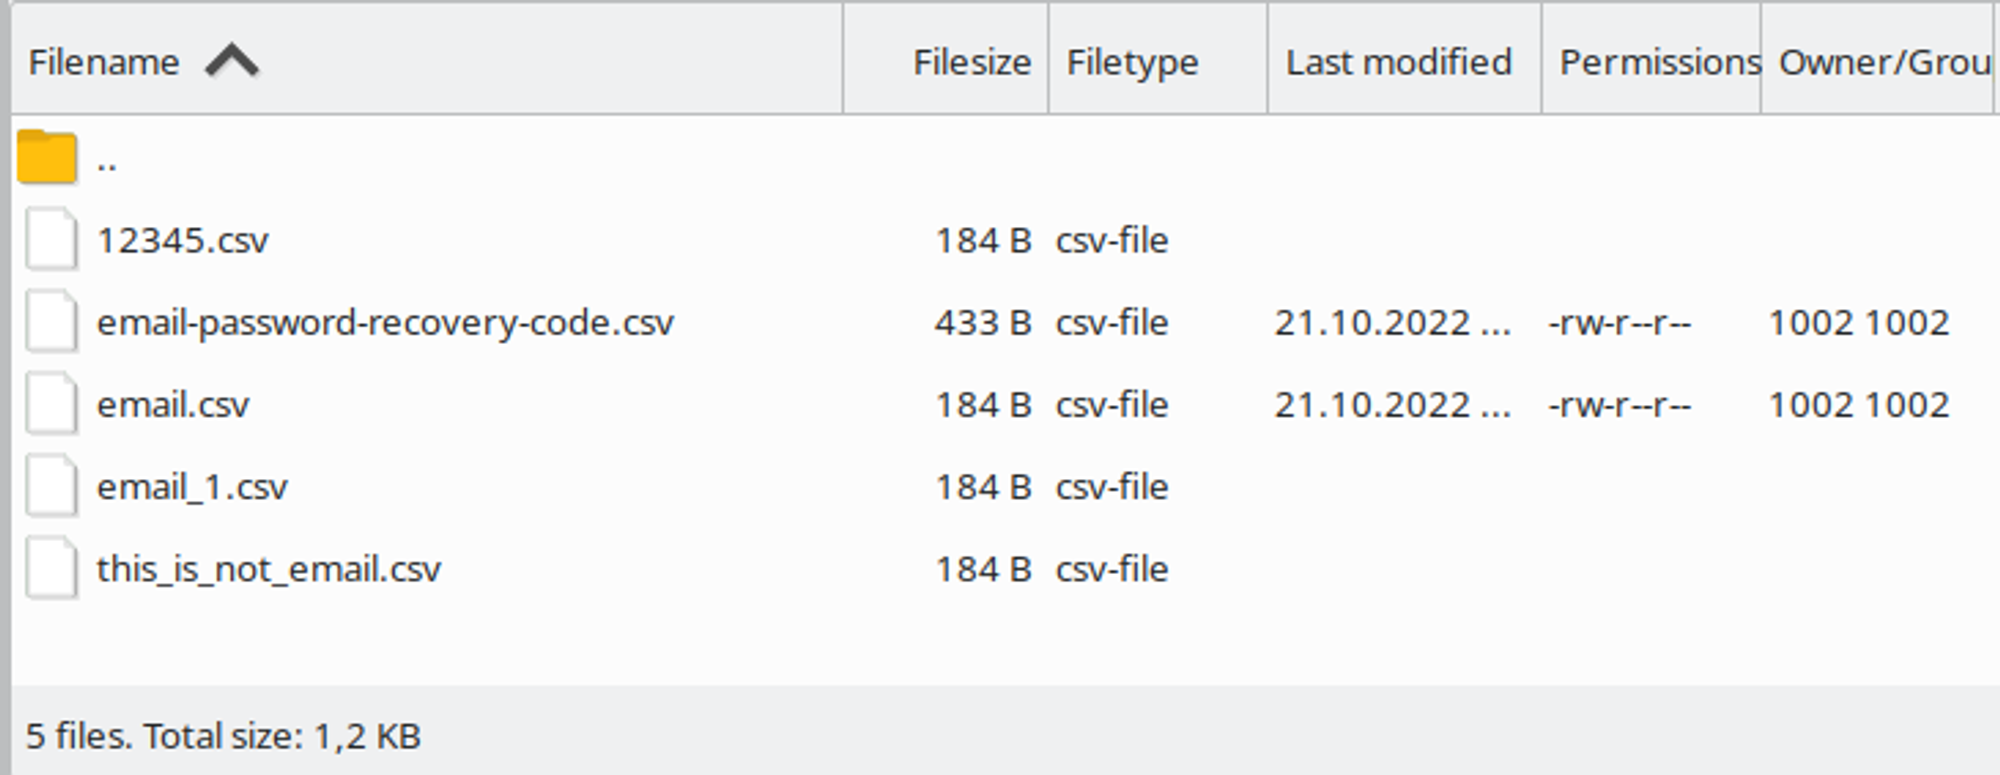
In the example, the search term is described as file_name LIKE email* -> return file. This means that if a file name starts with email, it satisfies the search conditions. There are several files on our server.
The search results for the term are as follows:
Search results
{
  "results": [
    {
      "type": "-",
      "name": "email-password-recovery-code.csv",
      "size": 433,
      "modifyTime": "2022-10-21T08:06:40.000Z",
      "accessTime": "2022-10-21T08:37:28.000Z",
      "rights": {
        "user": "rw",
        "group": "r",
        "other": "r"
      },
      "owner": 1002,
      "group": 1002,
      "attachment_url": "http://maester-service.platform.svc.cluster.local:3002/objects/0040b5a9-0307-4aad-a7bc-4124ef31d822?storage_type=maester",
      "directory": "/www/sftp_example/",
      "path": "/www/sftp_example/email-password-recovery-code.csv"
    },
    {
      "type": "-",
      "name": "email_1.csv",
      "size": 184,
      "modifyTime": "2022-10-21T08:07:26.000Z",
      "accessTime": "2022-10-21T08:37:28.000Z",
      "rights": {
        "user": "rw",
        "group": "r",
        "other": "r"
      },
      "owner": 1002,
      "group": 1002,
      "attachment_url": "http://maester-service.platform.svc.cluster.local:3002/objects/804b012e-6765-4d82-a75c-114b0f7c8d3f?storage_type=maester",
      "directory": "/www/sftp_example/",
      "path": "/www/sftp_example/email_1.csv"
    },
    {
      "type": "-",
      "name": "email.csv",
      "size": 184,
      "modifyTime": "2022-10-21T08:06:15.000Z",
      "accessTime": "2022-10-21T08:29:00.000Z",
      "rights": {
        "user": "rw",
        "group": "r",
        "other": "r"
      },
      "owner": 1002,
      "group": 1002,
      "attachment_url": "http://maester-service.platform.svc.cluster.local:3002/objects/a028d9dd-f429-44dc-9f5e-bb89b9664895?storage_type=maester",
      "directory": "/www/sftp_example/",
      "path": "/www/sftp_example/email.csv"
    }
  ]
}
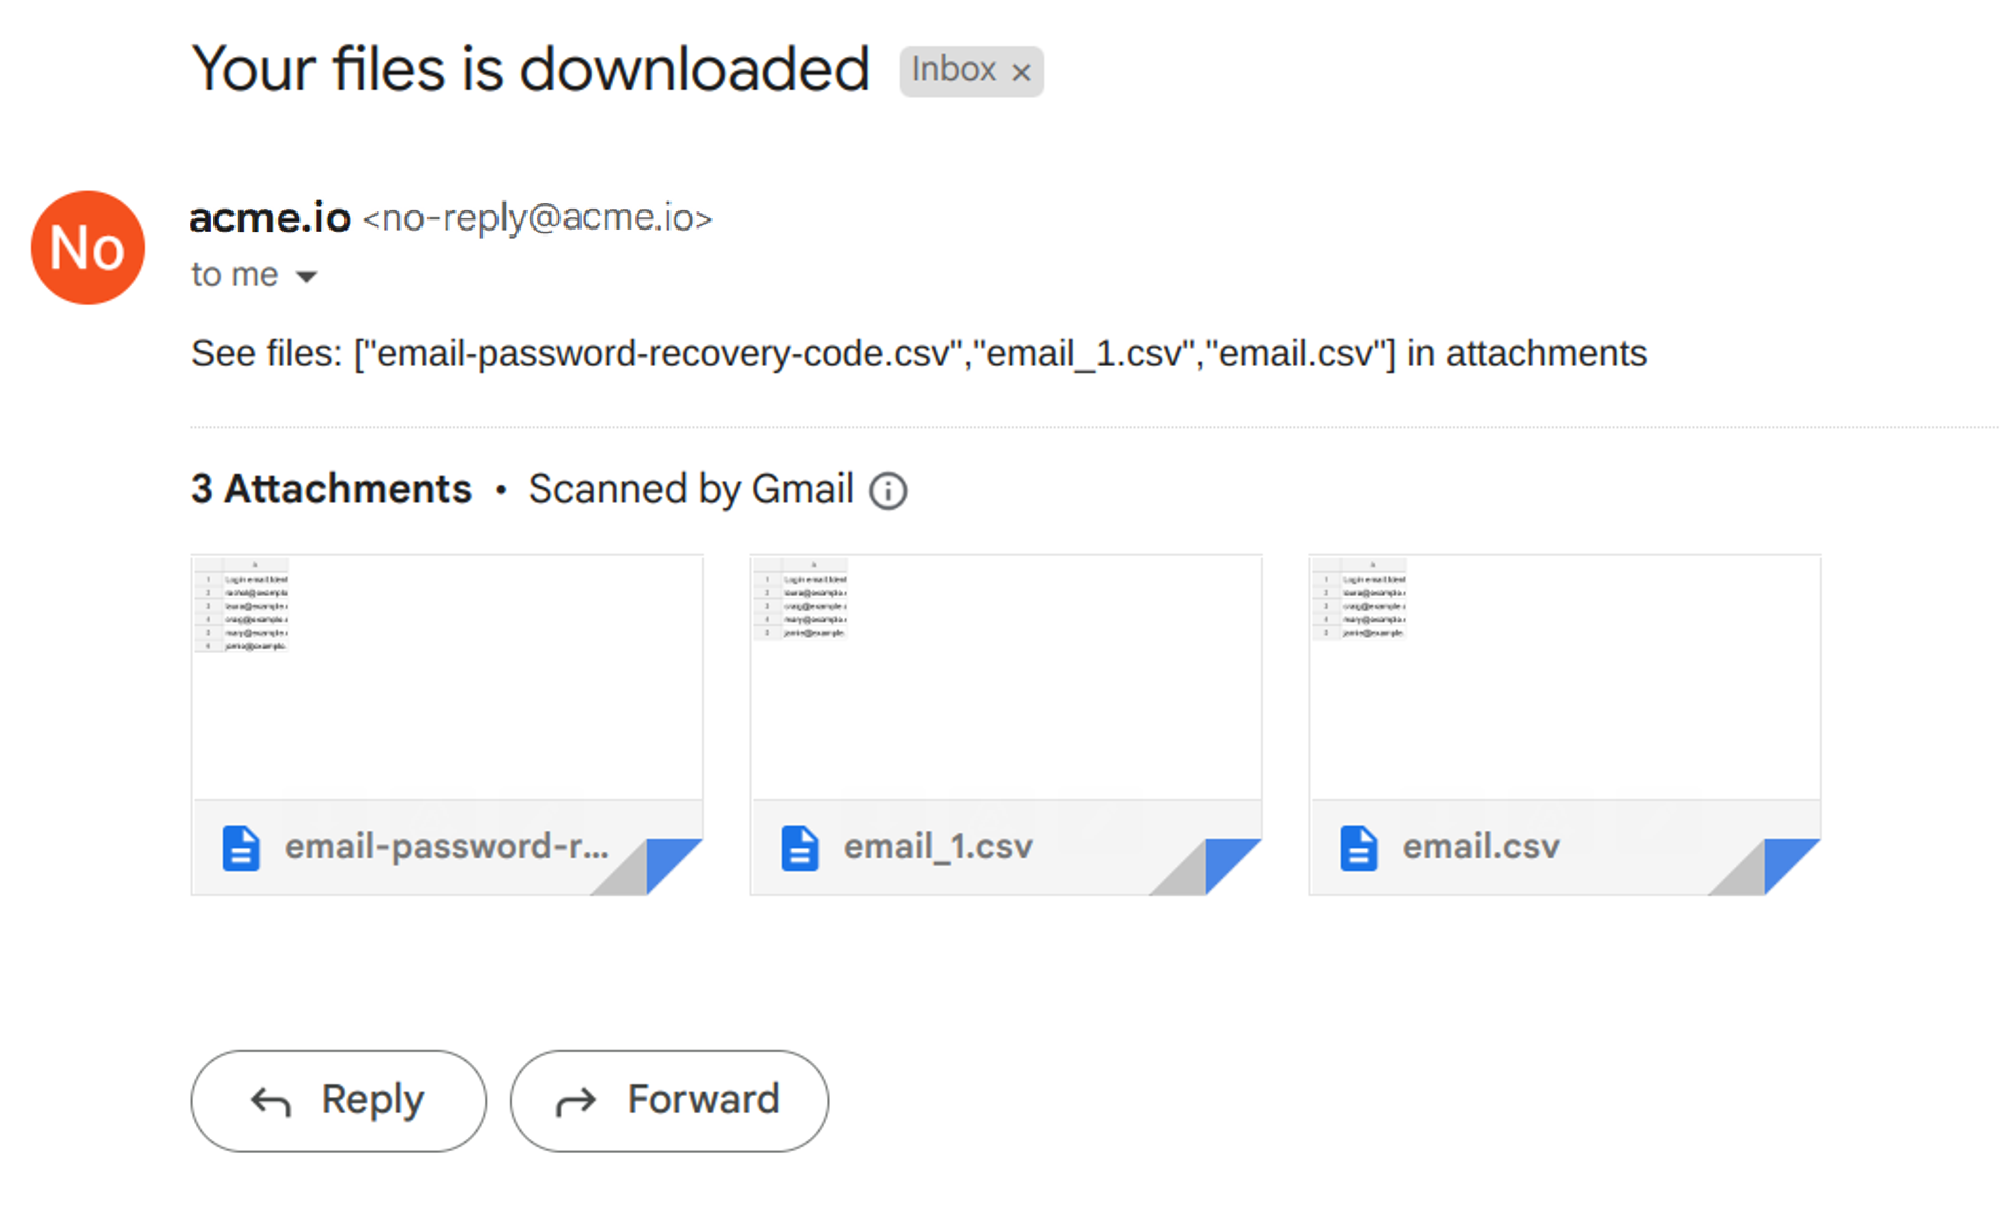
After configuring the E-mail component with the appropriate settings, similar to the Download File by Name example, you can launch the flow. As a result, you will receive an email with the downloaded files attached.
The email will contain the downloaded files as attachments, allowing you to access and view them easily.
Move File
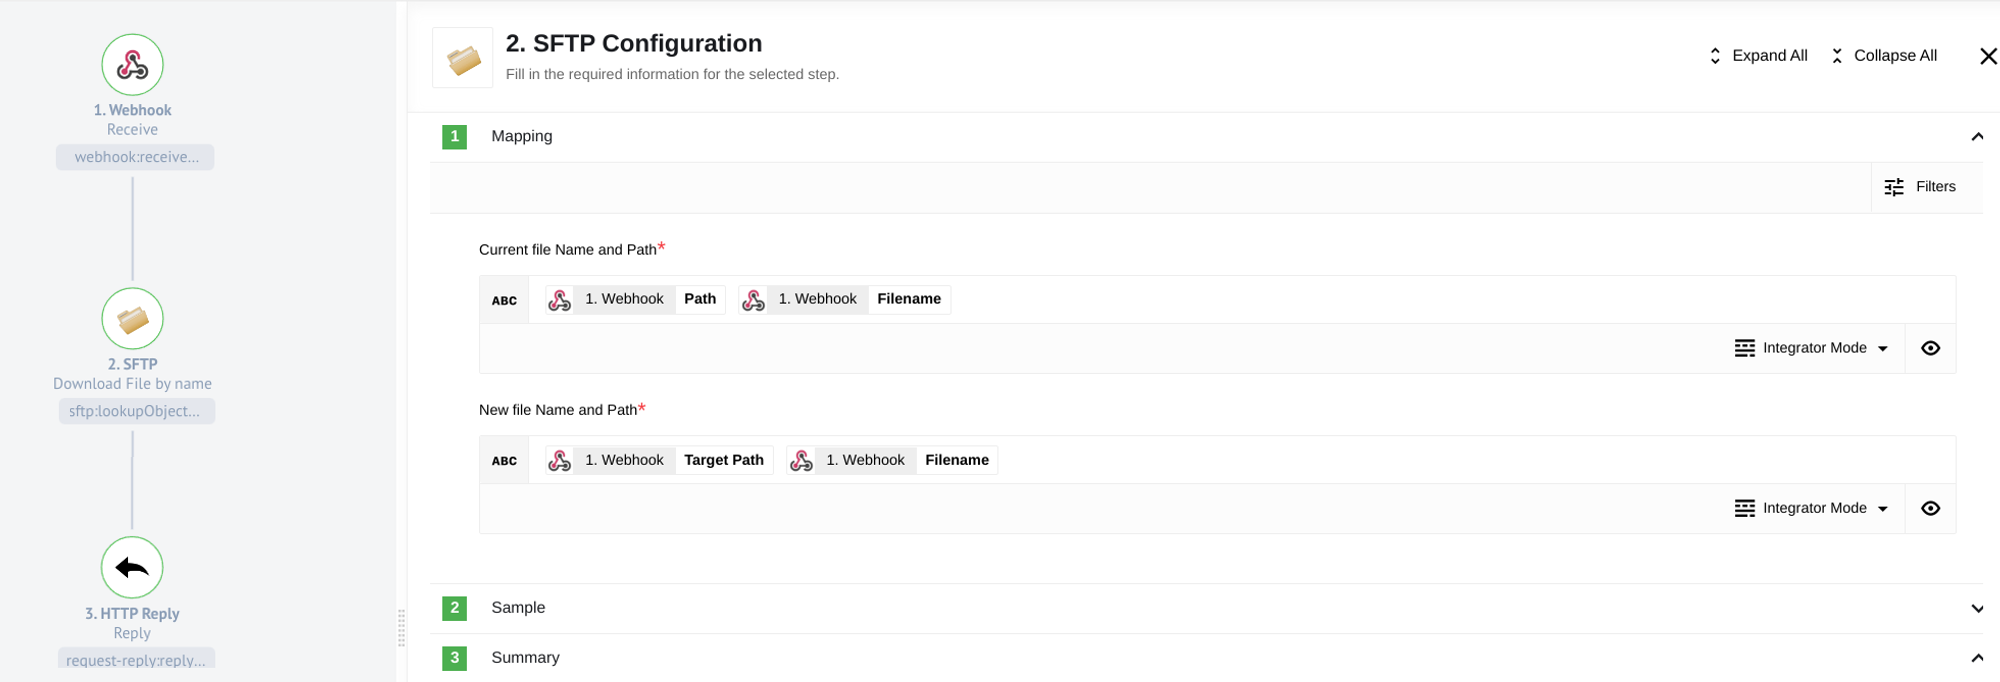
To move files between directories using the SFTP component, you can configure it by specifying the current path of the file and the destination path where you want to move the file.
To demonstrate the functionality of moving files, you can modify the Download File by Name flow by incorporating routing based on the response.
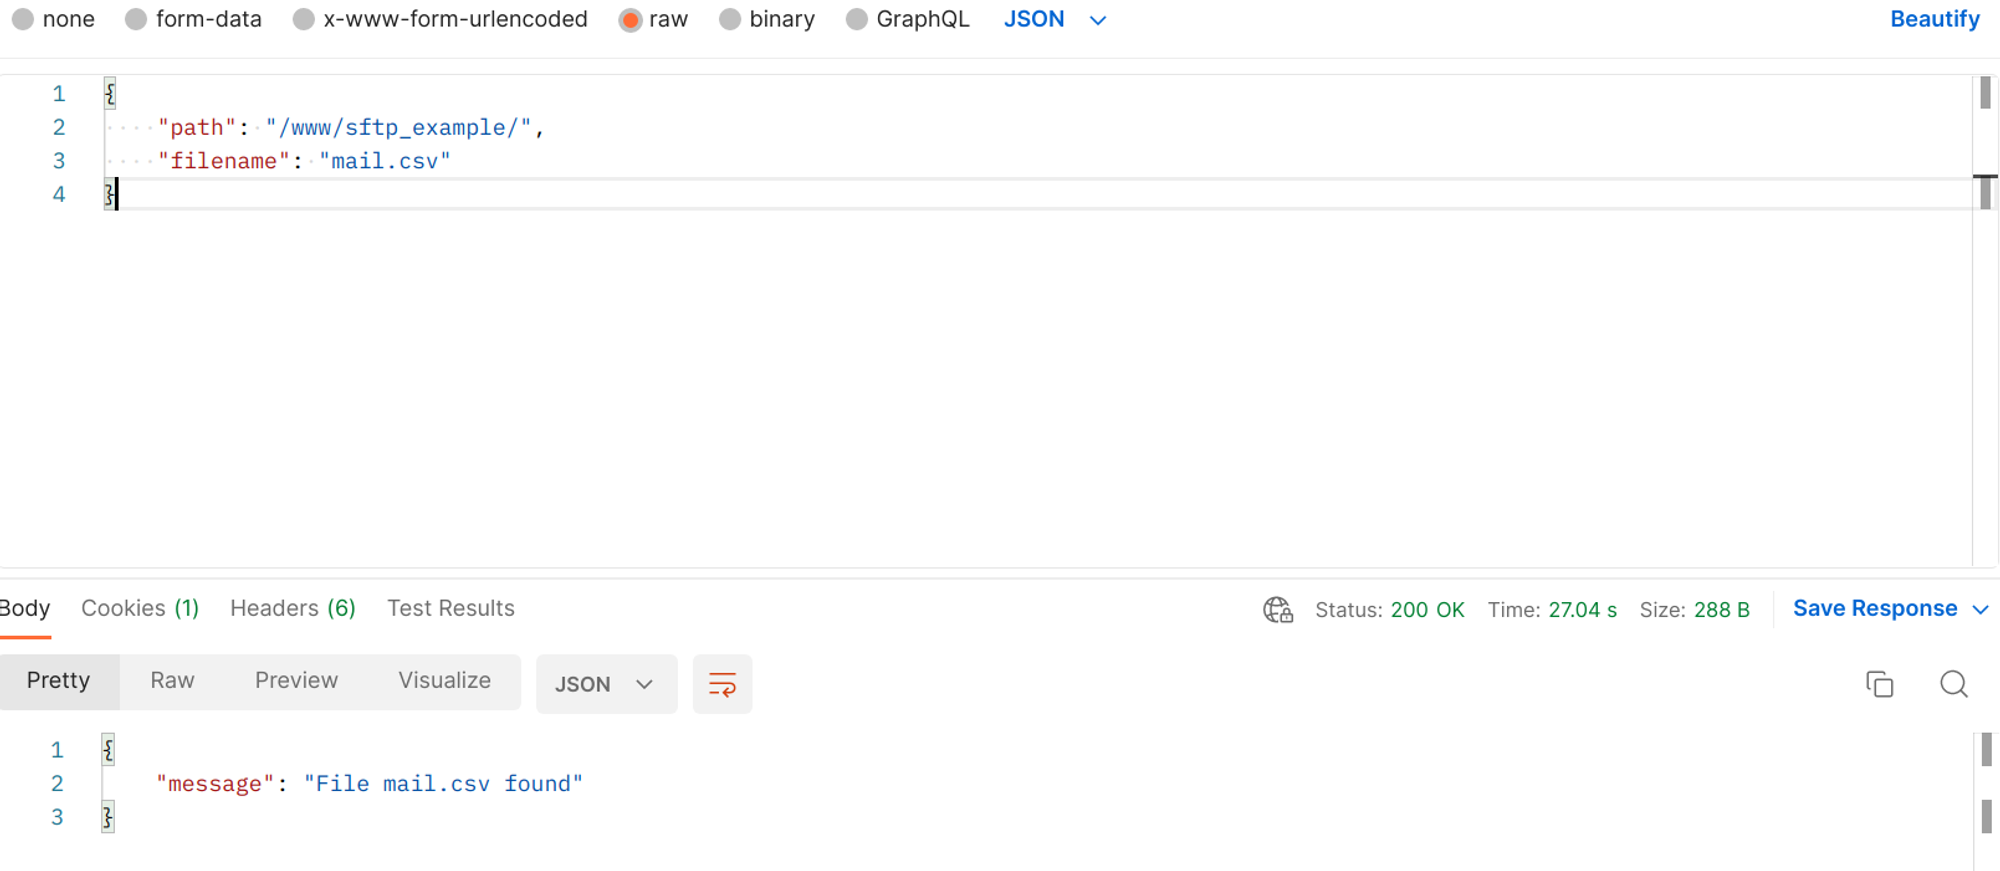
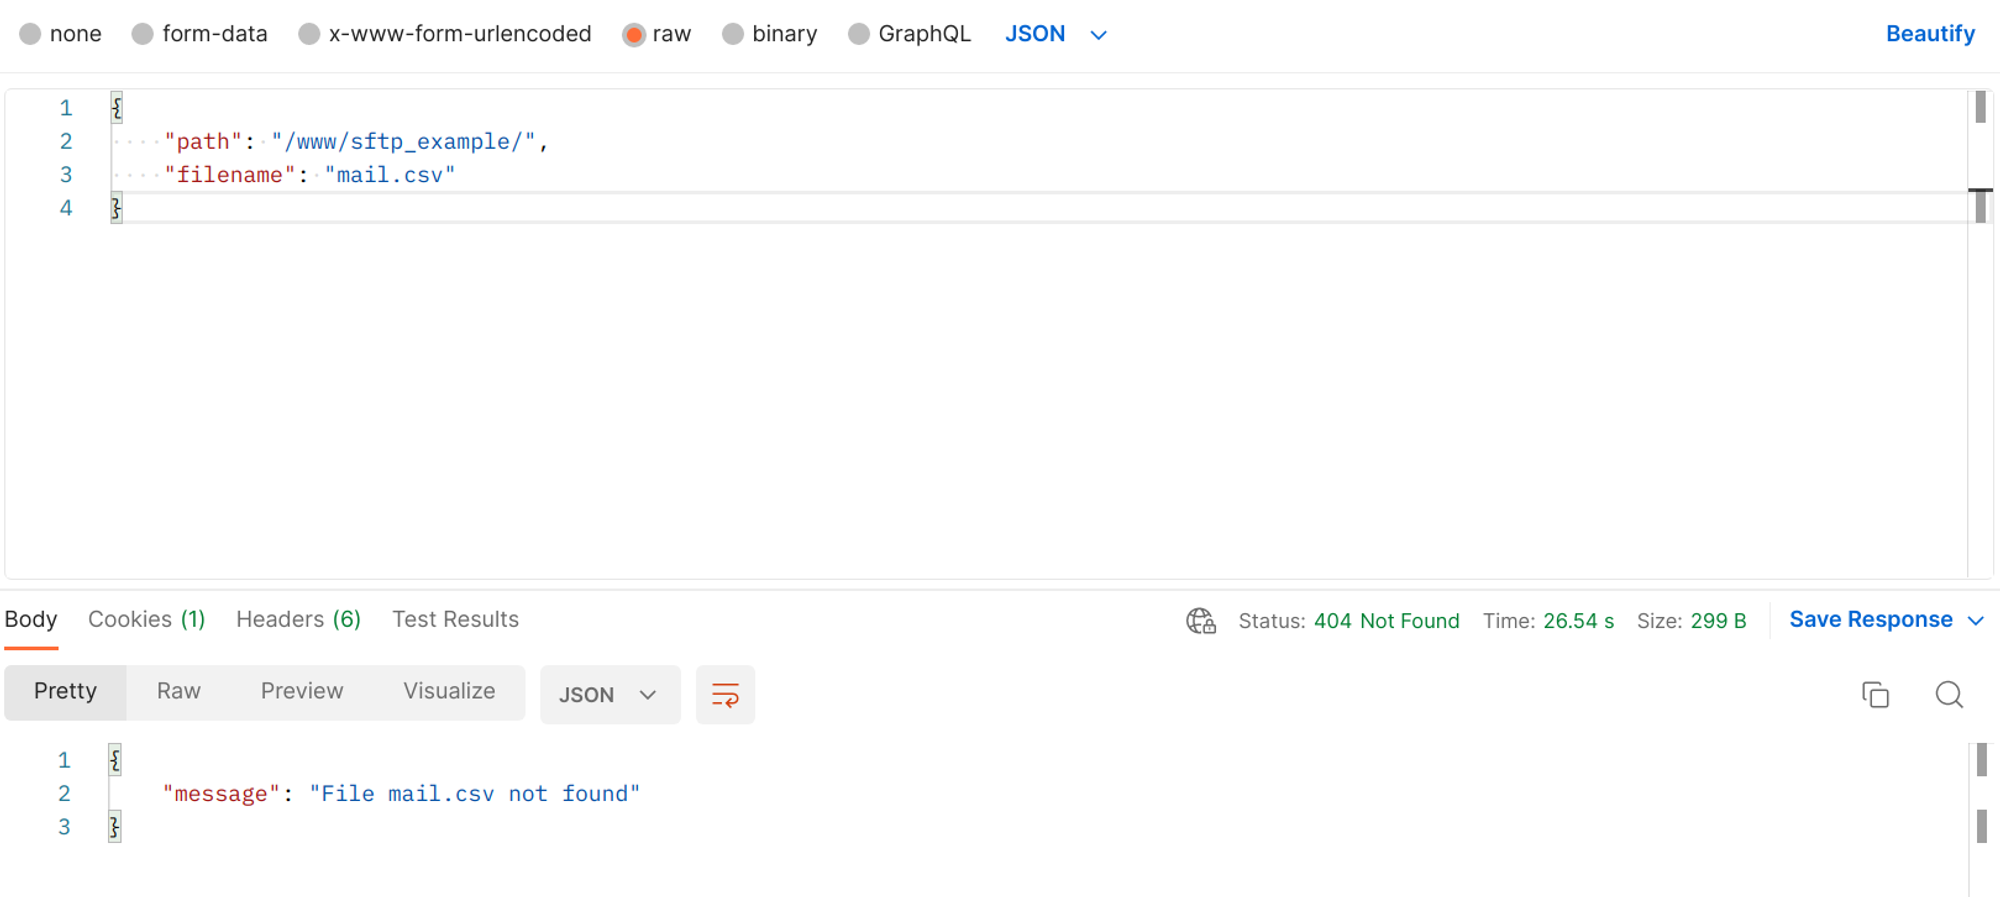
By querying the directory /www/sftp_example/mail.csv, the flow confirms that the file exists at the current address.
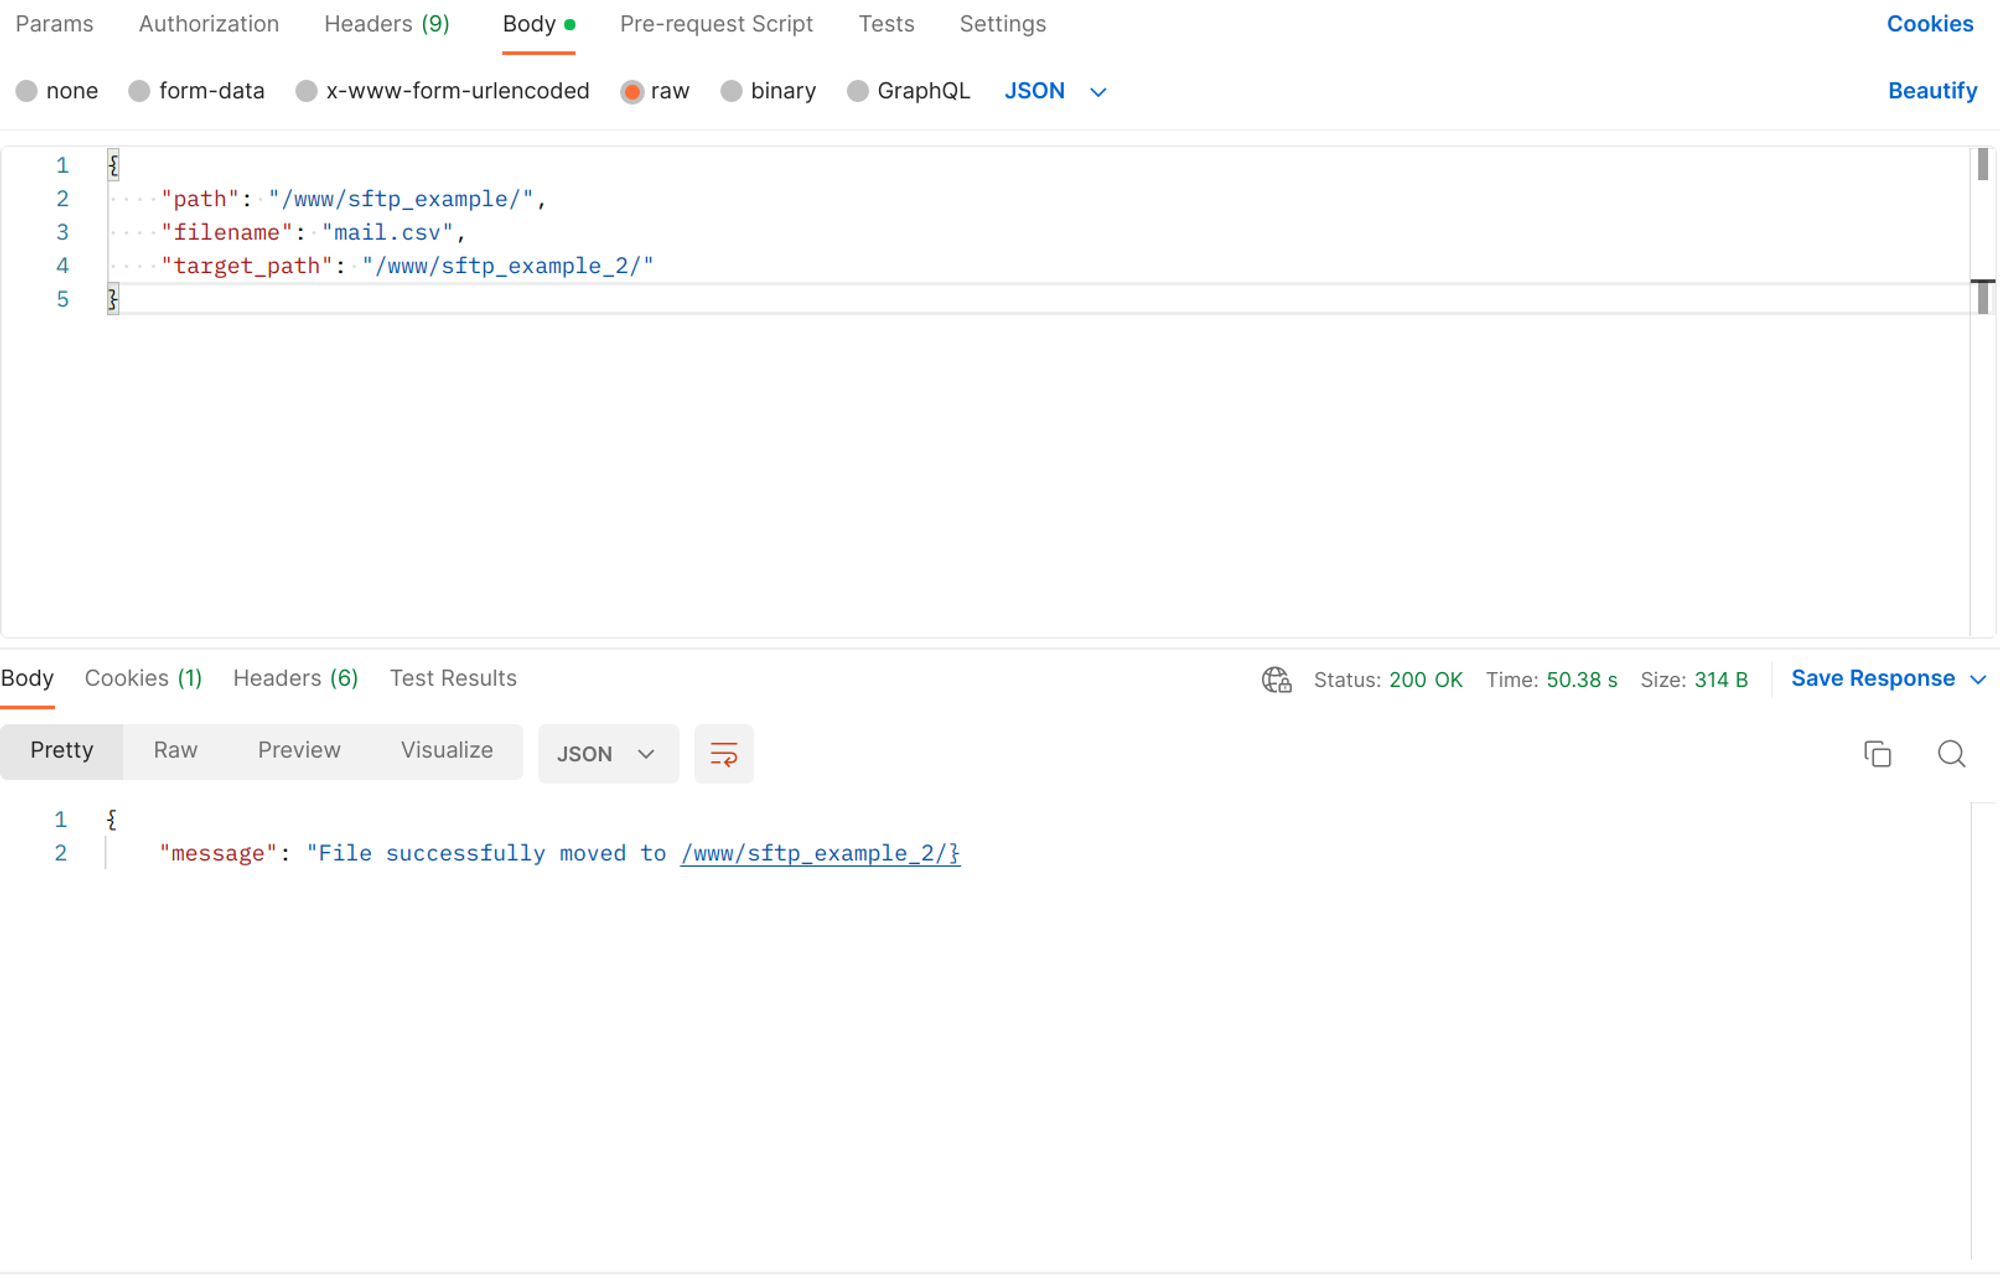
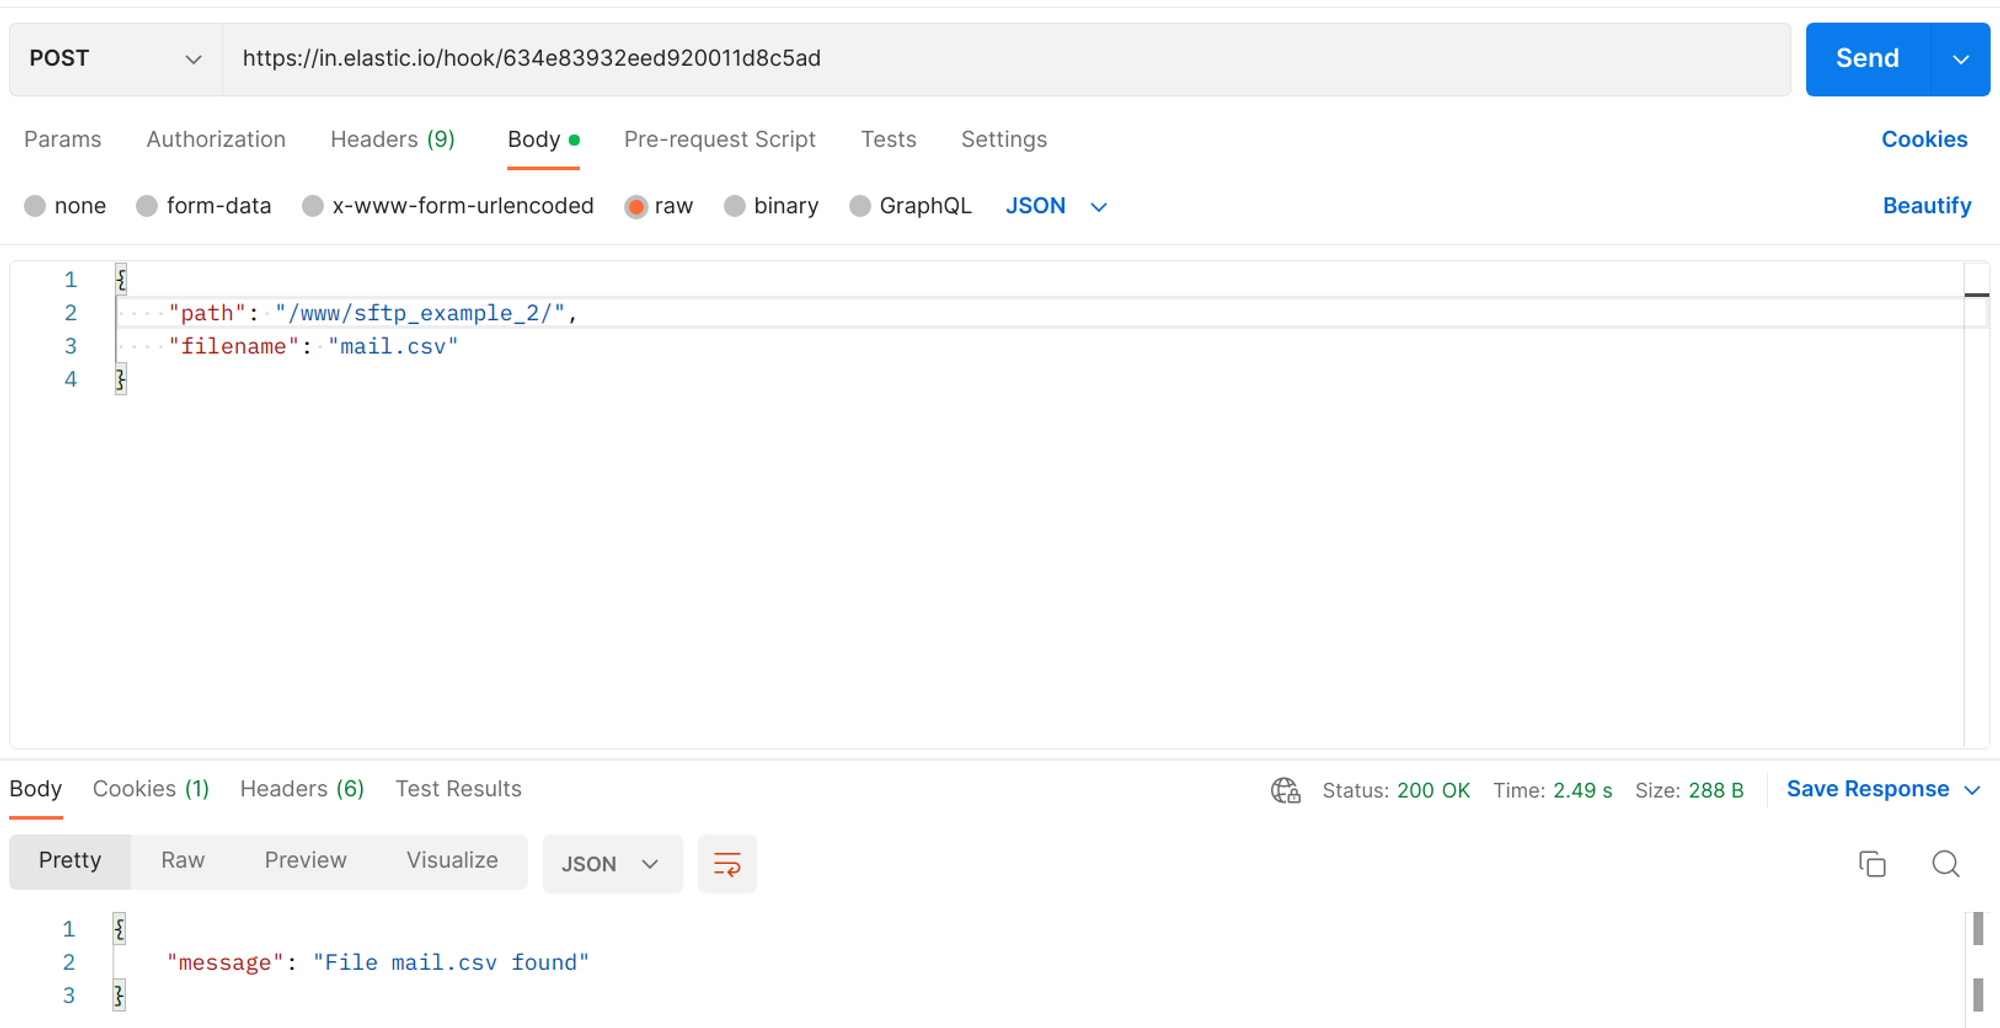
After running the Move File flow, it confirms that the move was successful.
You can then use the Download File by Name flow to check the old file location and confirm that it is no longer present at the previous address. Additionally, check the new address to verify that the file has been successfully moved to the new location.
Click here to learn more about the elastic.io iPaaS
